Great cupcake bar project for a party or special event. Fun for kids!

DIY Cupcake Bar

As part of my sister’s party, which you saw last week, I also made a DIY cupcake bar. Take a look!

We had chocolate and vanilla cupcakes.

Lemon curd and chocolate ganache glazes.

Tons of frosting!

And, of course, toppings

It was a big hit with the adults and the kids – everyone made a cupcake and ended the night hyped up on sugar. I think it made a special party even more memorable!

Carrie’s Dessert Table

A few months ago, my little sister turned 18! Of course, a party was in order, and parties mean desserts.
  
 
Mini cheesecakes: chocolate oreo, chocolate raspberry, and vanilla bean raspberry. 

 Cake pops! These were super chocolately and, of course, covered in sprinkles.

Some fabulous chocolate covered strawberries.

Note the cute little tags. These matched perfectly with the invitation and the party favors.

 Yummy chocolate truffles.

Super tart lemon meringue pies. Because they’re smaller they have to pack even more of a lunch. Some had a classic pie crust and other had pecan crusts.

 These are so much fun to make and even more fun to eat!

 My dad made this great stand for me.

Happy Birthday!

Paw Print Cookies

While making the pig and mud cupcakes I showed you a few weeks ago I also made a few cookies for my vet. Dr. Shane takes great care of our dog and rabbits, so I wanted to show her that I appreciate how much love she gives our pets by making her some sweet treats. These pawprints were so easy and came out even cuter than I expected!

Did I mention that she was just about to have a baby but still found time to call and ask how the doggy has been feeling?

I dropped these off at the office in a pretty pink box.

The next day, I got a call from the vet asking for two dozen sesame street cookies for her other daughter’s second birthday!

She wanted them the day after the wedding I spent all summer working on.

So, because I’m crazy, of course I said yes. But that’s a story (and some pictures) for another day.

Berry Cheesecake

I made cheesecake when I was in LA this summer and thought I’d share the pictures to brighten up your day after all this gloomy snow.

After having company over all evening, I started this cheesecake at 11 pm and finished many hours later, but I’m so happy with how it turned out! My oven left a few wonky marks on top because the cheesecake rose quite a bit, but that’s nothing some fresh berries can’t fix!

I used a hybrid of this recipe and this one.

For the topping, I let the berries macerate in a bowl with some sugar and vanilla bean paste, then tossed them in some warm apricot jam to give them a little extra flavor and a bit of shine.

This cheesecake was sent to a party with my little sister, so I never got a taste, but I heard it went over well! Now I just have to make it again so I can cut myself a nice big slice…

Western cookies: Cowboy and Cowgirl hat and boot cookies!

Cowboy Hats and Cowboy Boots

I made cookies. They look like cowboy boots and cowboy hats and have edible glitter and gold luster dust all over them. What more can you possibly want?

Oh yeah. And I made 100 of them.

The cowboy hats were so much fun because I got to make each one a bit different and I love the sparkly gold detailing.

The cowboy boots, however, were quite a bit trickier and took FOREVER. Notice the gold spur and the clunky heel?

But they’re cute, so it was all worth it.

Lots and Lots of Green Cupcakes

So, I made cupcakes a few months ago.  Lots and lots of them. And they were delicious. I’ve baked for years, but, because I always gobble up everything I make,  I’ve never tackled the transportation problem. To change that, I made about 200 mini cupcakes to bring to work so I could see how well these treats handled the ride and the summer heat. 

In case you can’t tell, we had a color-wars type thing happening at camp that week. Can you guess which team my campers were on?

I’ll give you a hint. Here we have some green velvet cupcakes dipped in sprinkles with cream cheese frosting.

And some vanilla bean green (no, not vanilla green bean) cupcakes with chocolate frosting.

If you spent this post imagining what 150 cupcakes look like at my dining room table at midnight, today’s your lucky day.

They traveled beautifully and lasted all day in an air-conditioned room. I bought 1/2 sheet boxes and used a mini cupcake size insert so there were 48 babycakes in each box. Dumped them in my trunk, drove normally, and ta da! The only problem I had was preventing myself from taking that 5th cupcakes when there was only one left at the end of the day. After all, it really didn’t make sense to take just one home all by itself, did it?

Muddy piggies and dirt pile cookies. Too cute!

Pig Cookies for Mud Day

I worked at a camp this summer. There was mud day. What is mud day? It’s exactly what it sounds like.

To celebrate the occasion I bought a pig cookie cutter, made a mud splash cutter by bending another shape out of place, and made about 100 appropriately themed cookies. I’m gonna let these cuties speak for themselves.

Little piggies.

And splashes of mud!

This is what 100 pig cookies look like. They were pretty cute.

All the pigs packed up and ready to go.

Don’t even ask me how many of these I ate…

Happy Birthday Michelle!

This weekend, I have the flu. This weekend, it is also my dear friend and suite-mate’s birthday. What does this mean?

It means I call my doctor to confirm that flu can’t be transmitted via baked goods, text some other friends for help, and start baking! Obviously, the birthday girl simply had to have a cake.

We ended up with this. It was 4 layers of chocolate cake. Between each layer is a delicious glob of chocolate ganache and fresh raspberries. It’s all covered in rich chocolate frosting. And it’s completely dairy-free!

I had great plans for this cake. It was going to be beautifully piped with fancy letters and designs.

Maybe with a touch of glitter on top. Ultimately, the designs were made using a little spatula.

I got a teensy bit too excited by the glitter.

And when you’re baking in a dorm, sometimes you have to use paper plates, even for special occasions.

But you know what?

This cake was delicious. The birthday girl enjoyed it and it was gobbled up in no time. What you see here is a very well-loved cake. And that’s what matters.

We invited people over for a “surprise” party that evening, which, for a number of reasons, turned out to not be such a big surprise after all.

But we decorated the apartment nicely.

We asked the guests to come in pajamas.

We decorated cookies.

Many cookies.

We made a mess. 

I took a couple pictures, but mostly we just ate.

Nothing that day went according to plan, but I think it was perfect.

We love you Michelle. Happy birthday!

You Can Make Checkerboard Cookies Too!

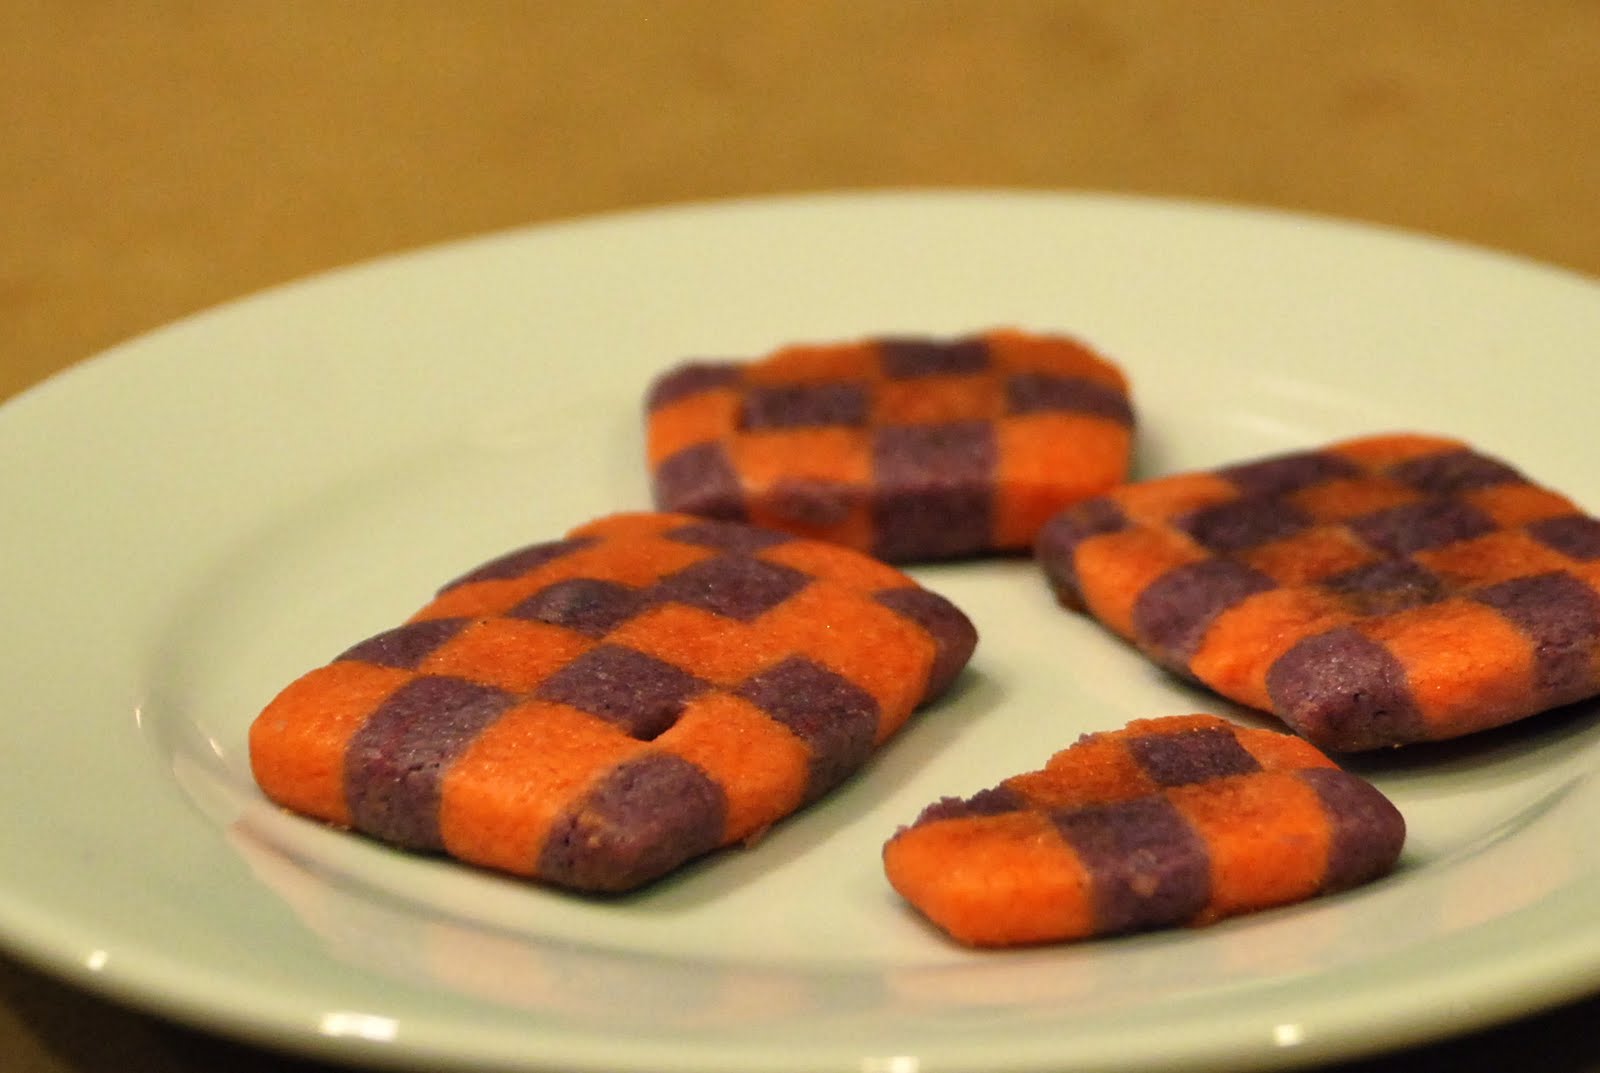
When I was practicing for the wedding last month I though I’d help you learn, too. I think that most baked gooks look harder to make than they actually are, and these are a perfect example of that. It’s pretty impressive looking dessert that anyone can make with just a little time and patience. Today we’re making some checkerboard cookies using a standard sugar cookie recipe. Just use your favorite recipe and leave out the leavening agents for a great flavor with crisp, clean edges.

Divide dough and knead in your colors. Roll it out really thick (about a centimeter) and cut each color into equal-sized slabs. Mine were about 10 x 7, but the dimensions don’t really matter as long as they’re the same size. My hands were too covered in food coloring to take pictures until this point, so use your imagination for the measuring bit.

Freezing the dough after it’s rolled makes it easier to work with and helps it keep its shape. Use a ruler to make sure everything is exact.

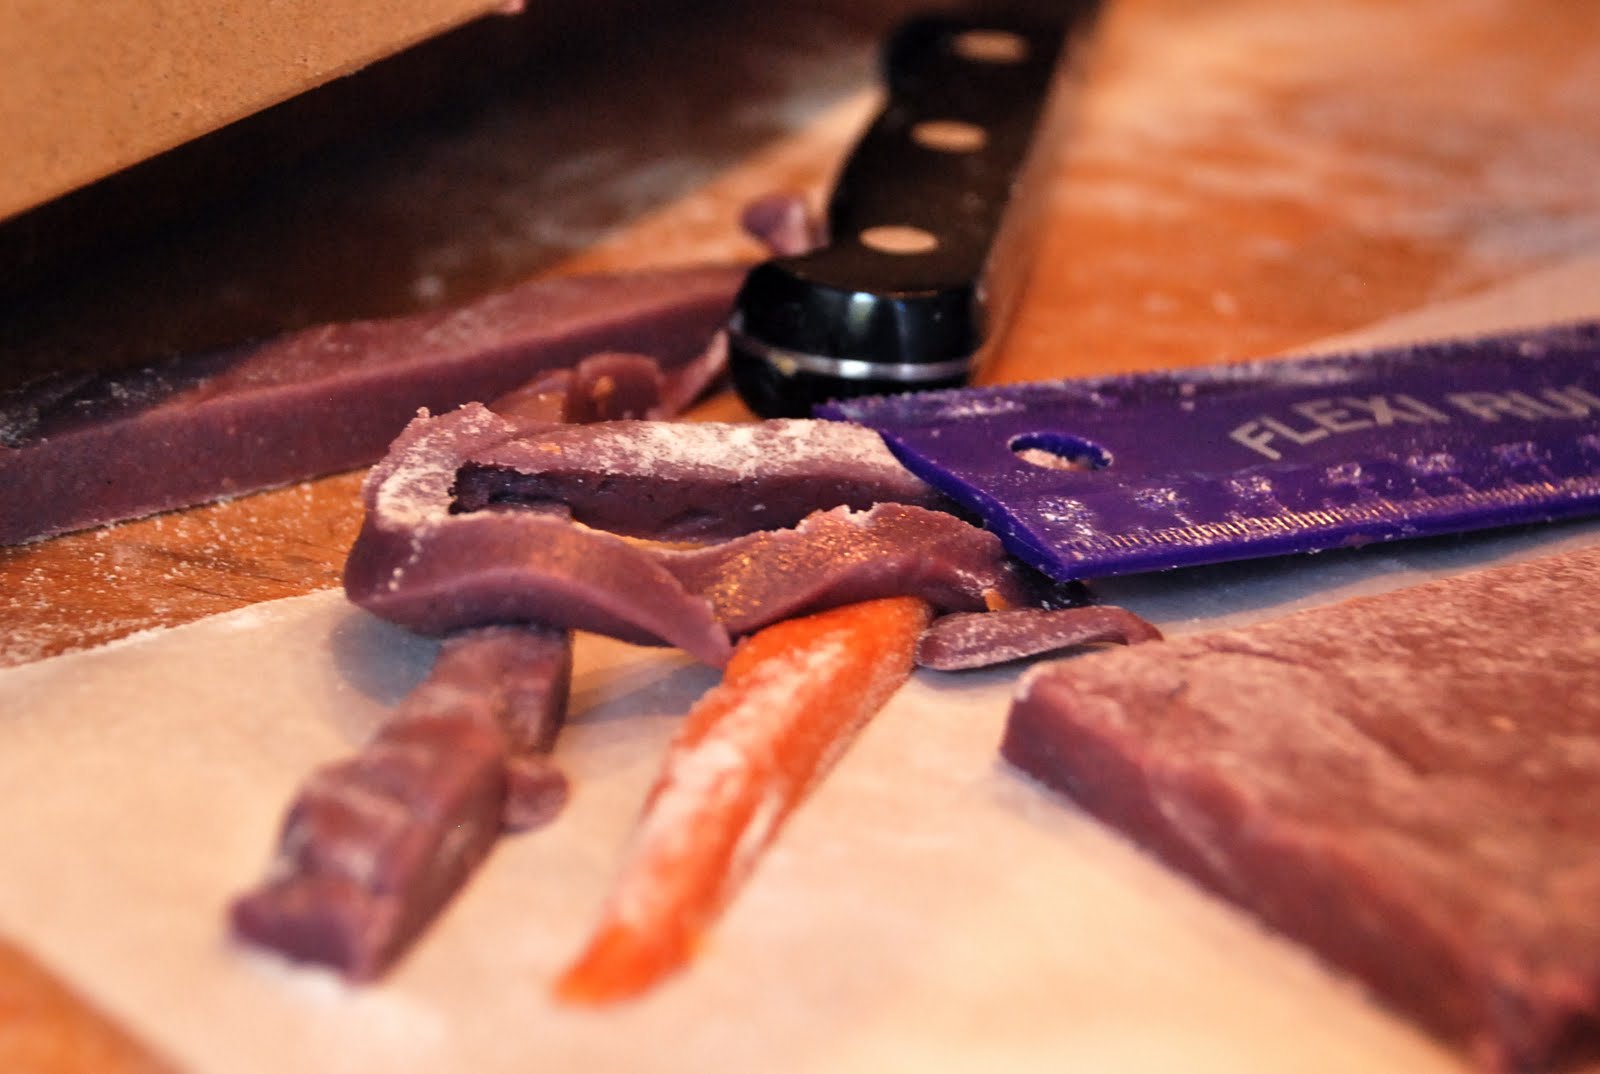
Stack the pieces and trim the edges.

Eat scraps quickly before anyone notices. I promise not to tell.

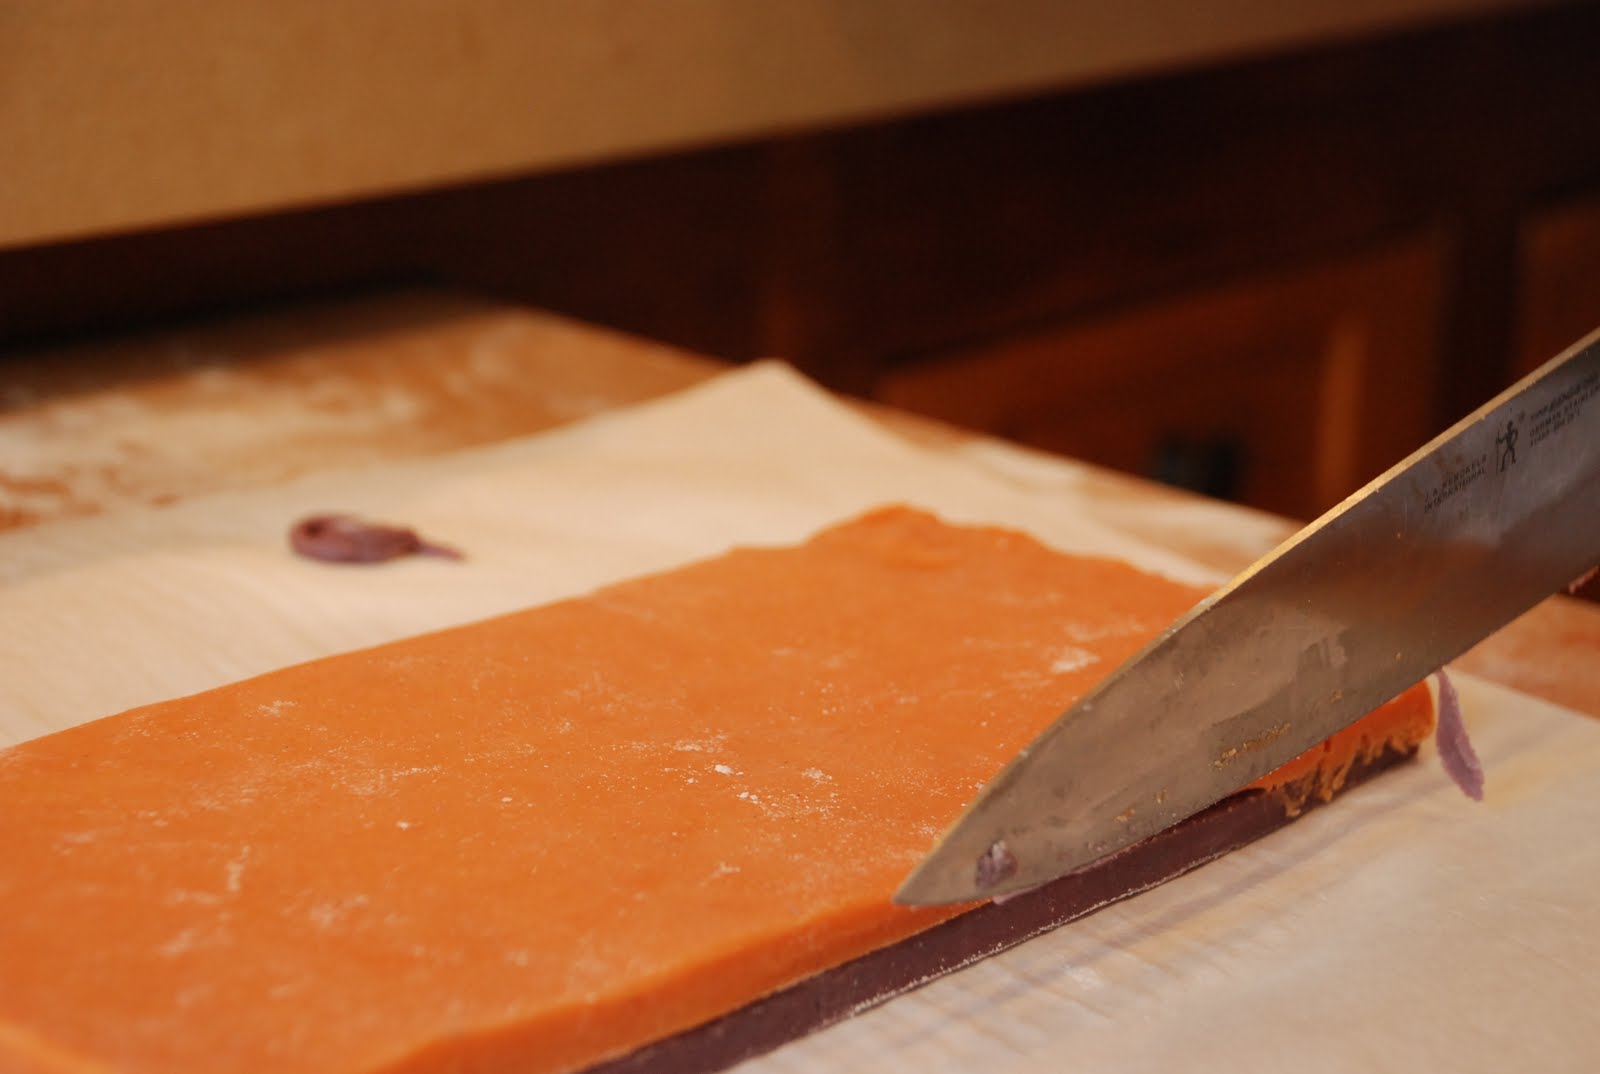
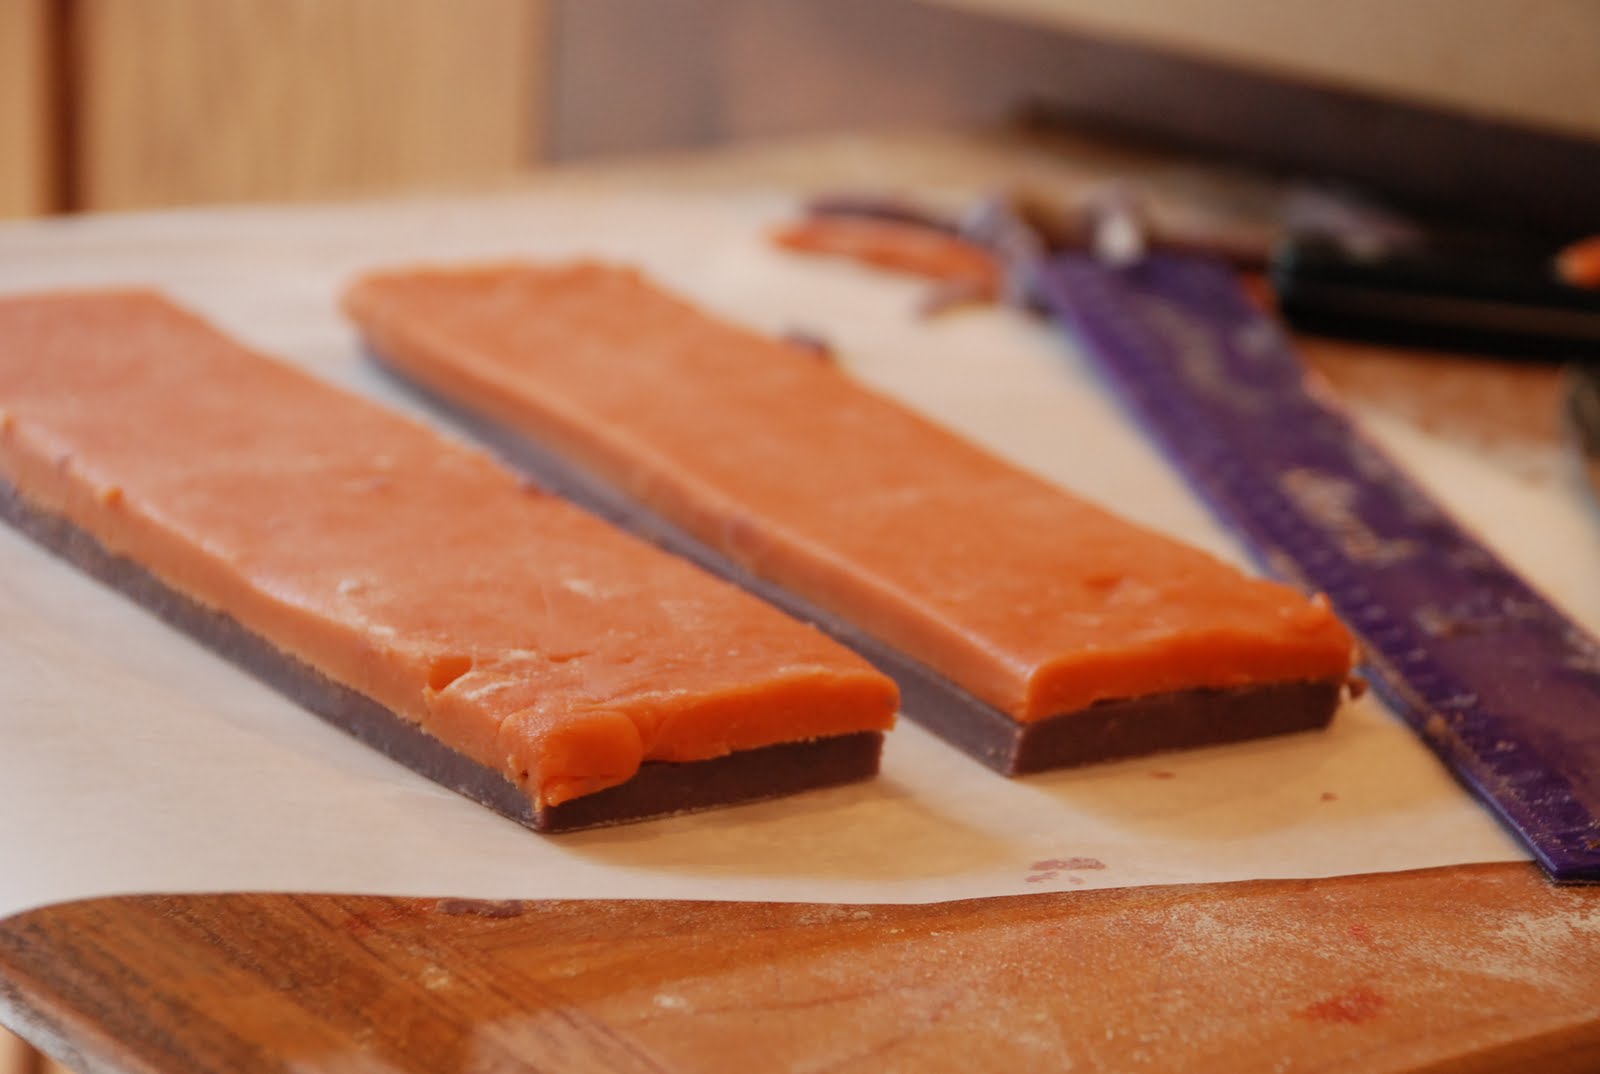
Slice your dough in half so you have two equal sized strips.

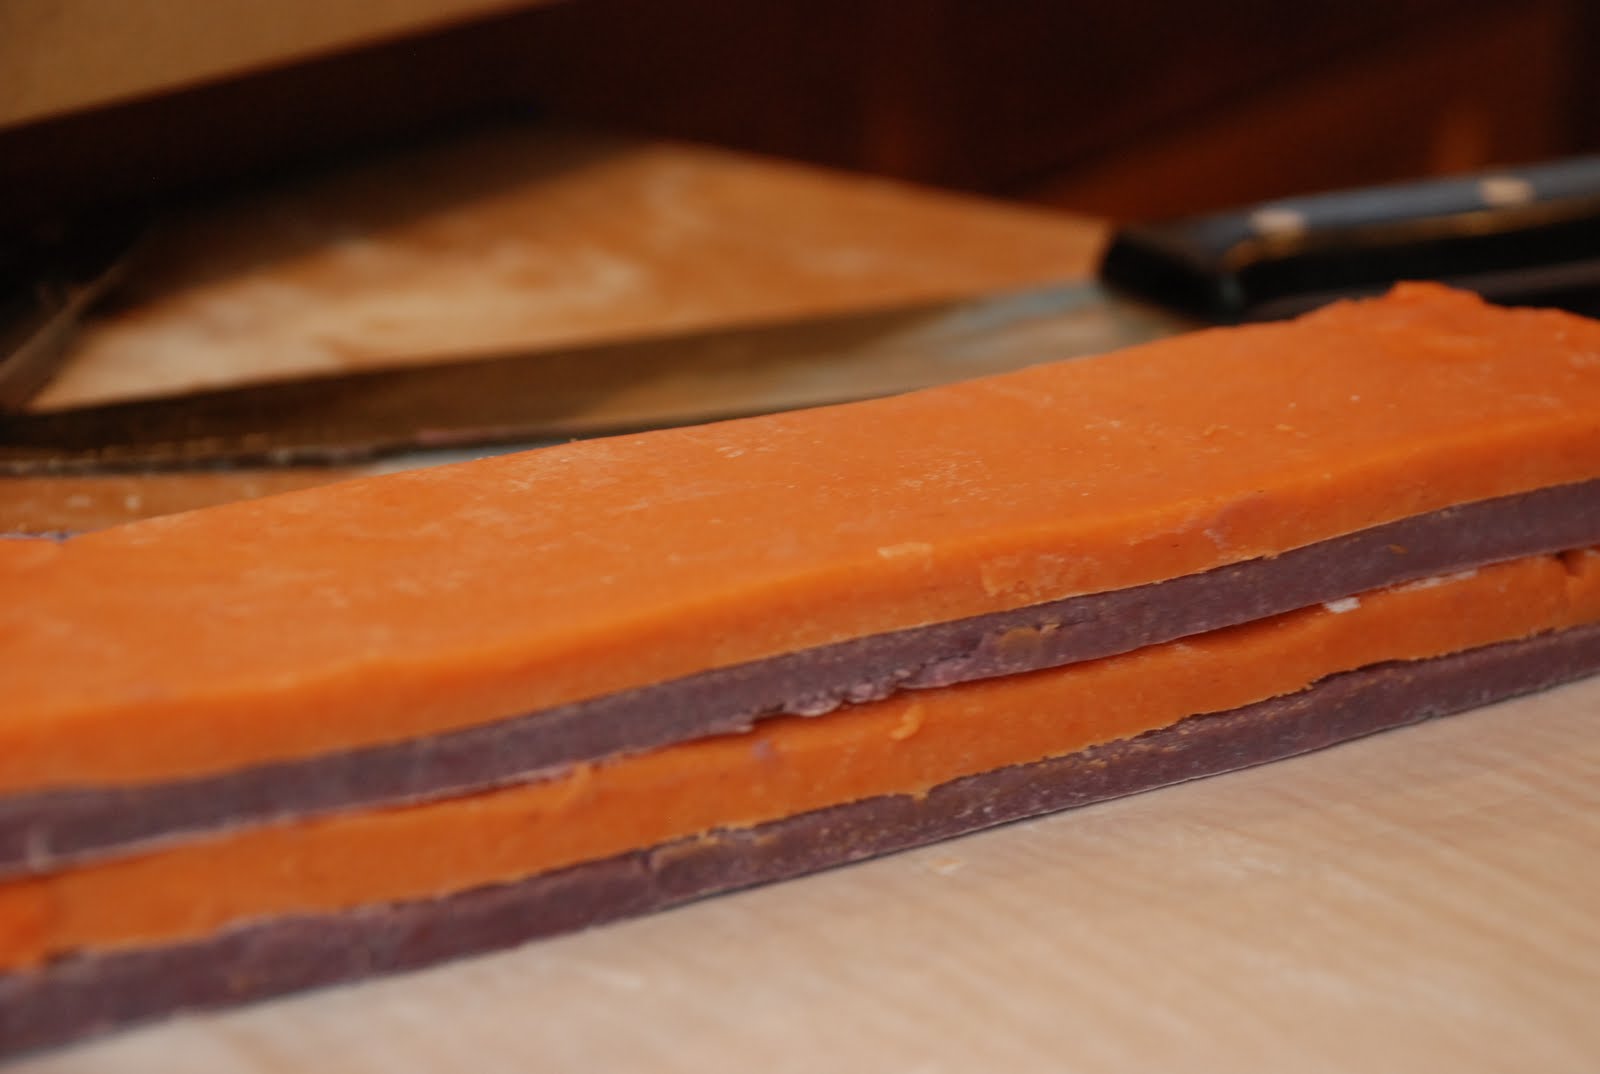
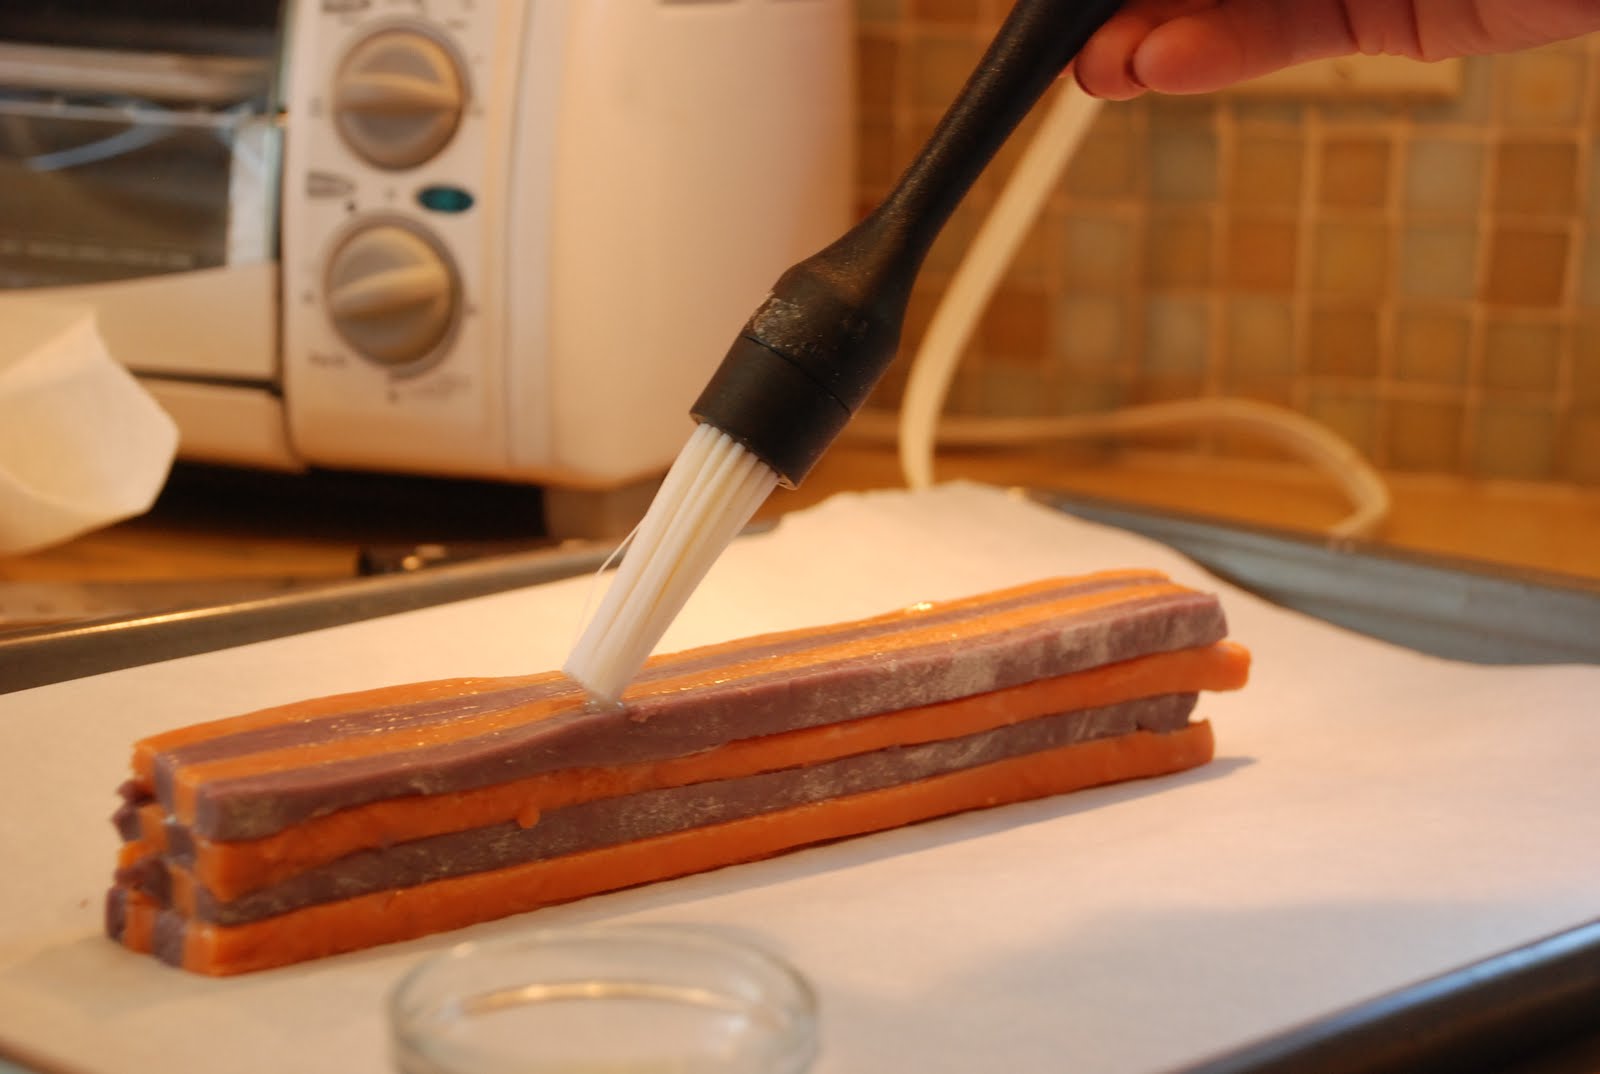
And stack those on top of each other, forming a log.

I brush each strip with egg white before stacking because it makes everything stick together nicely.

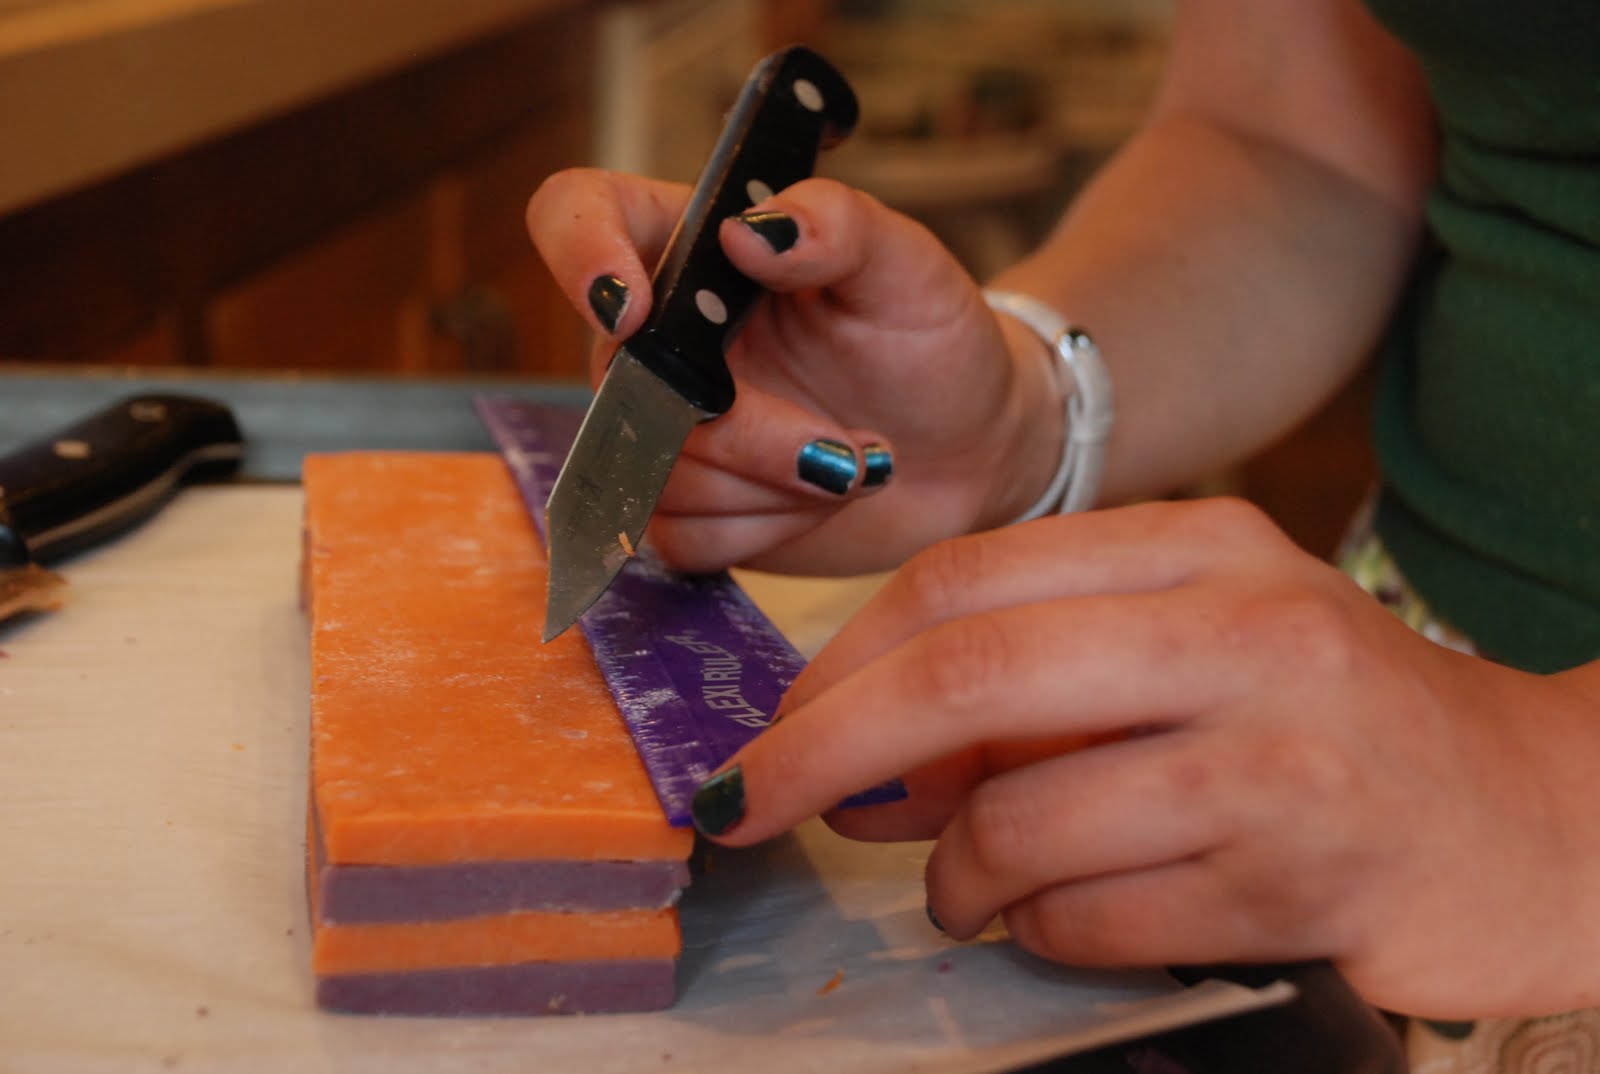
(Yes, my nails are painted an obnoxious color. Don’t judge.)

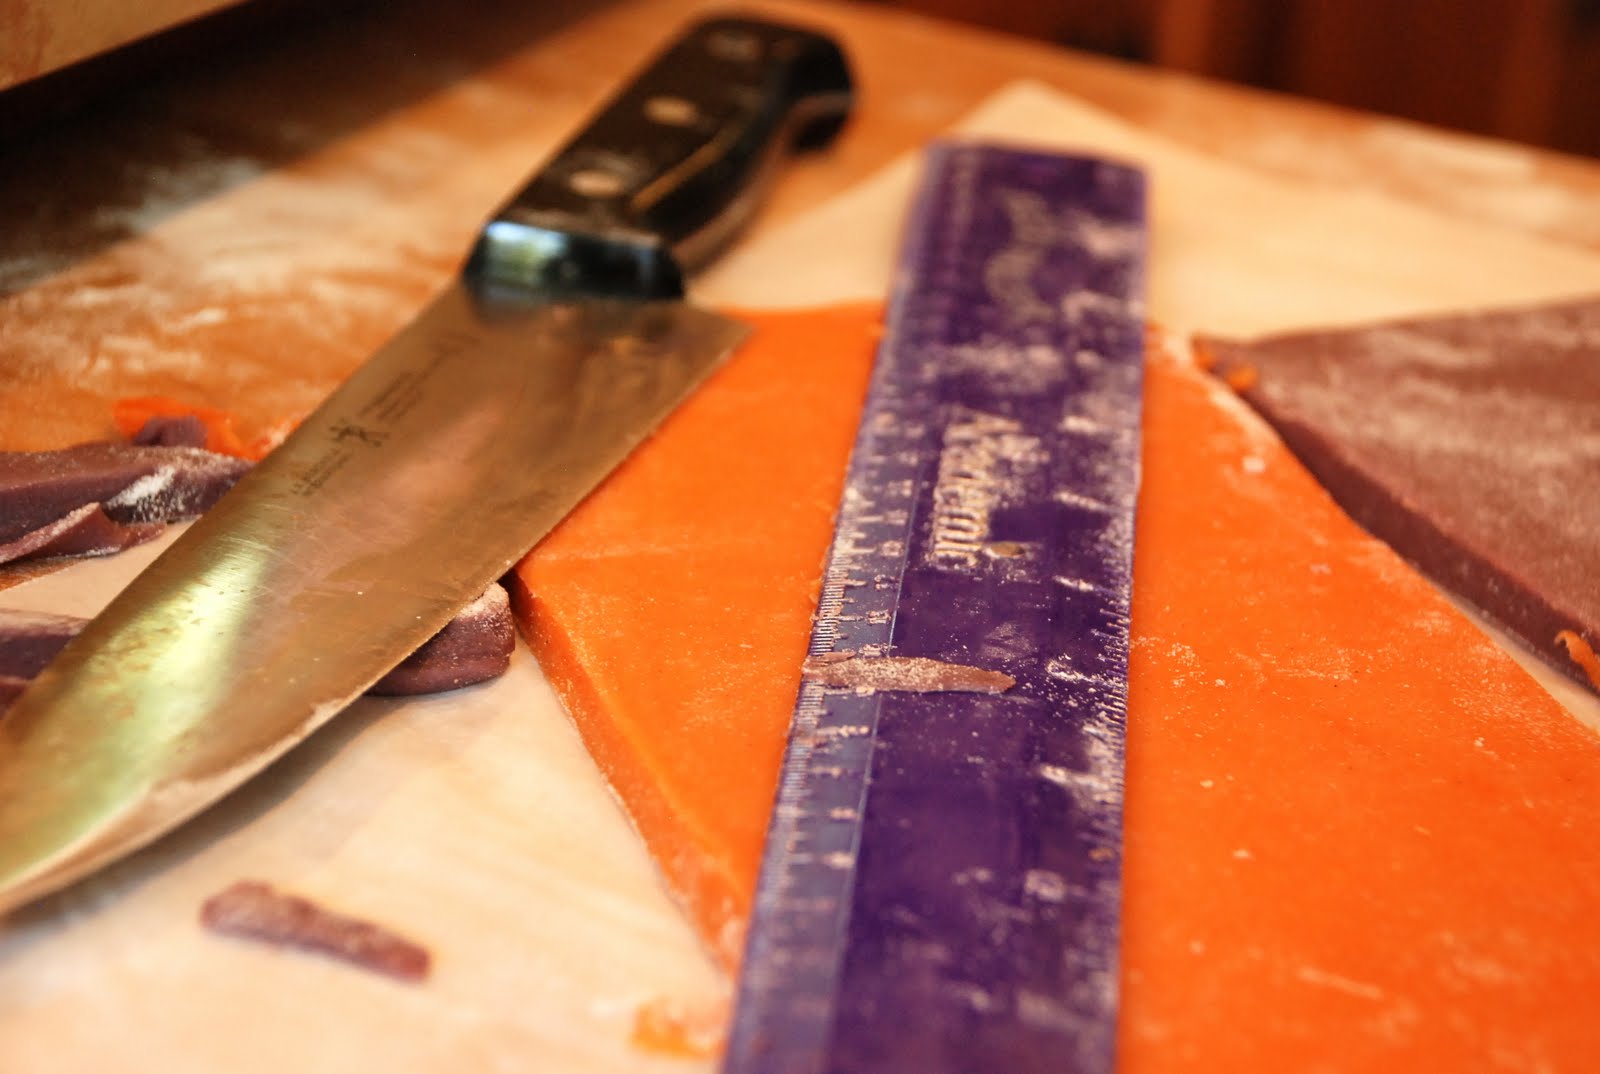
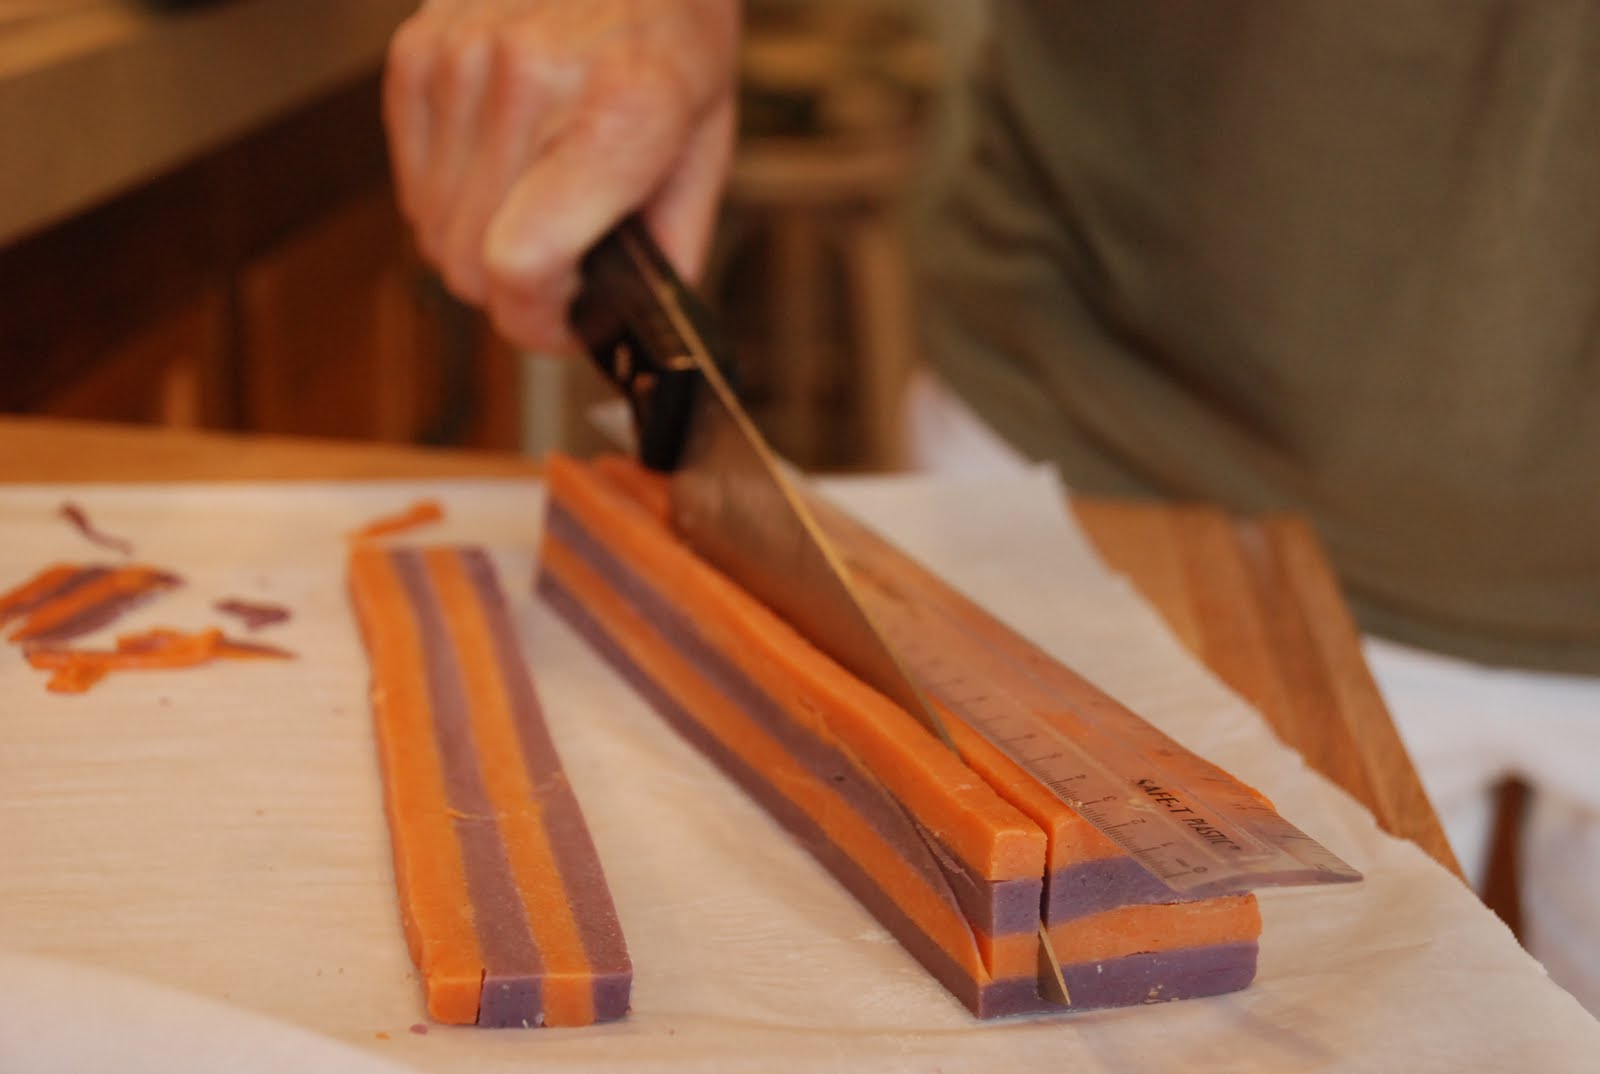
Measure and cut long strips that are about as thick as you originally rolled each color. This means that when you look at the piece you sliced at eye level, the boxes are square. This means that if your original solid rectangle was 1 centimeter thick, you should try to make these strips the same thickness. You can slice thinner or thicker, but if you do so you’ll have rectangles at the end, not squares.

I was very precise with these because I wanted the checkerboard pattern to be perfect! Use a ruler and a big knife, being careful not to slant inwards as I have a tendency to do.

Stack the strips on top of each other, making sure to flip half of the strips over so the colors are alternated.
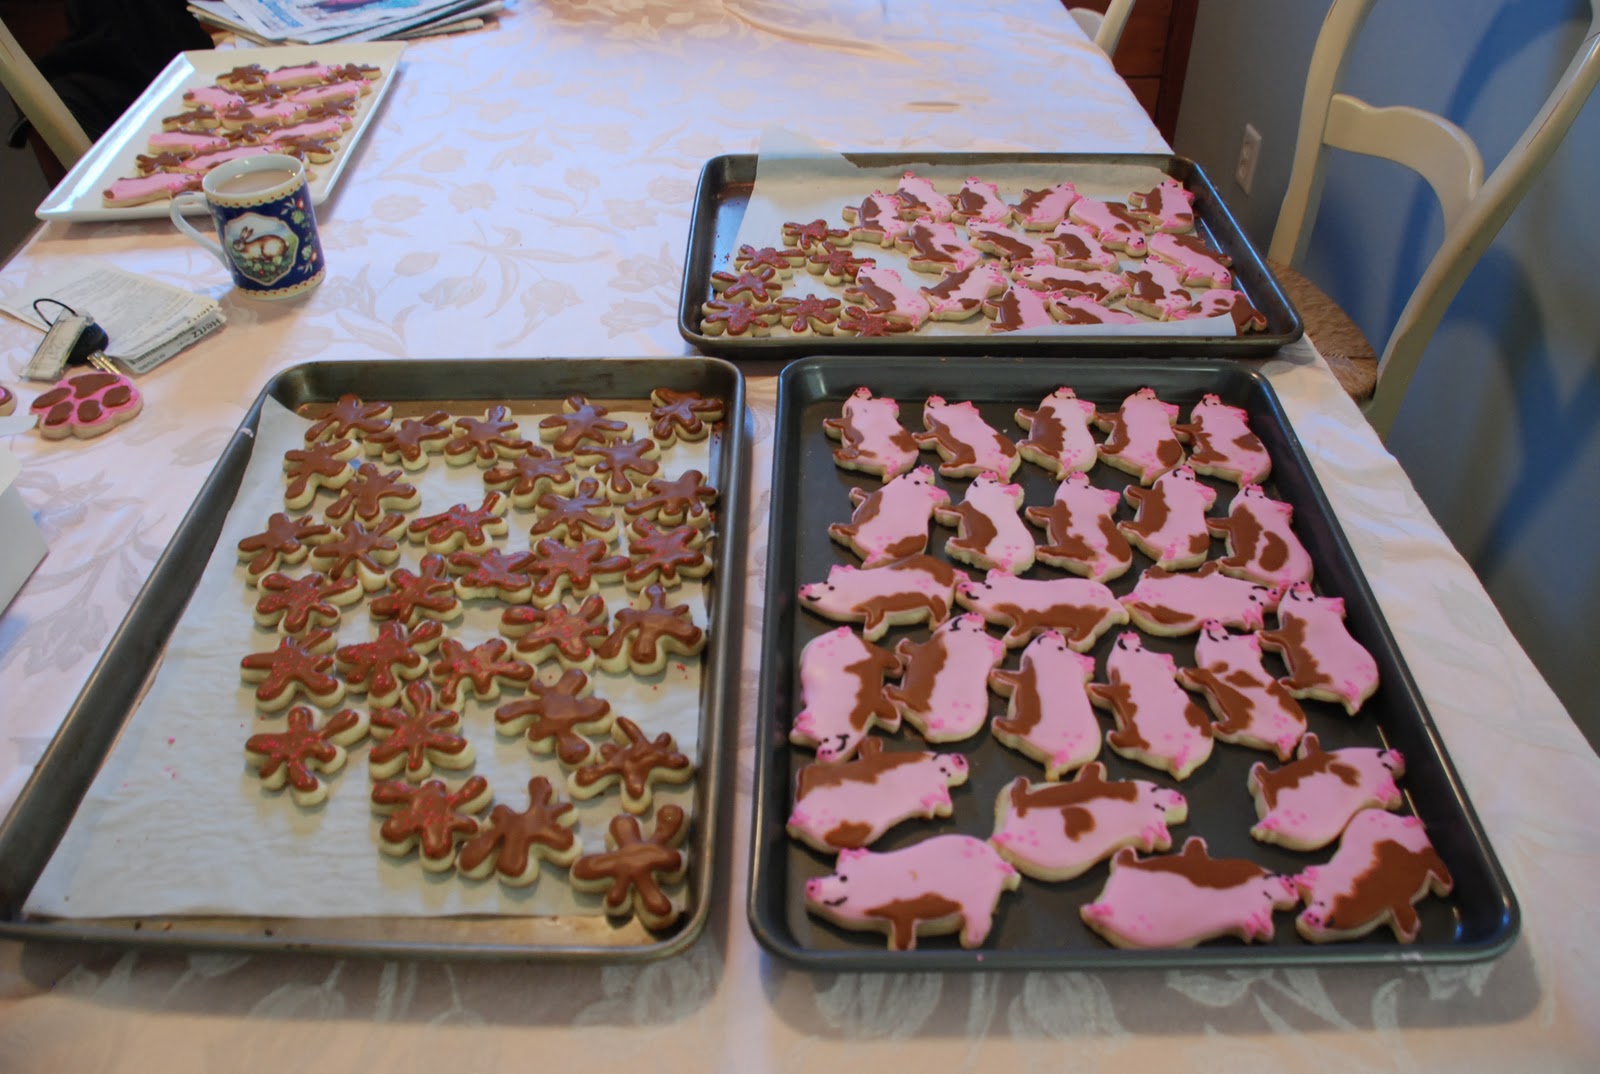
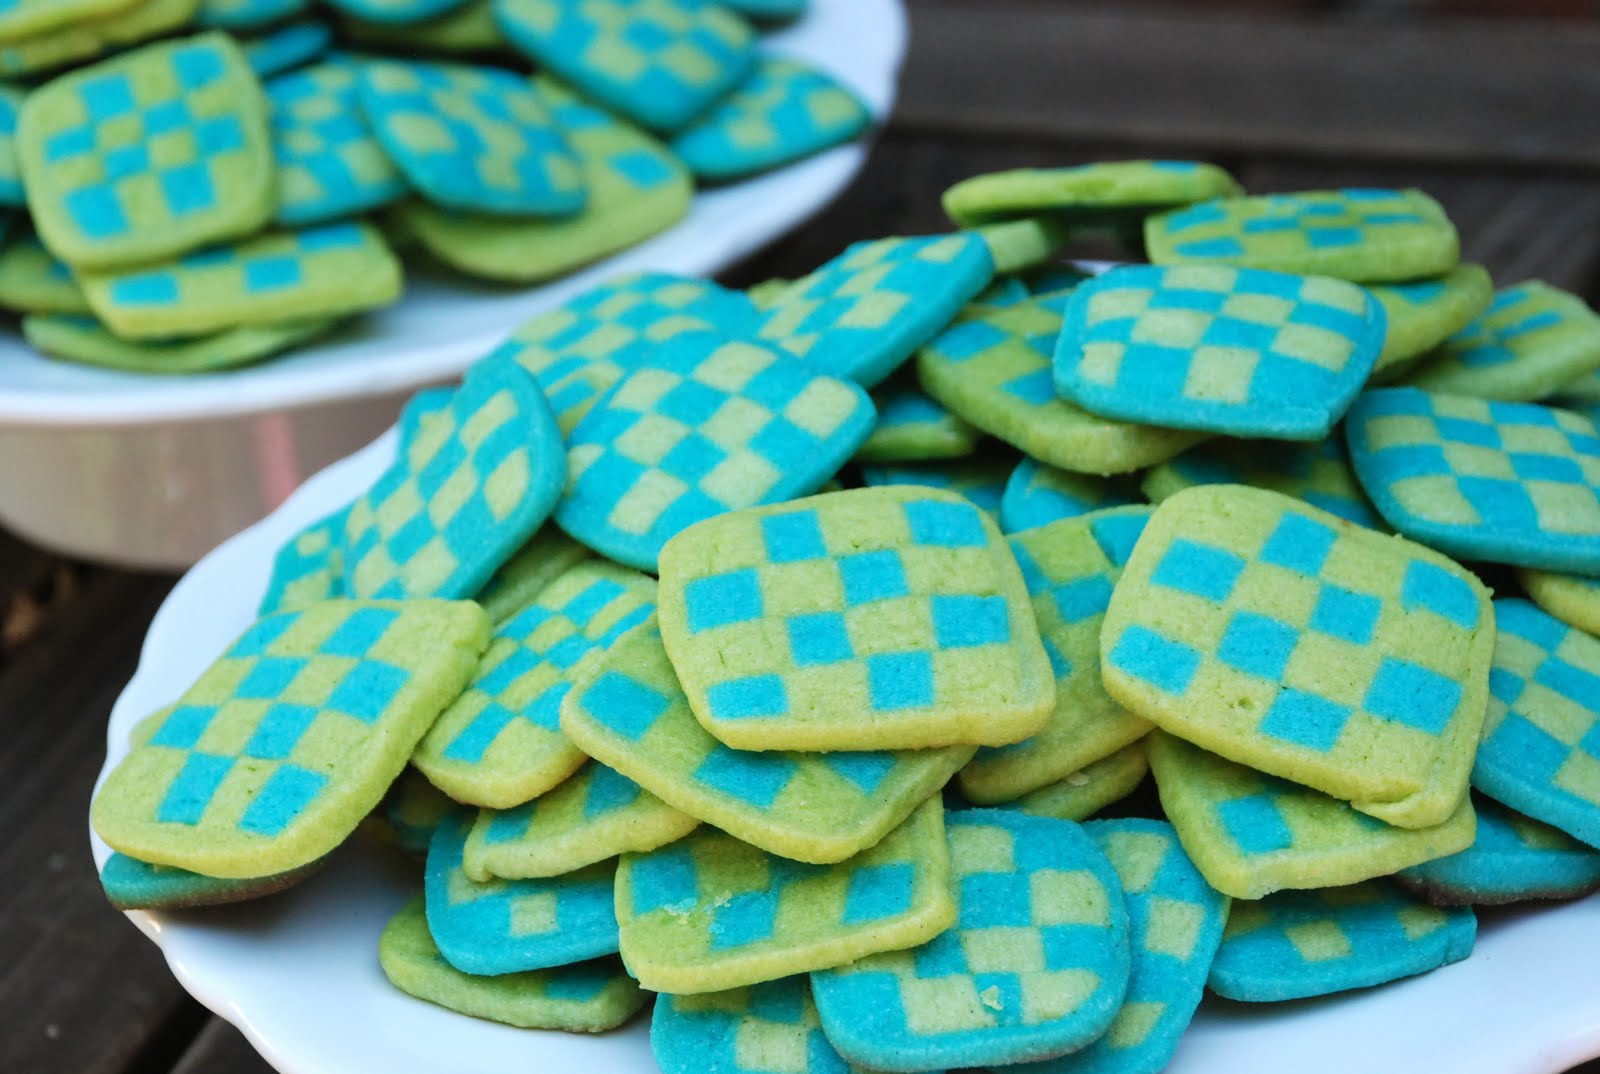
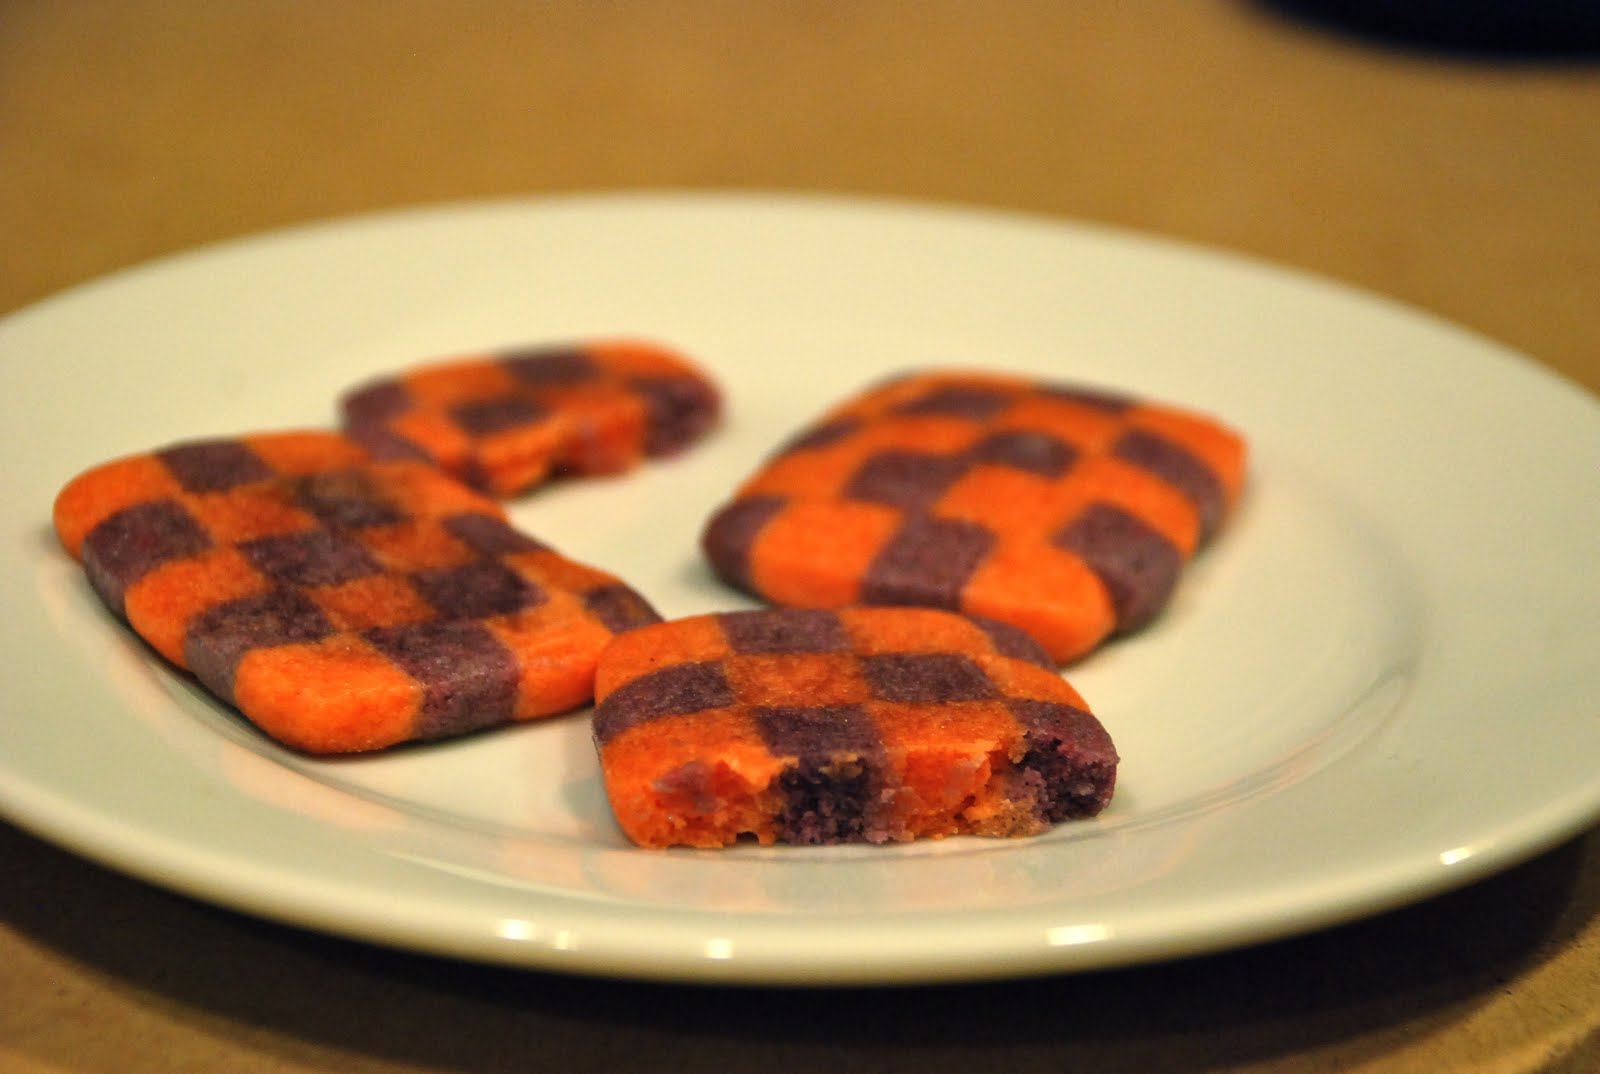
Now you can just slice and bake! This log made about 25 cookies. Again, I freeze the log at each step to make it easier to work with. I also froze the cookies on the tray after I cut them and before I baked them. This helps them keep their shape because it prevents them from puffing up and spreading too much.
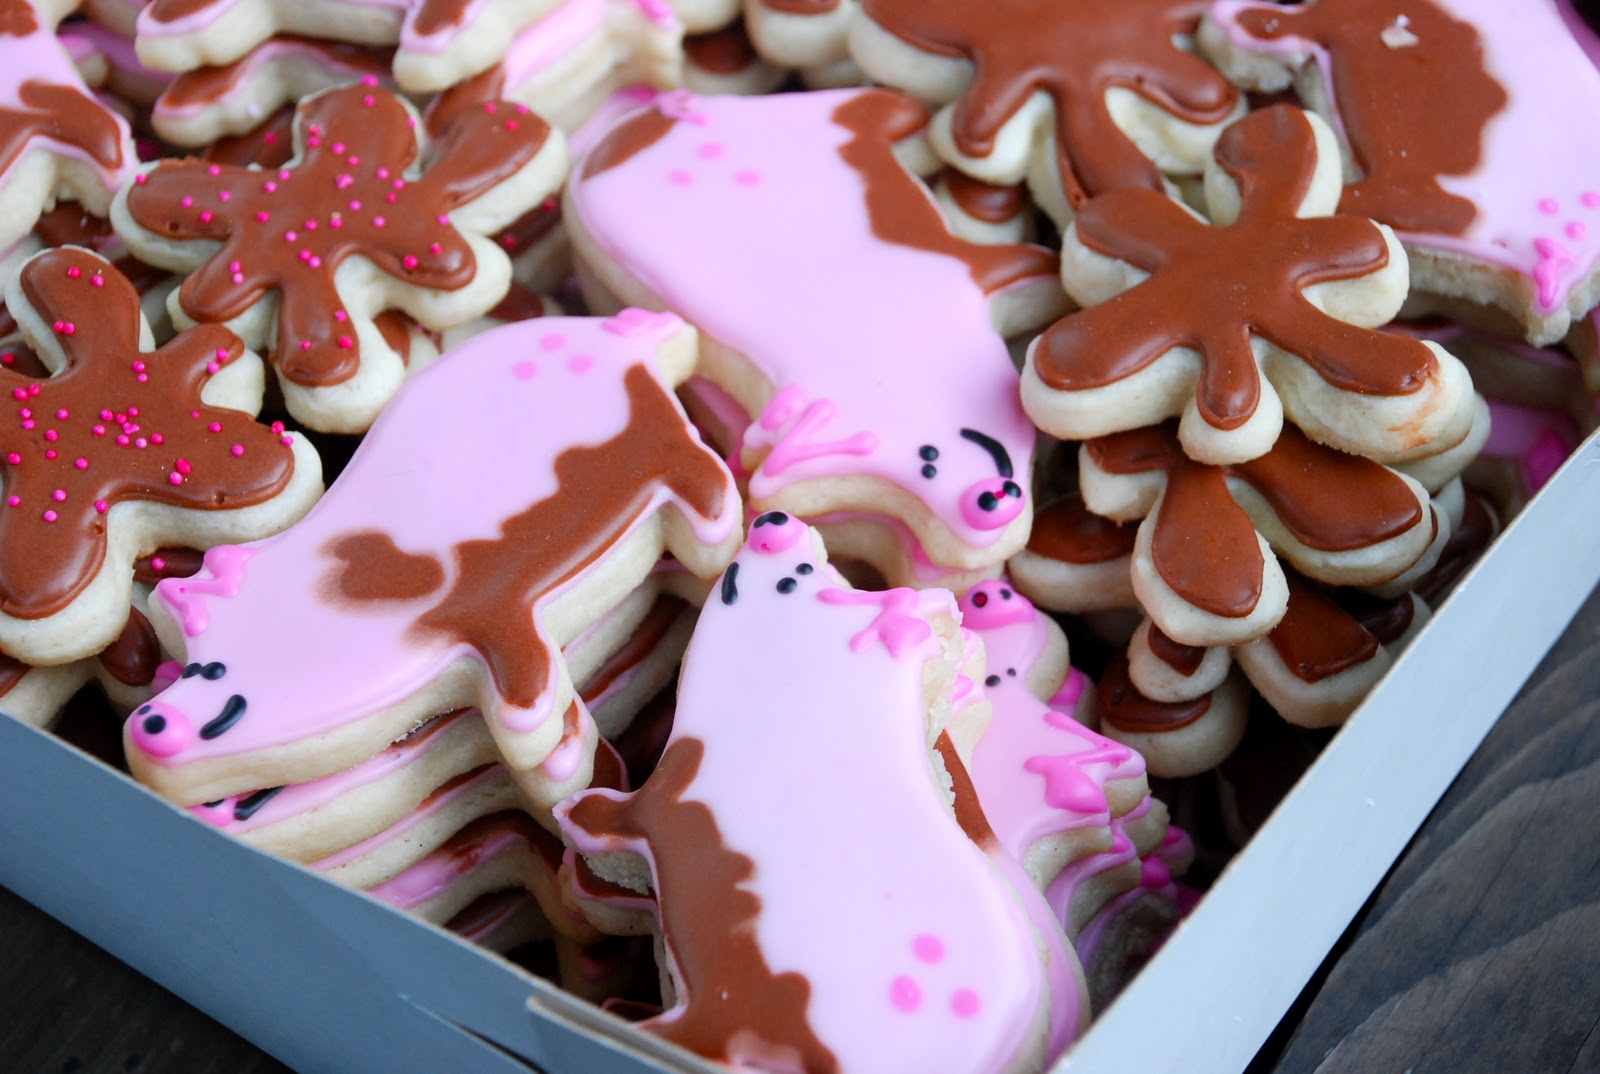
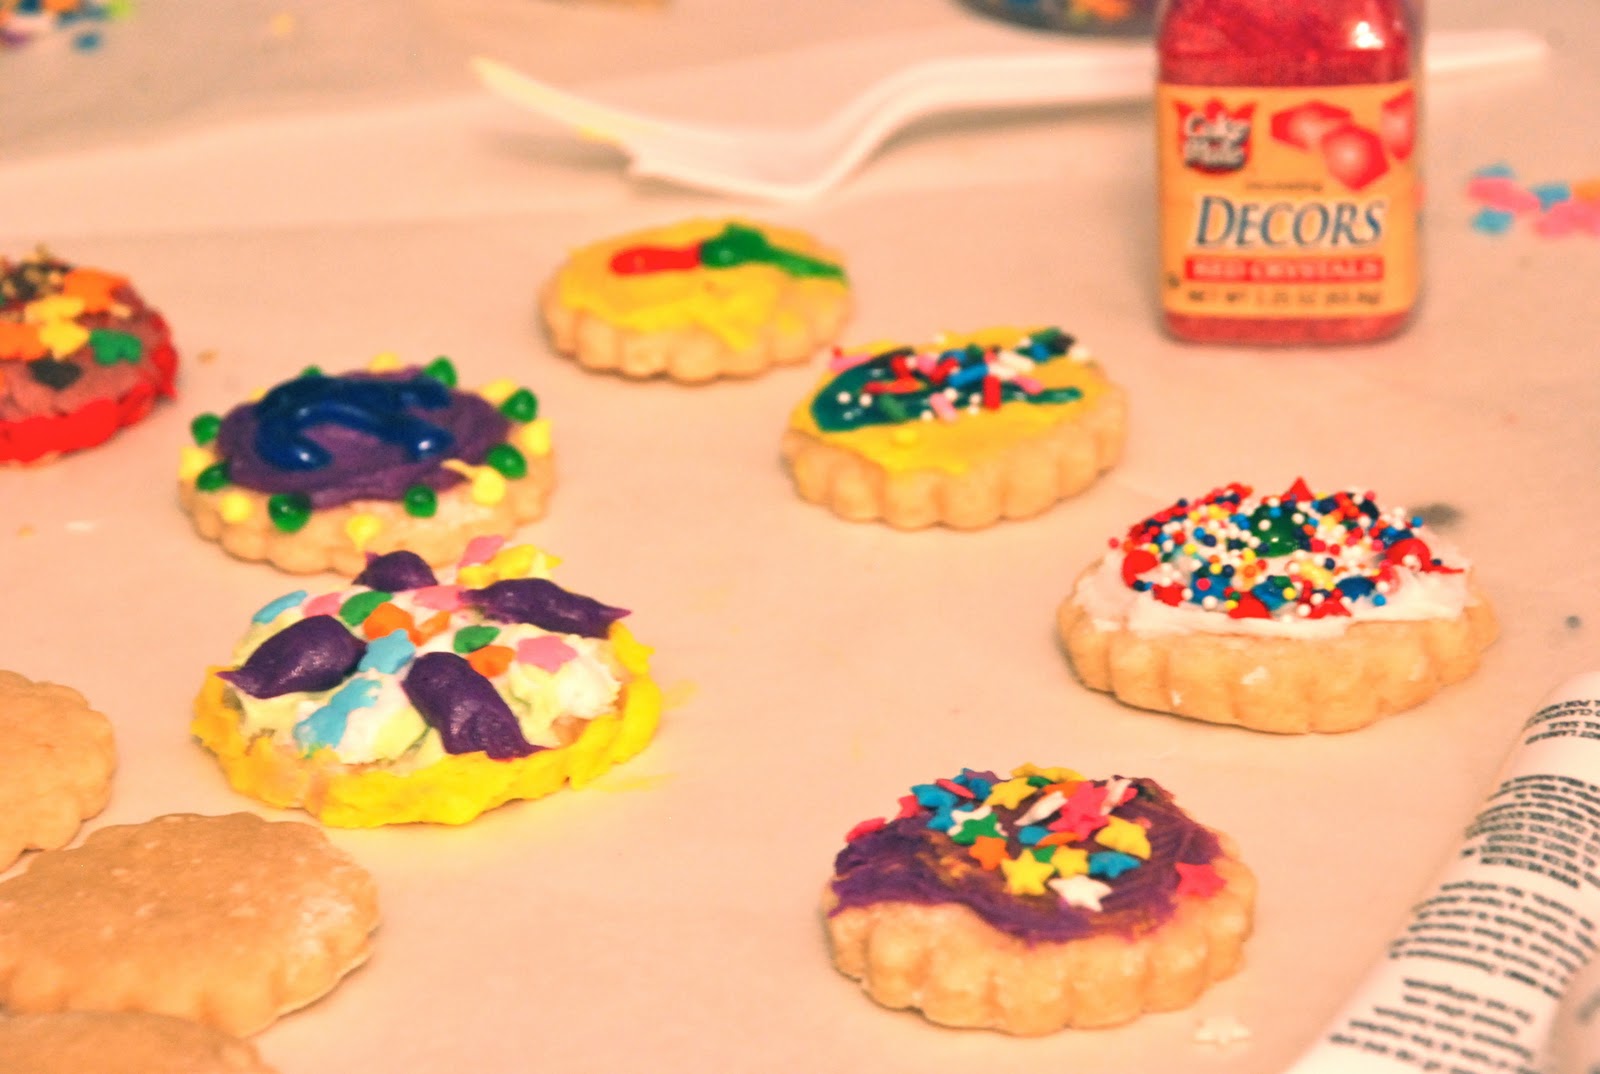
Experiment with different colors and try adding a pretty border, as shown below, by wrapping the finished log in a thin sheet of extra dough. So easy to make piles and piles of them!

I currently have a log of this in my freezer just waiting for a special occasion. It keeps for quite a while, so just make up a few and keep them around. I like to make and freeze a few logs before I leave for school so that my mom has something handy when she wants to impress visitors. Try bagging them up and using them as party favors or gifts! The classic combo is chocolate and vanilla, but don’t let that stop you from making them in any color or flavor combination.

Happy baking!

Musical Notes and treble clef. Perfect for a singer, rockstar, or teen!

Musical Cookies

With only two colors, these were some of the easiest cookies to decorate. I enjoy using the sprinkles, plus they add such a nice crunch when you bite into them.

The only downside to these cookies was that they stained your mouth black or pink if you ate too many! I made these for a group of goofy, fun-loving people, though, so I hope no one minded.

You can’t see if from these pictures, but I made about 90 of these.

The treble clef was surprisingly easy to make and I loved dunking the music notes in sprinkles.