And now for the one post everyone keeps asking me about! Finally time for the wedding dessert table pictures. These lovely photos were taken by the lovely
Stephanie Fishbein. She came over right before I packed everything up and took these shots as I was rushing to get everything into the car.
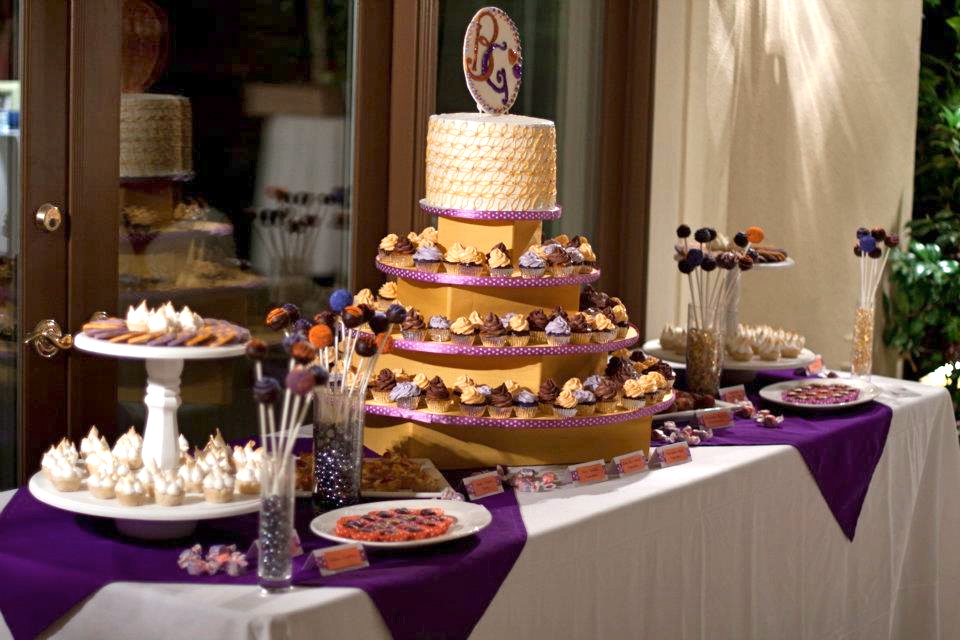
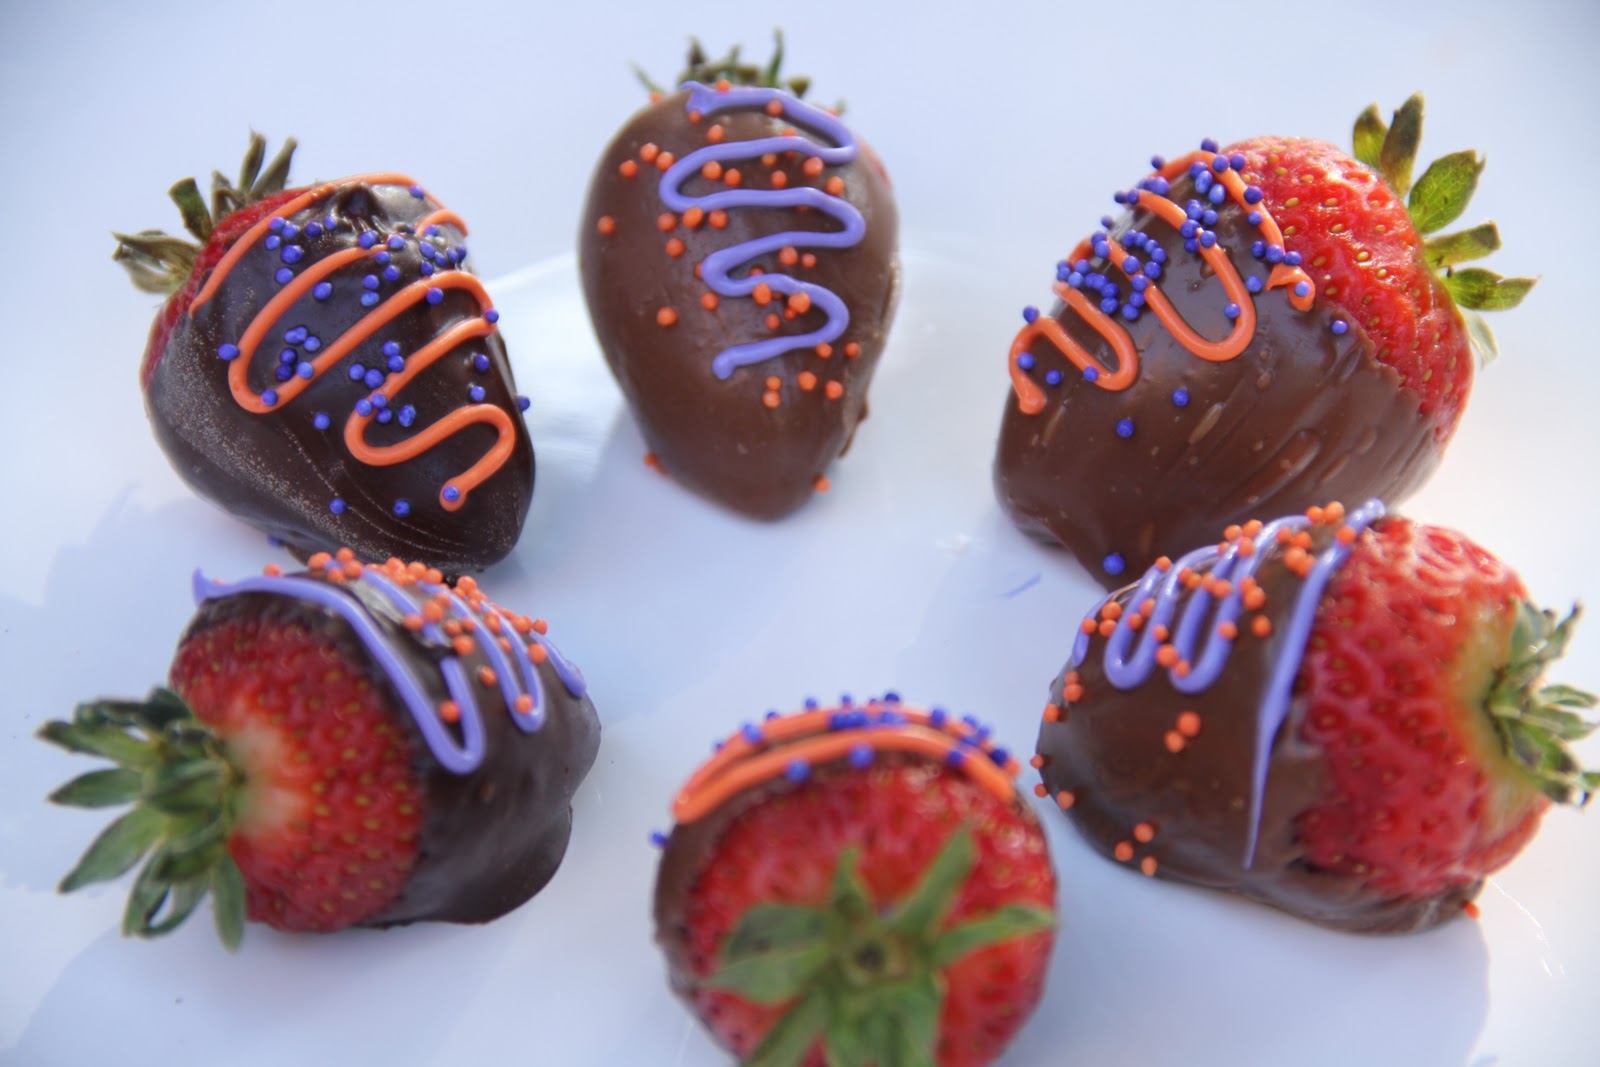
This project was incredible. My mom and I made 450 miniature desserts and a cake. Everything was drenched in color and so bright and happy. The baking took days and a mind-boggling amount of work, but I’m so glad we did it and the adrenaline rush lasted for days. The wedding colors were purple and orange and it was great to make the treats so bright!
Without further ado:
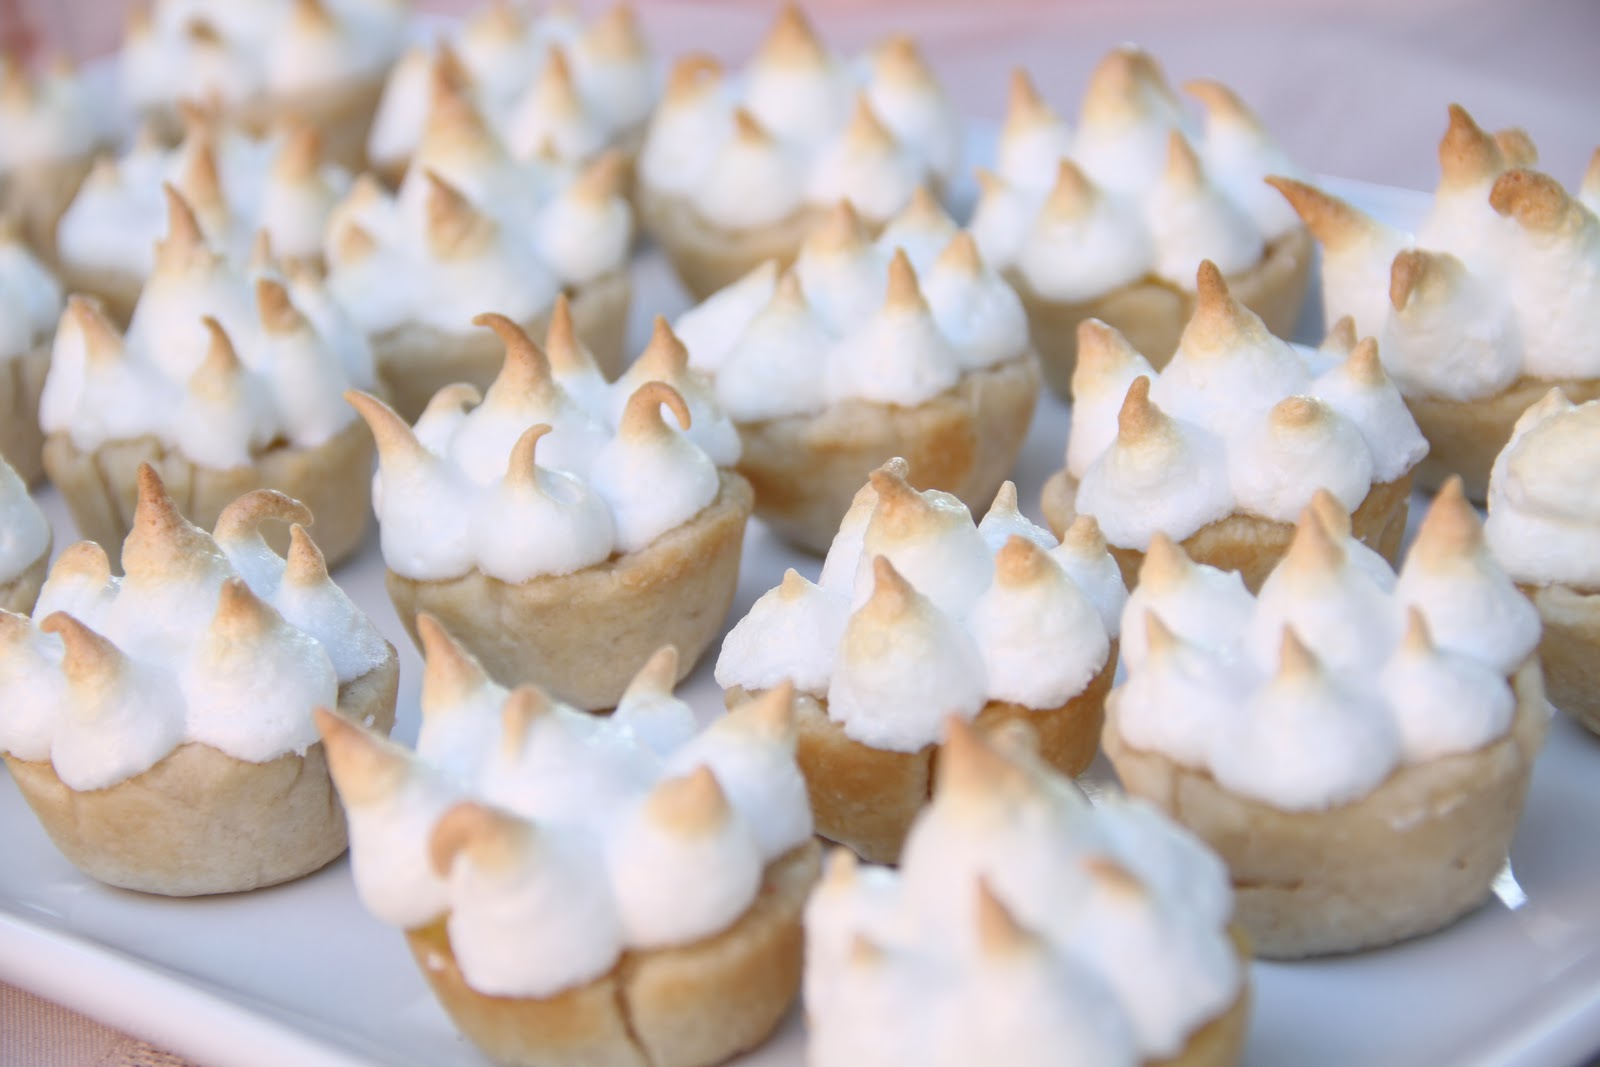
I made 50 little lemon meringue pies
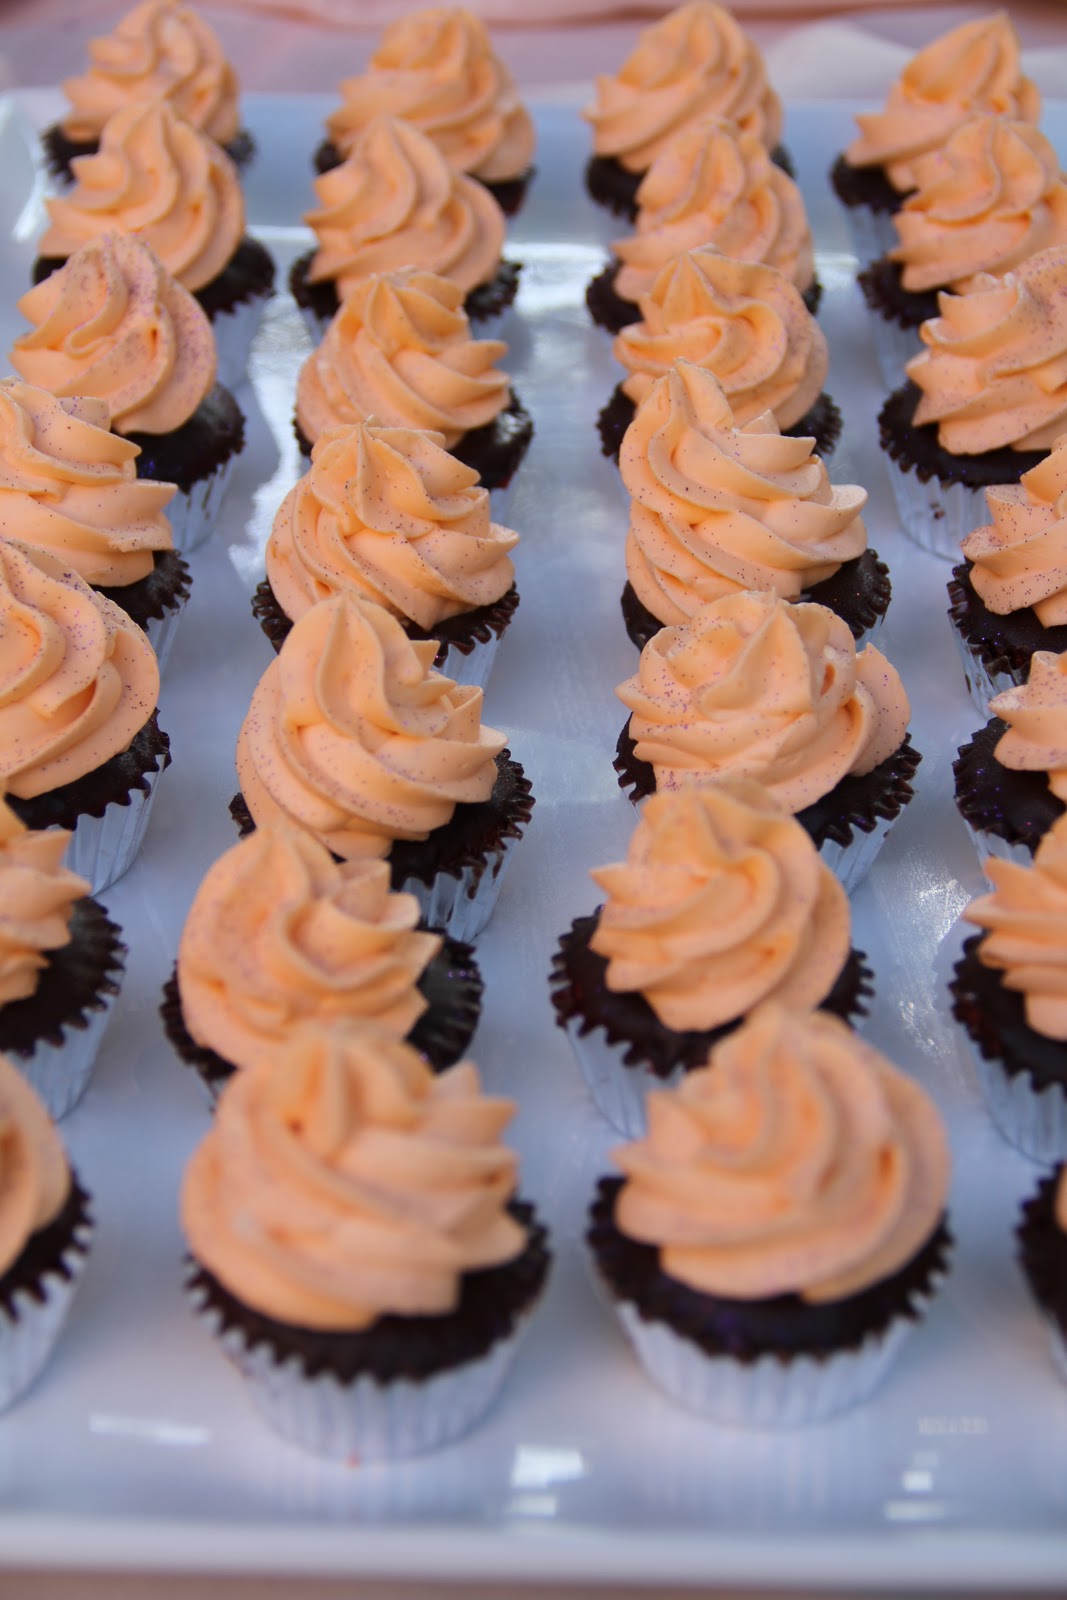
50 vanilla cupcakes dipped in sprinkles and topped with creamy vanilla frosting. The cakes themselves were orange and if you look carefully you can see a bit of color peeking out from under the sprinkles.
And, of course, topped with orange glitter.
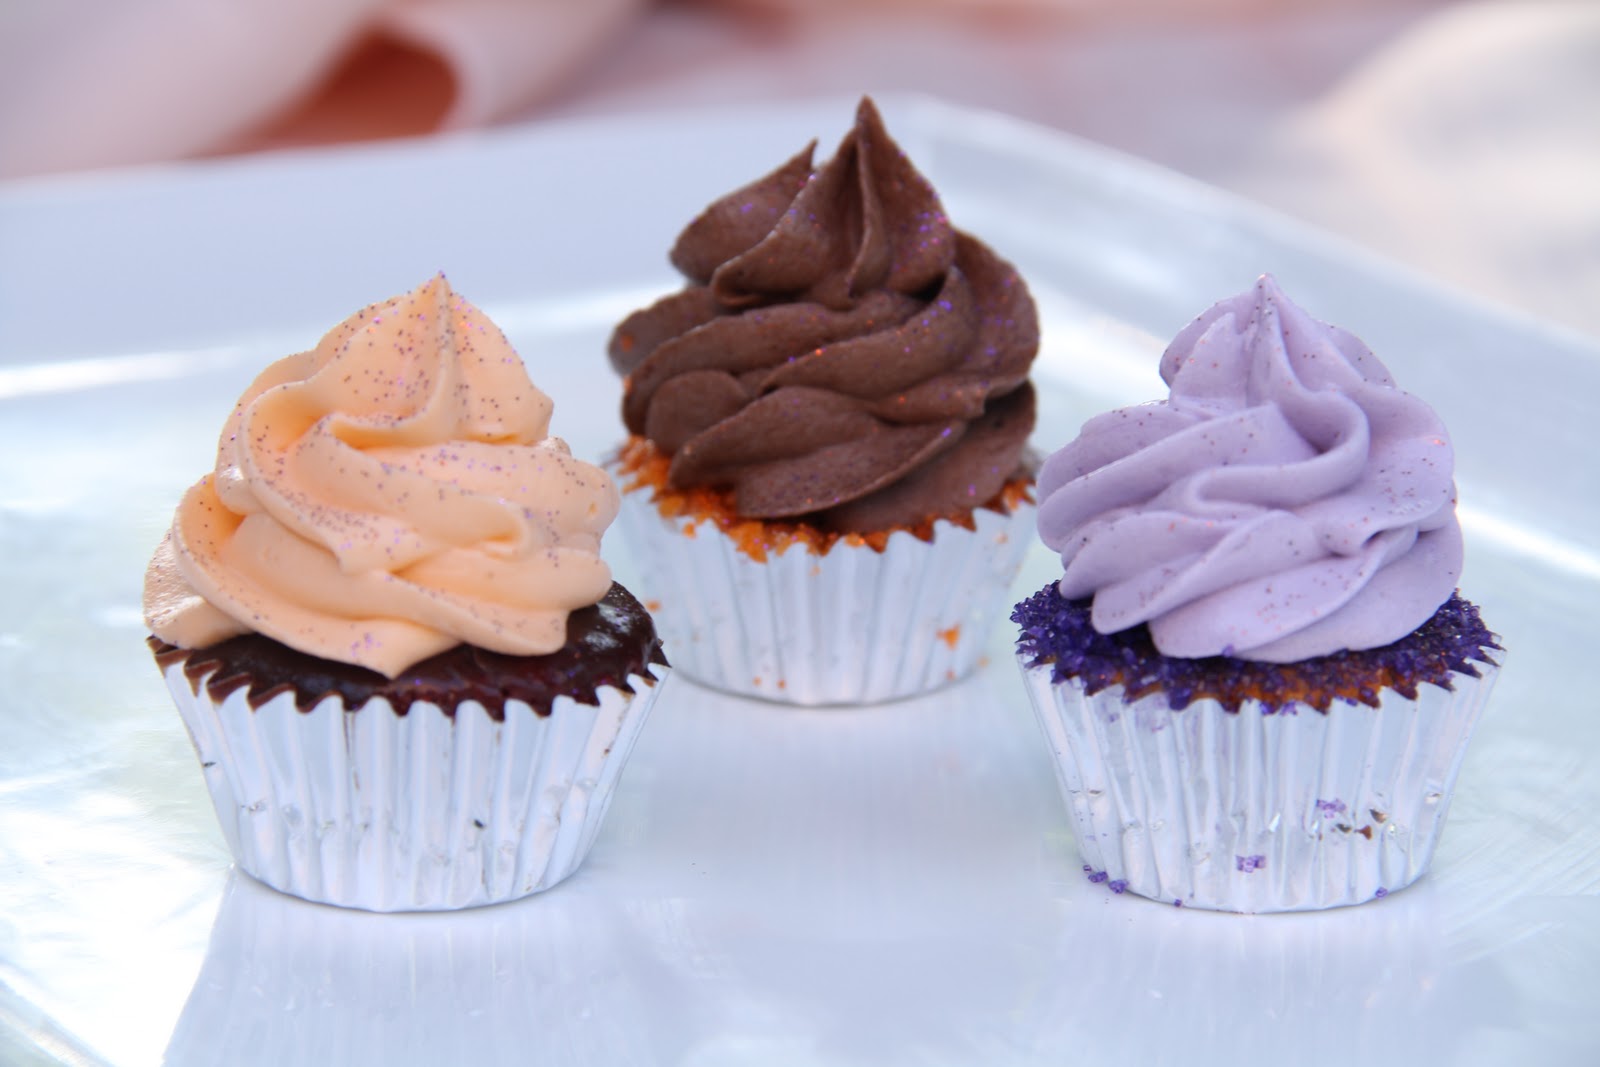
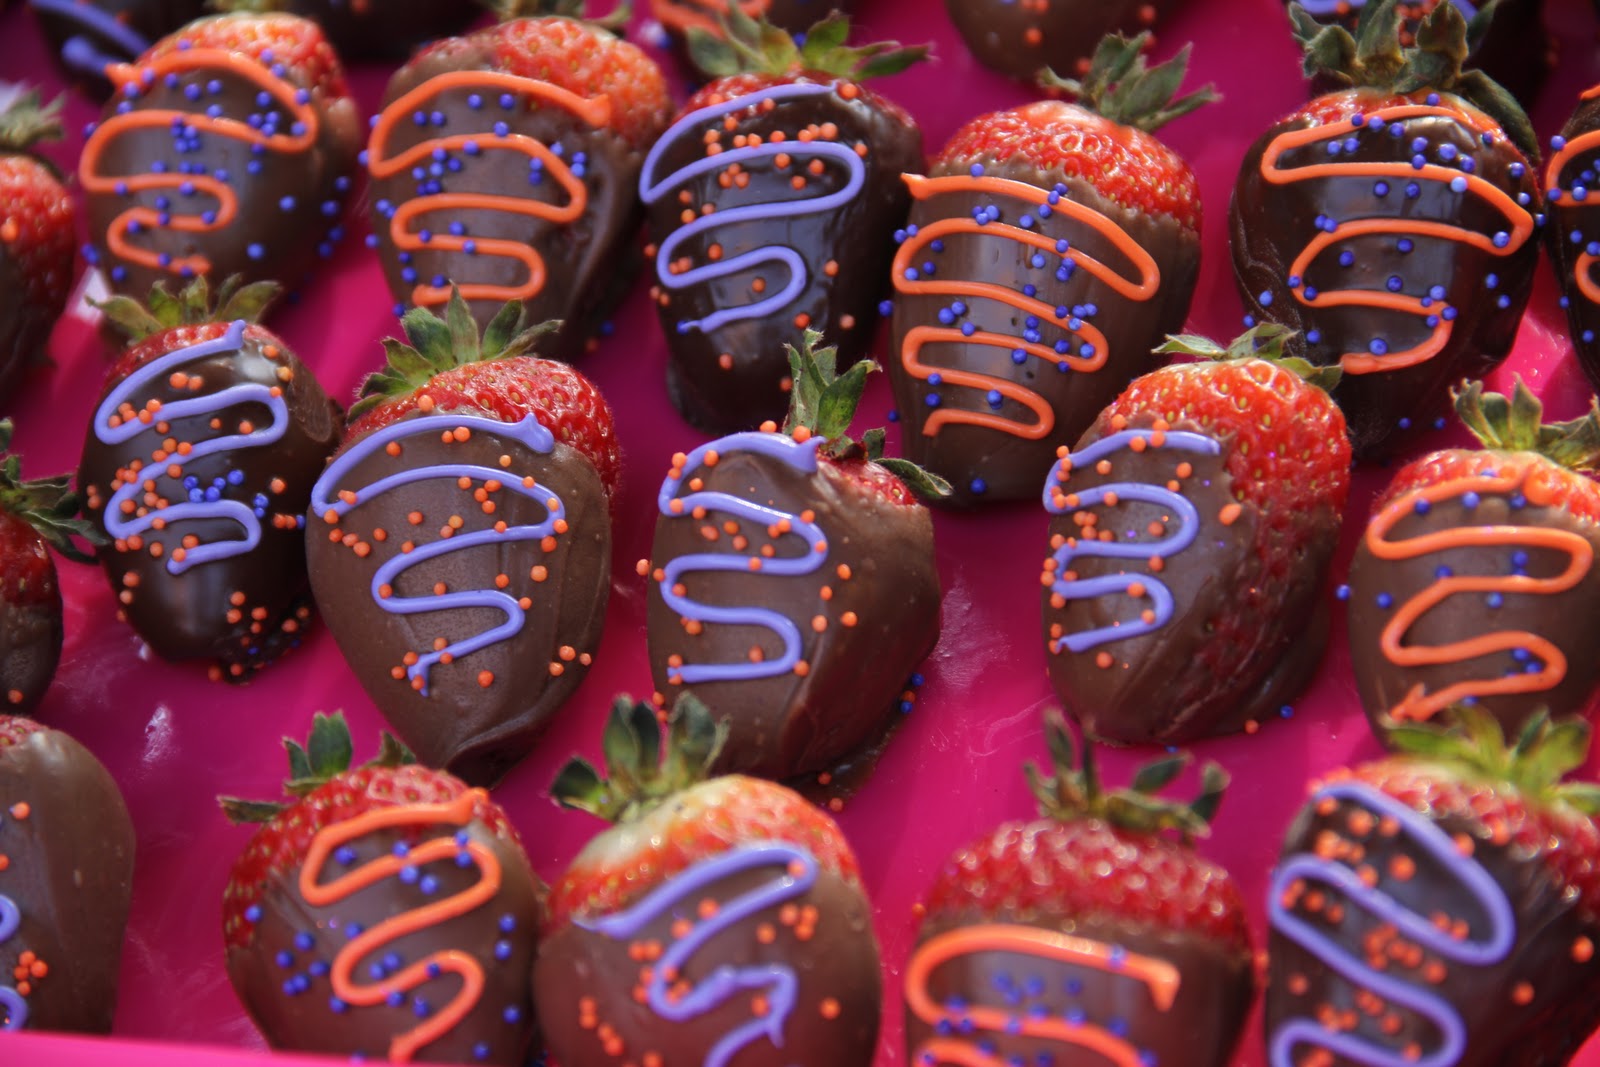
50 of these very popular Oreo red velvet cupcakes dipped in chocolate ganache with cream cheese frosting.
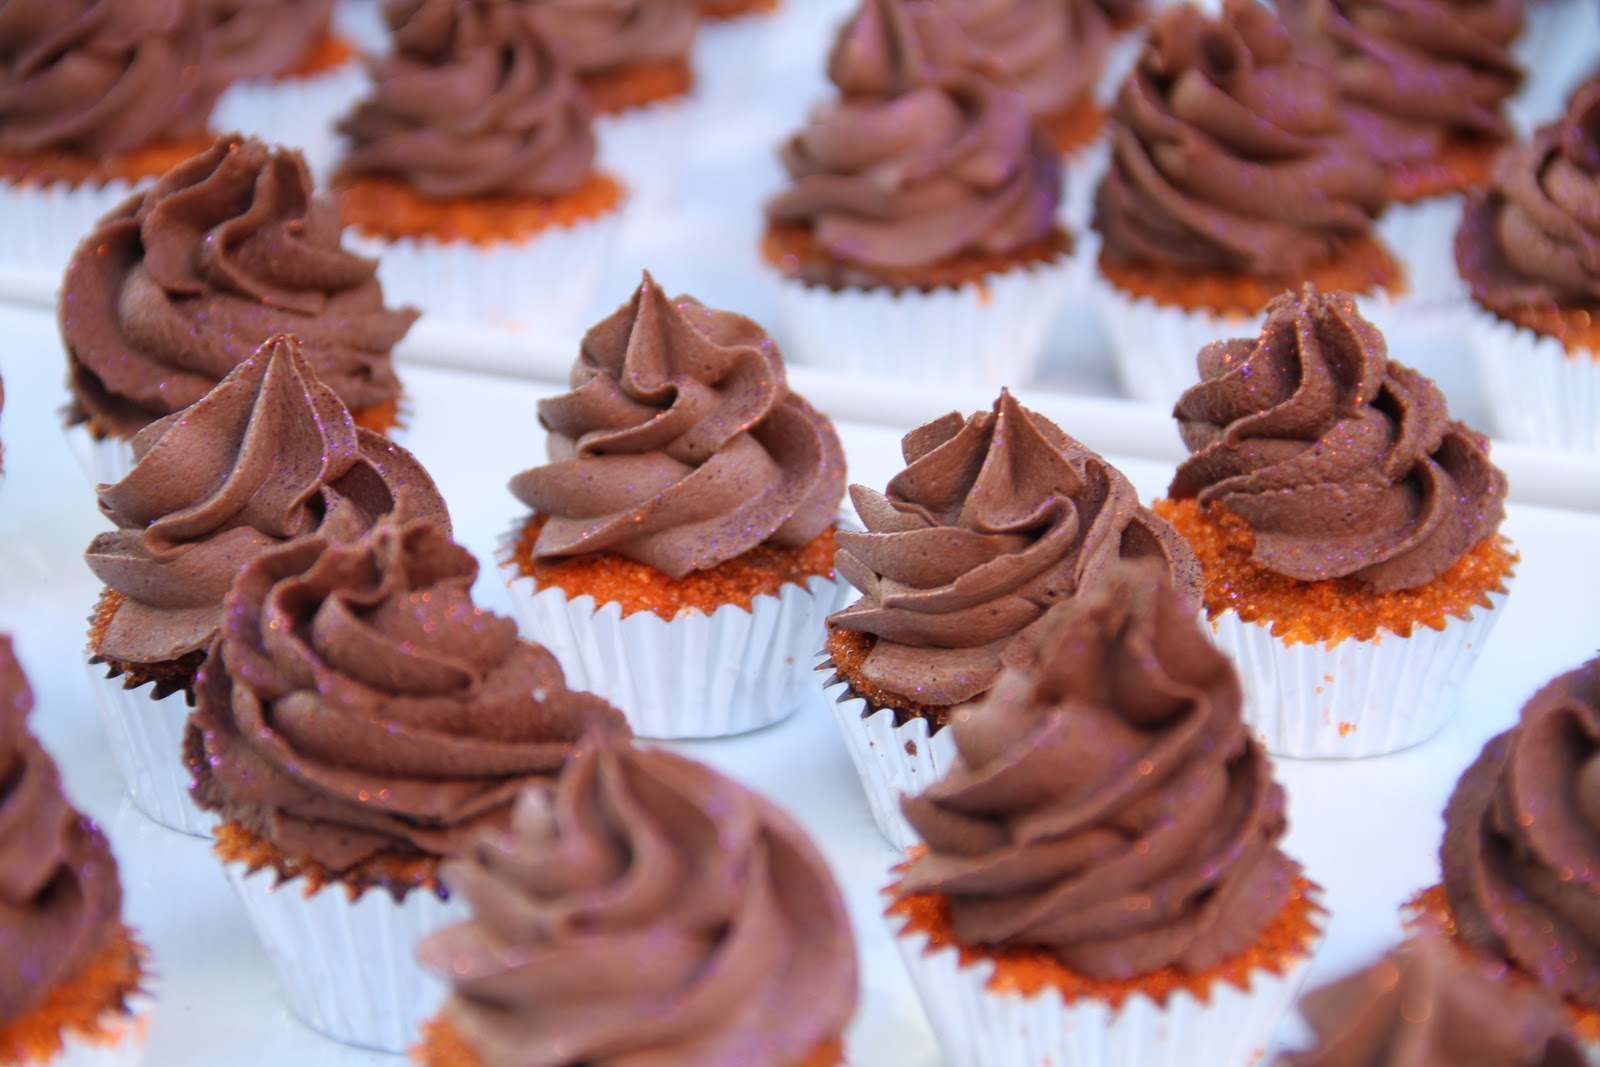
And 50 chocolate mint cupcakes with chocolate frosting.
Dipped in orange sprinkles for an extra crunch and pop of color.
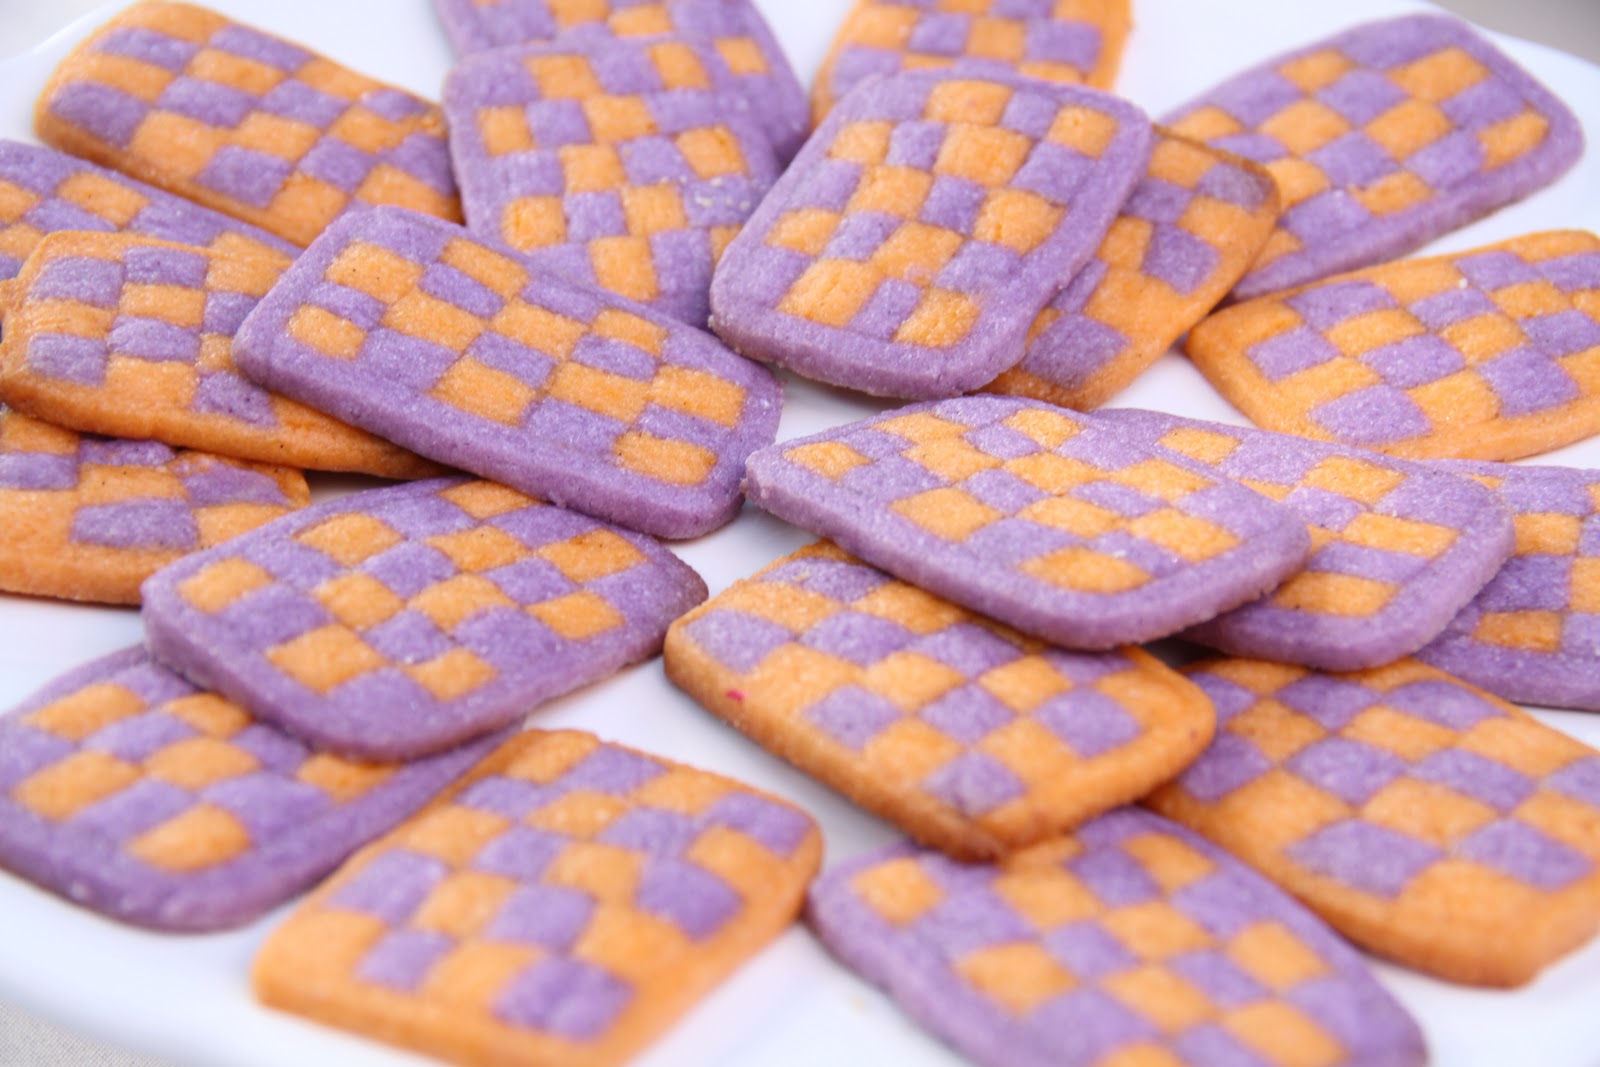
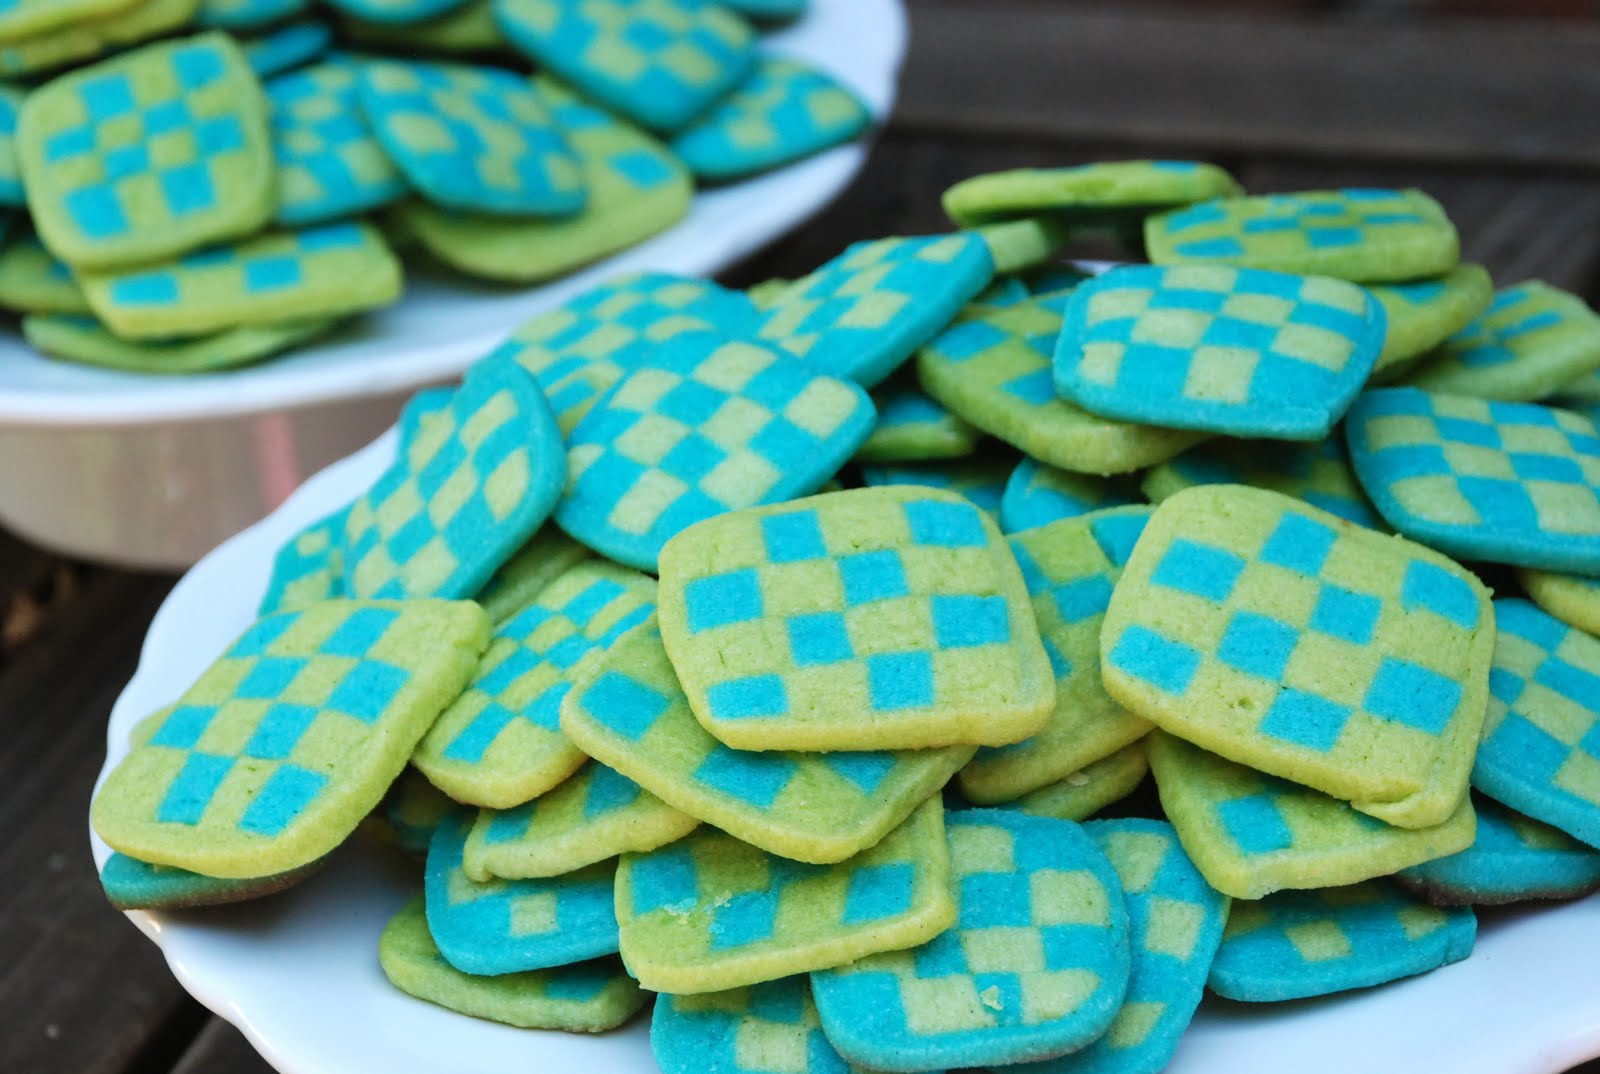
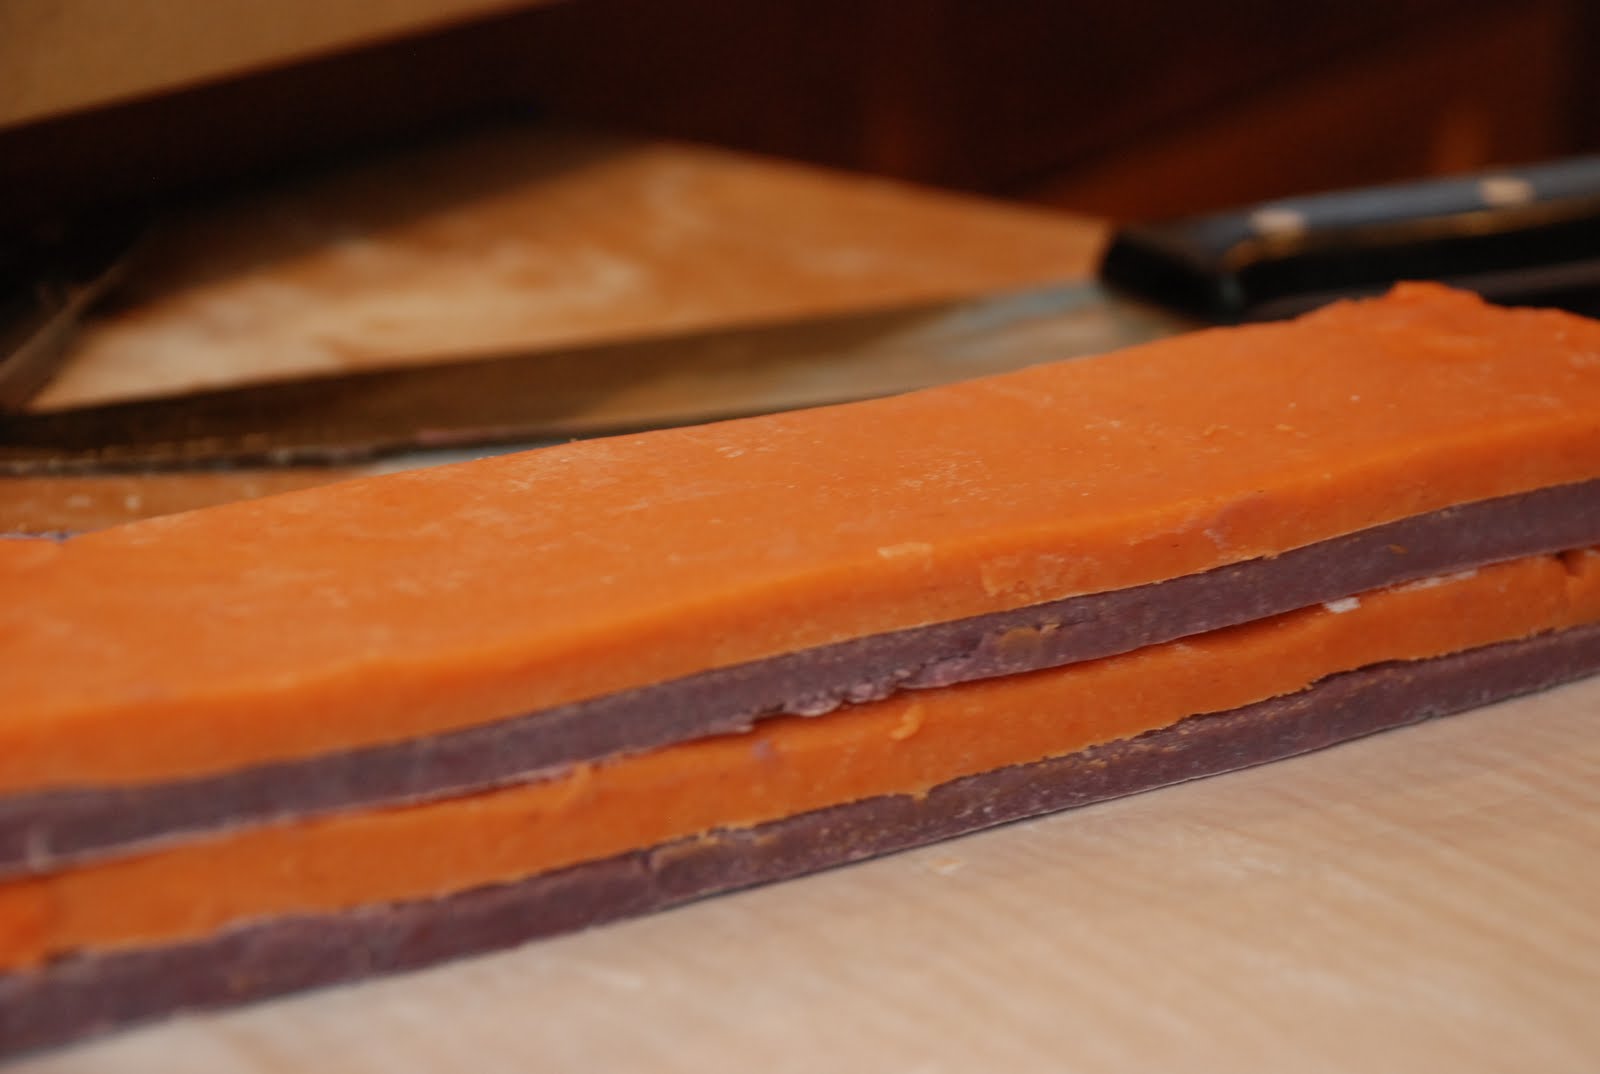
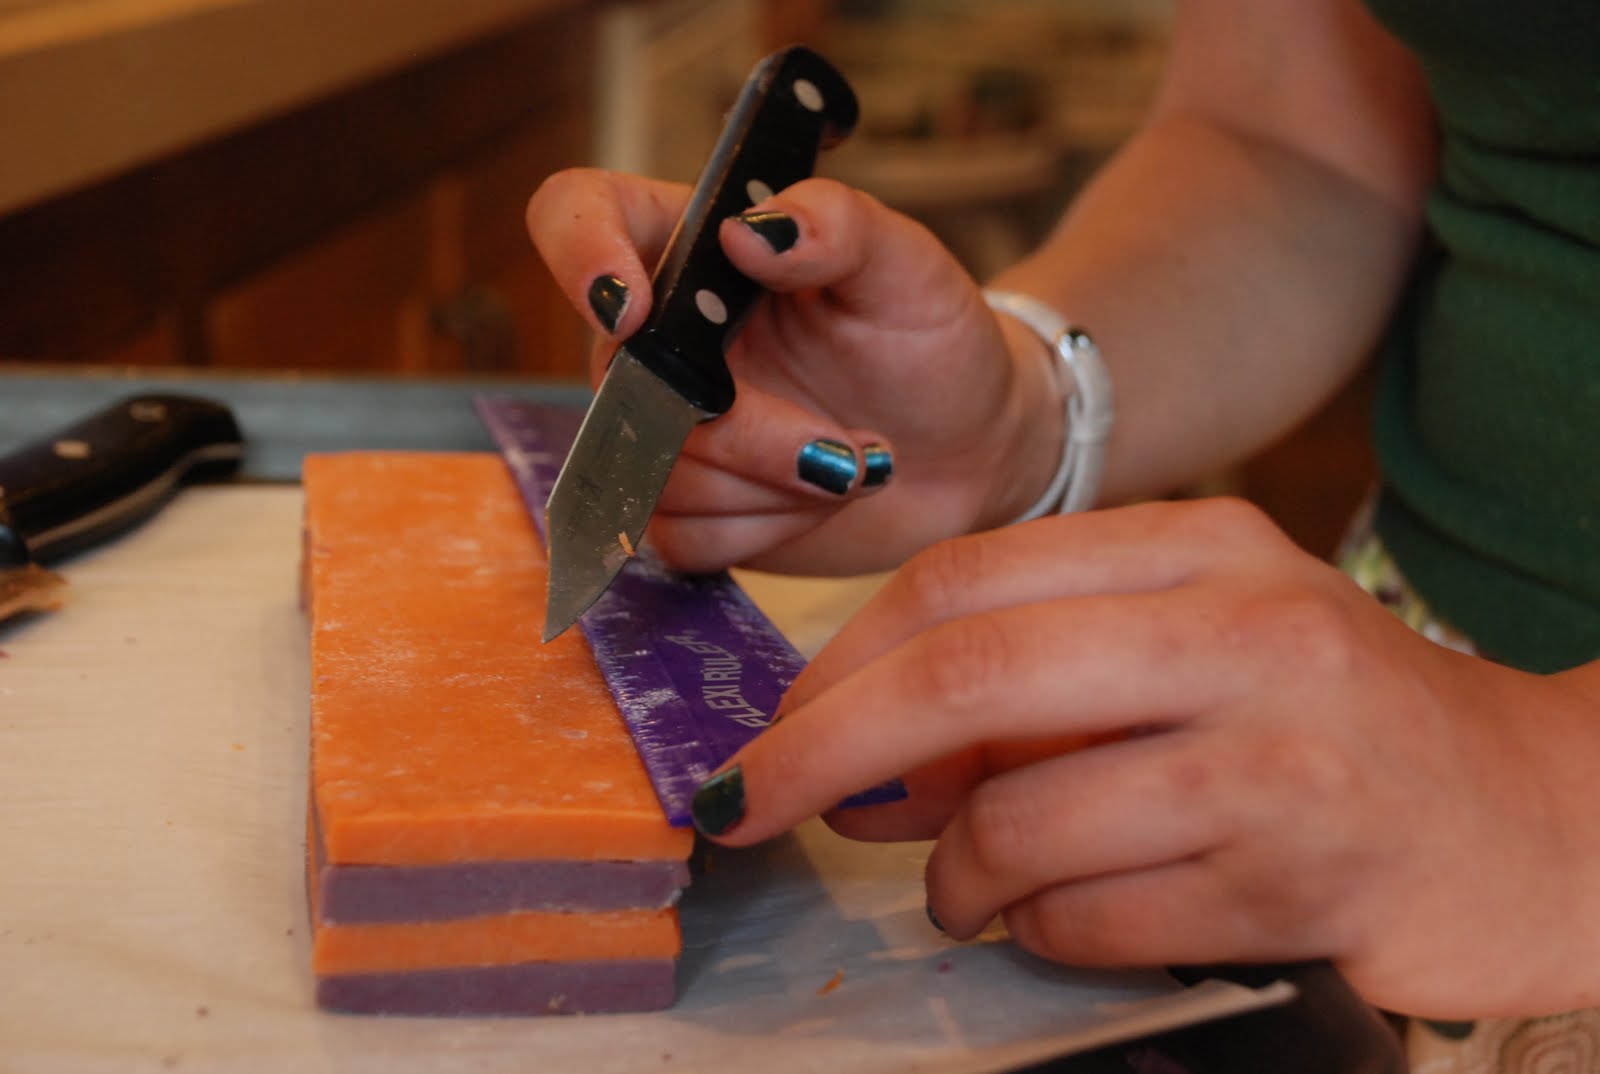
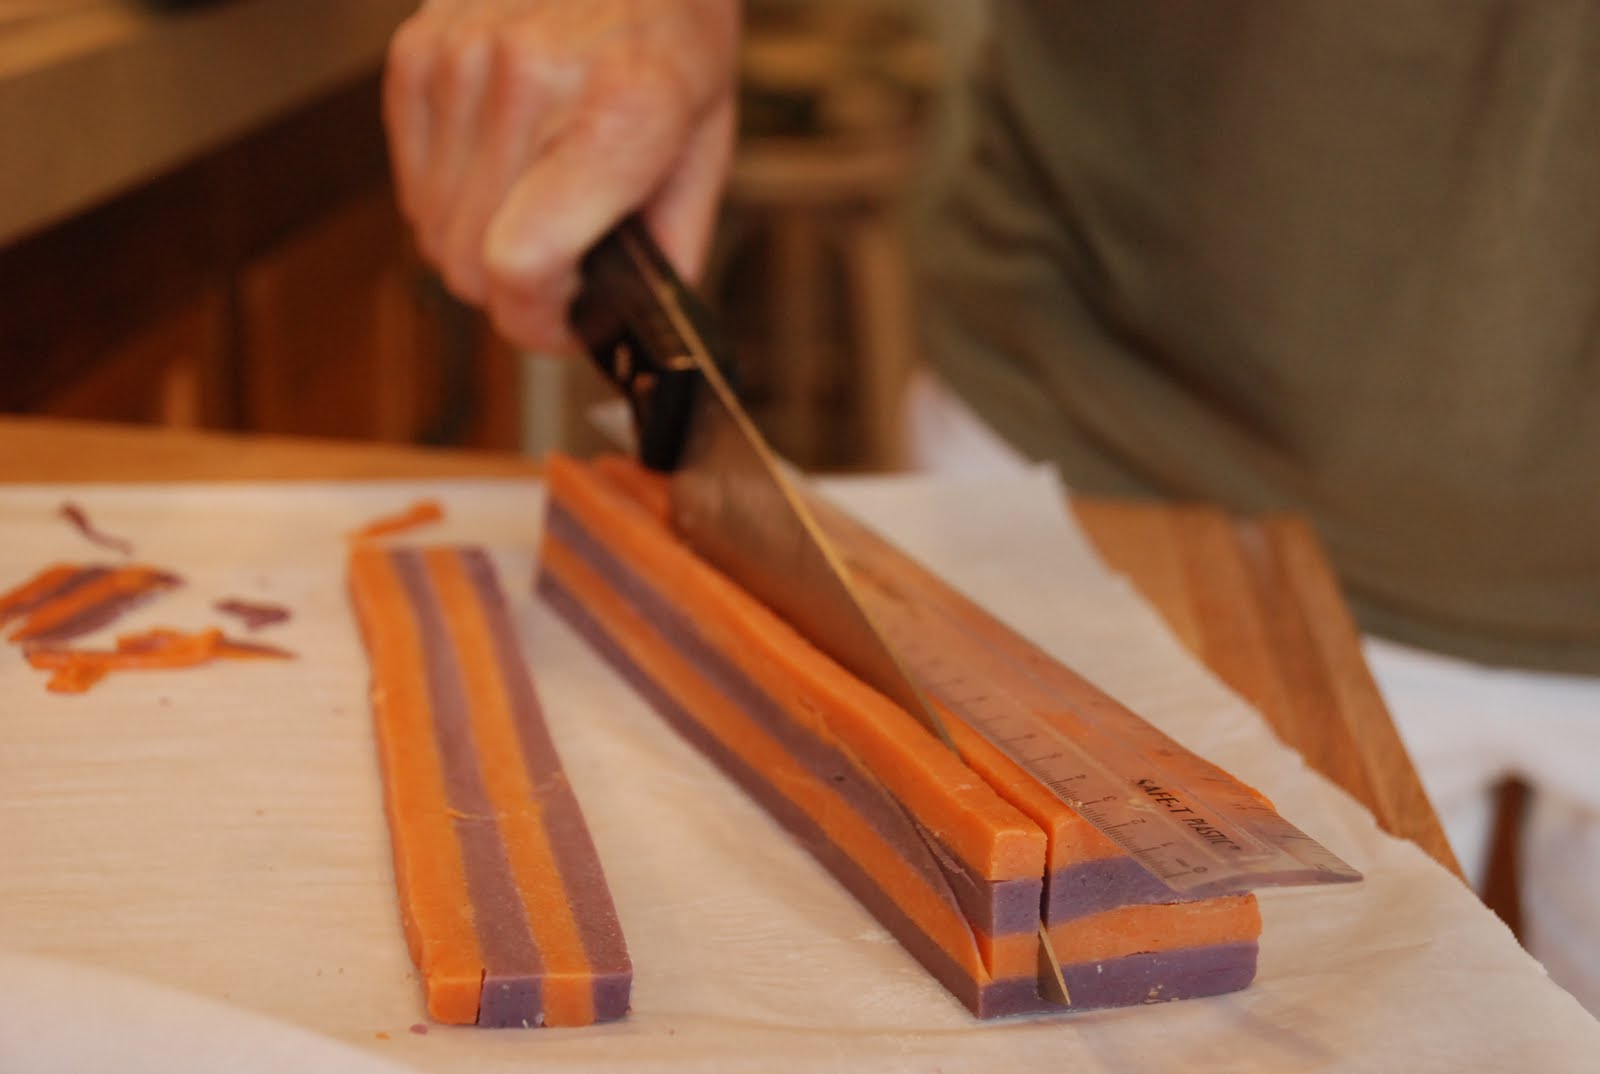
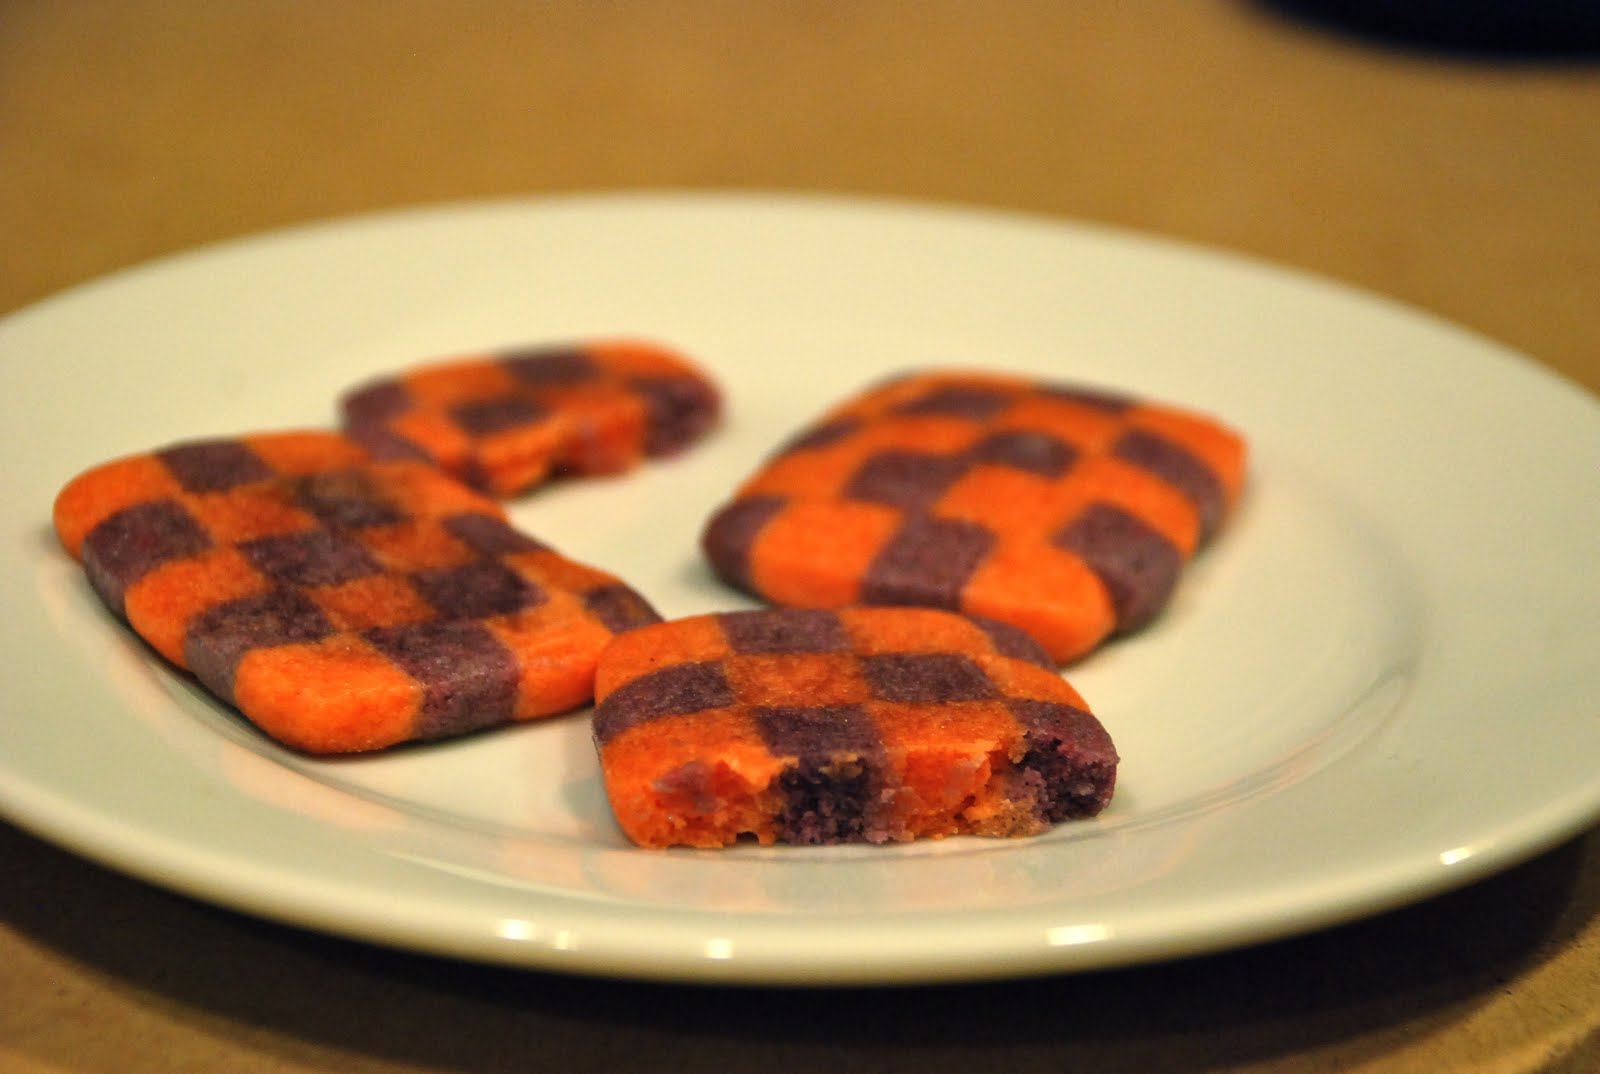
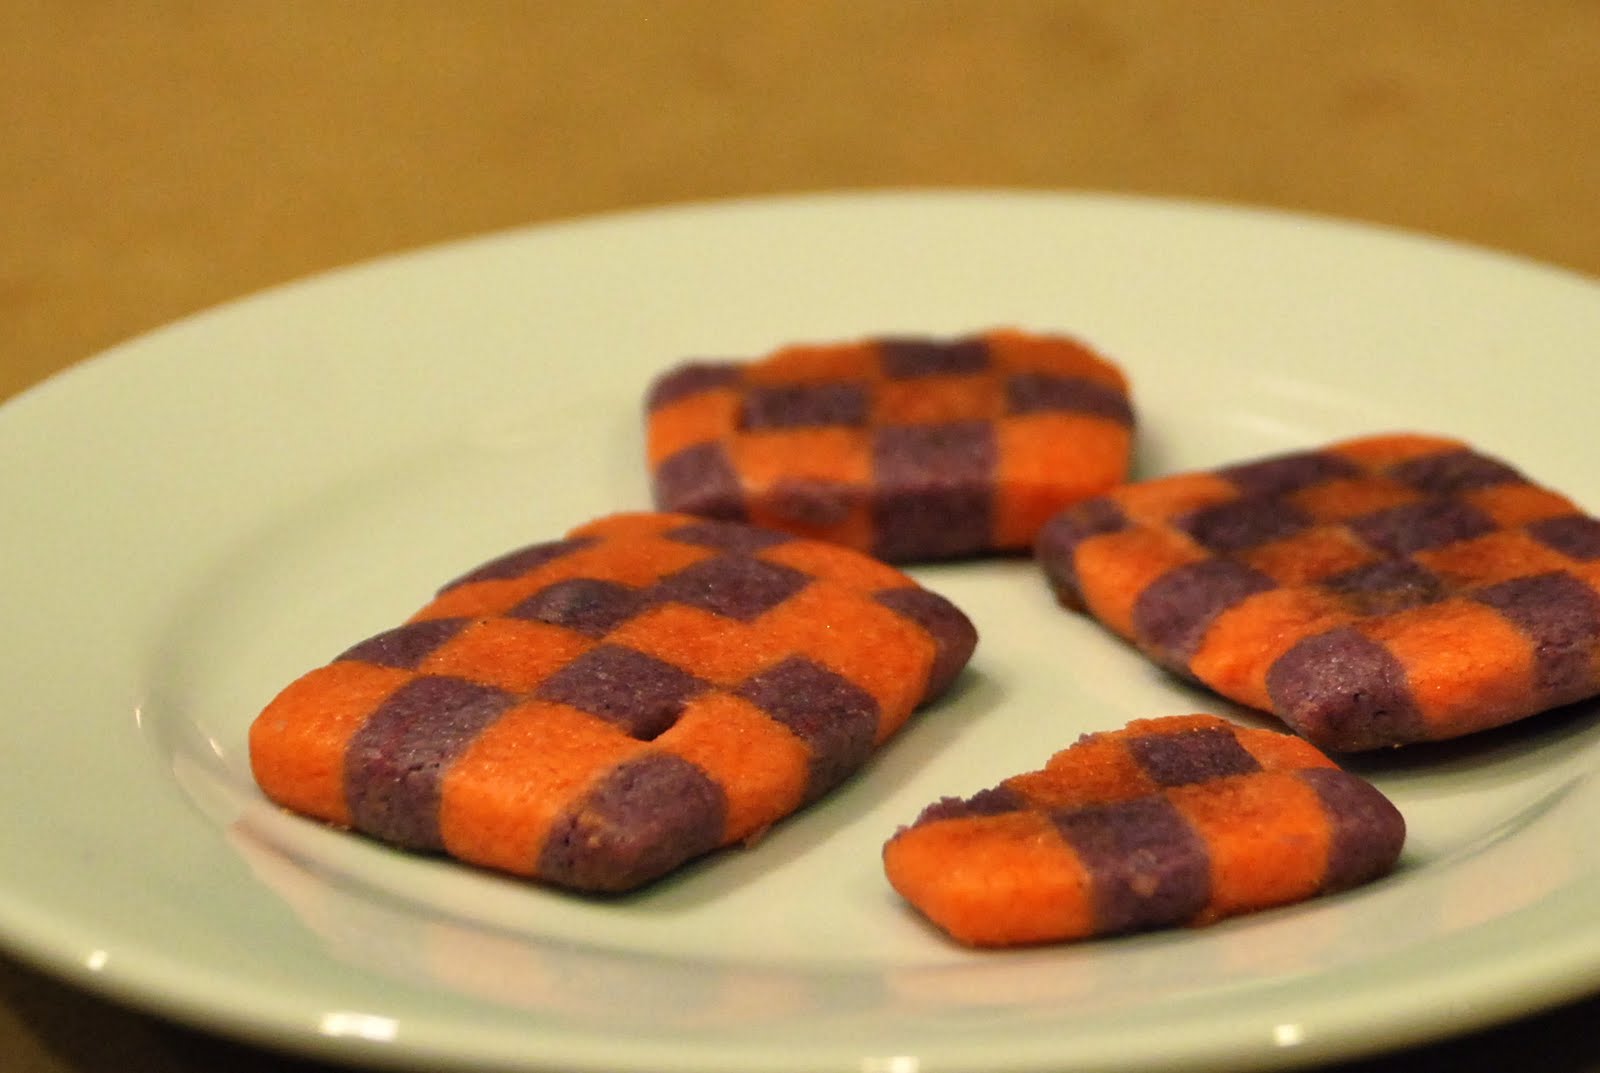
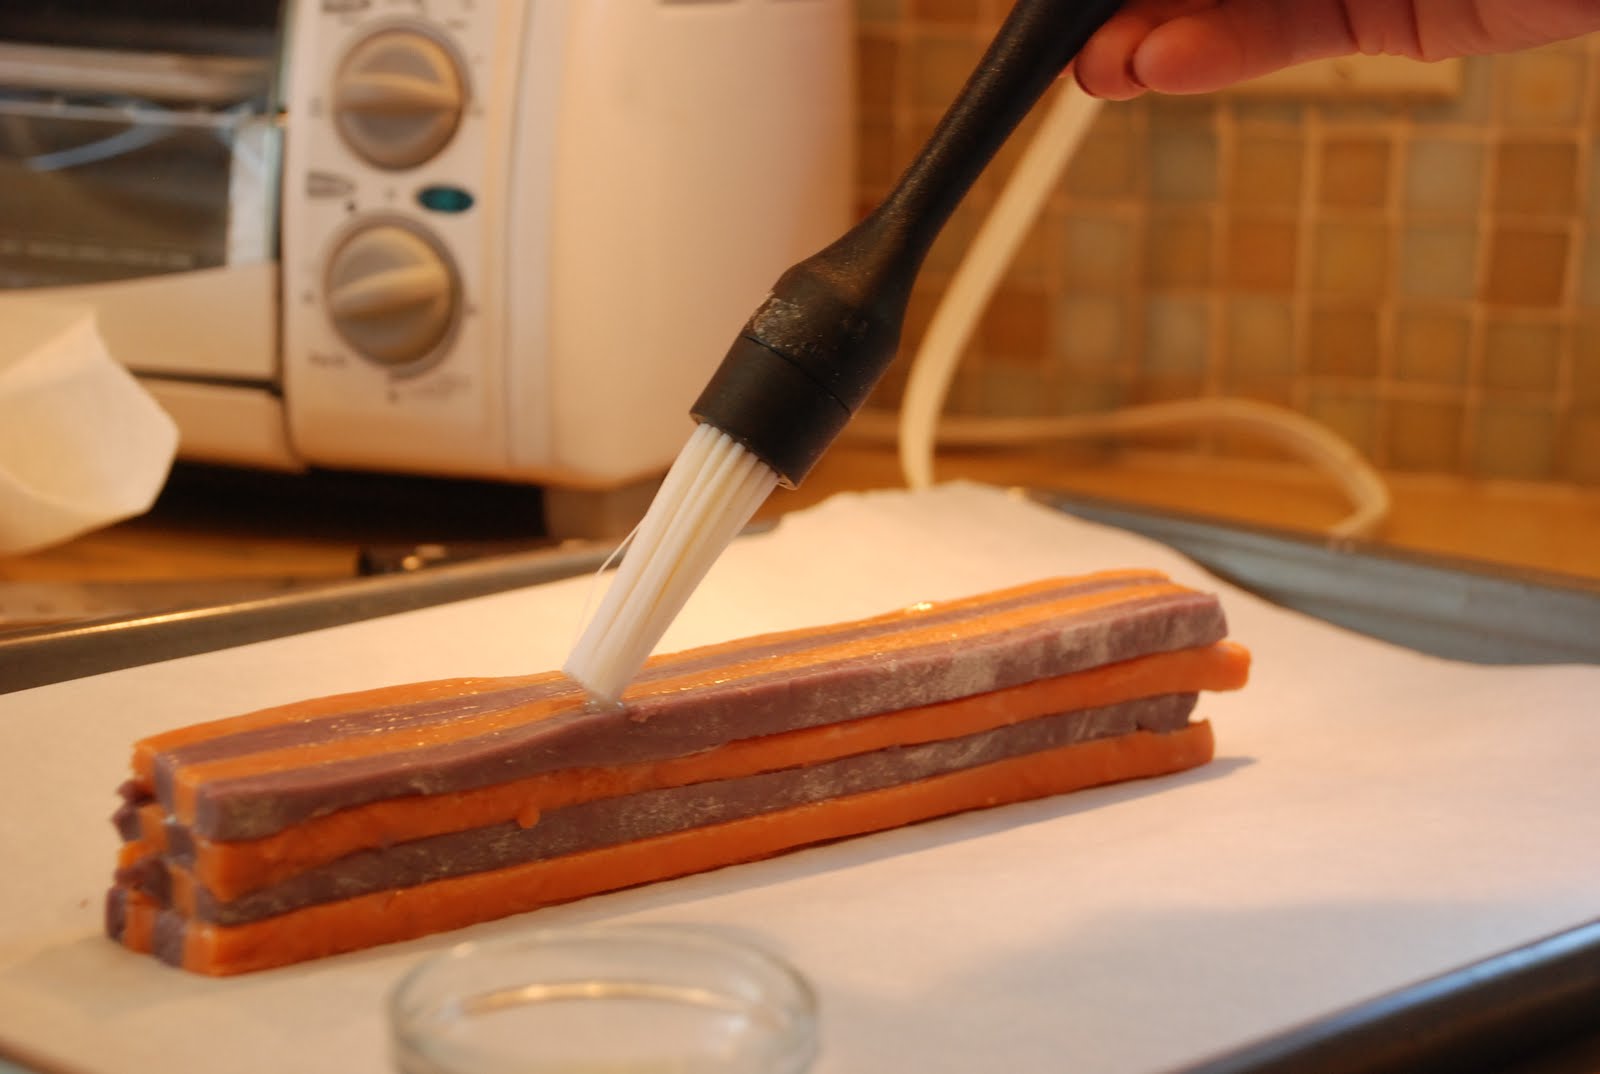
75 beautiful vanilla-bean checkerboard cookies.
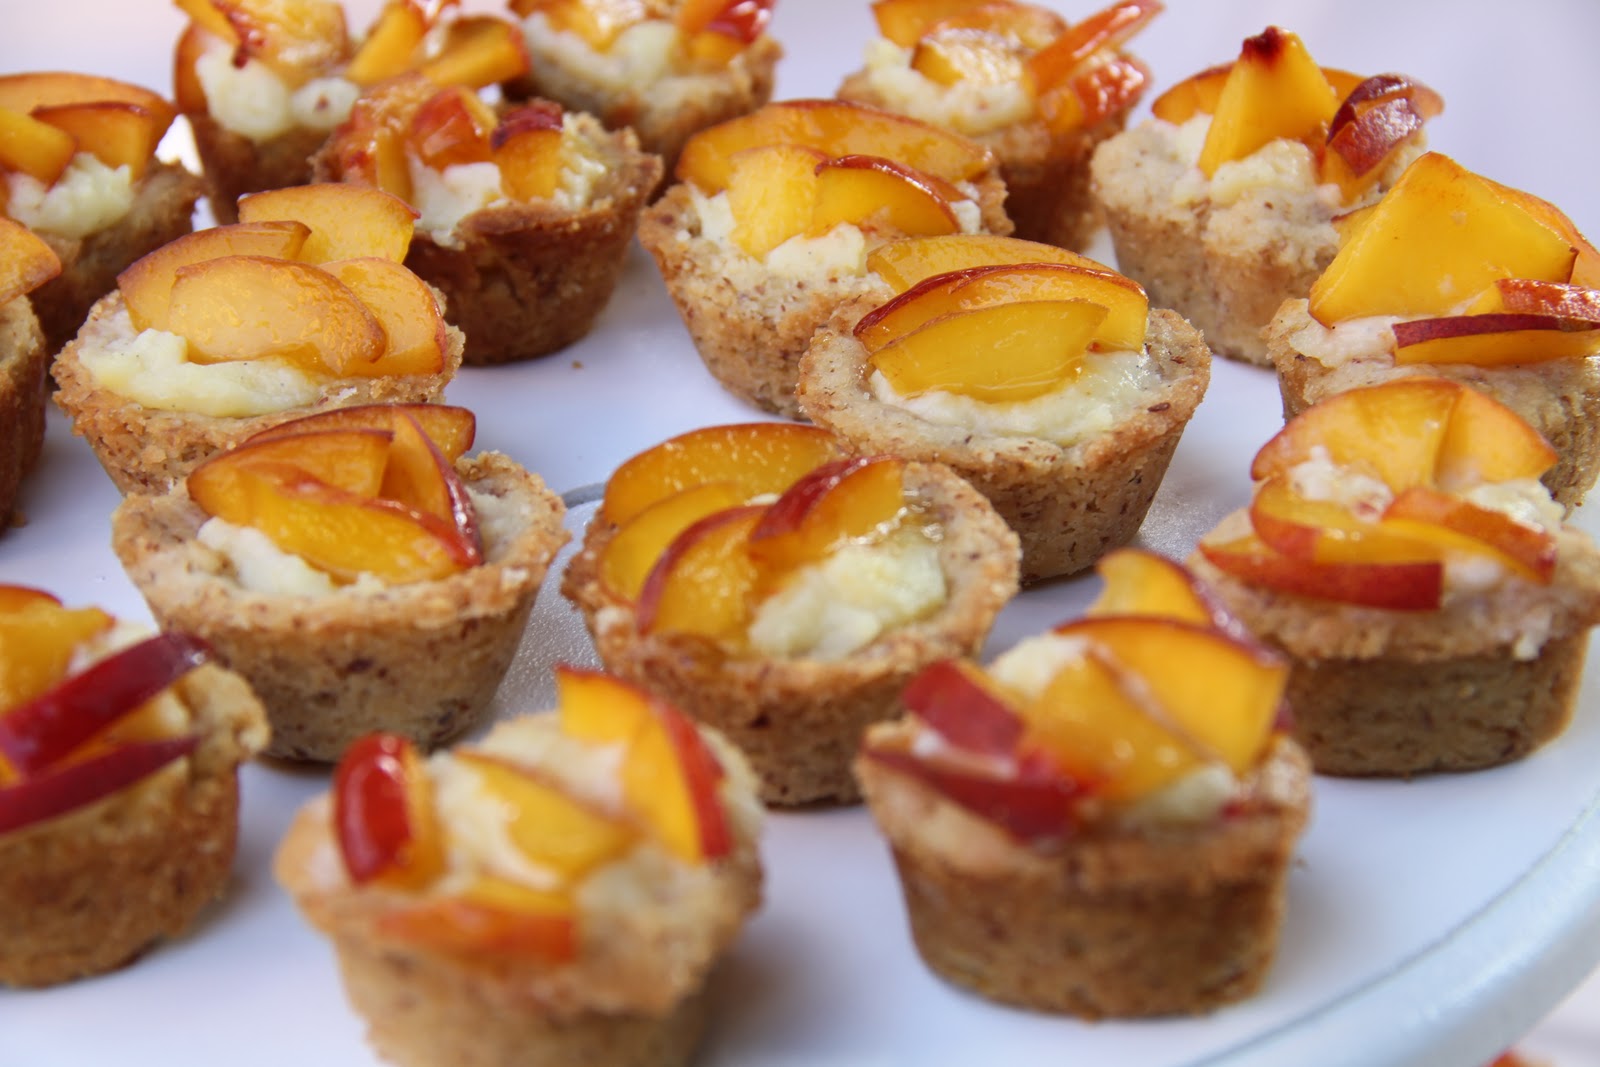
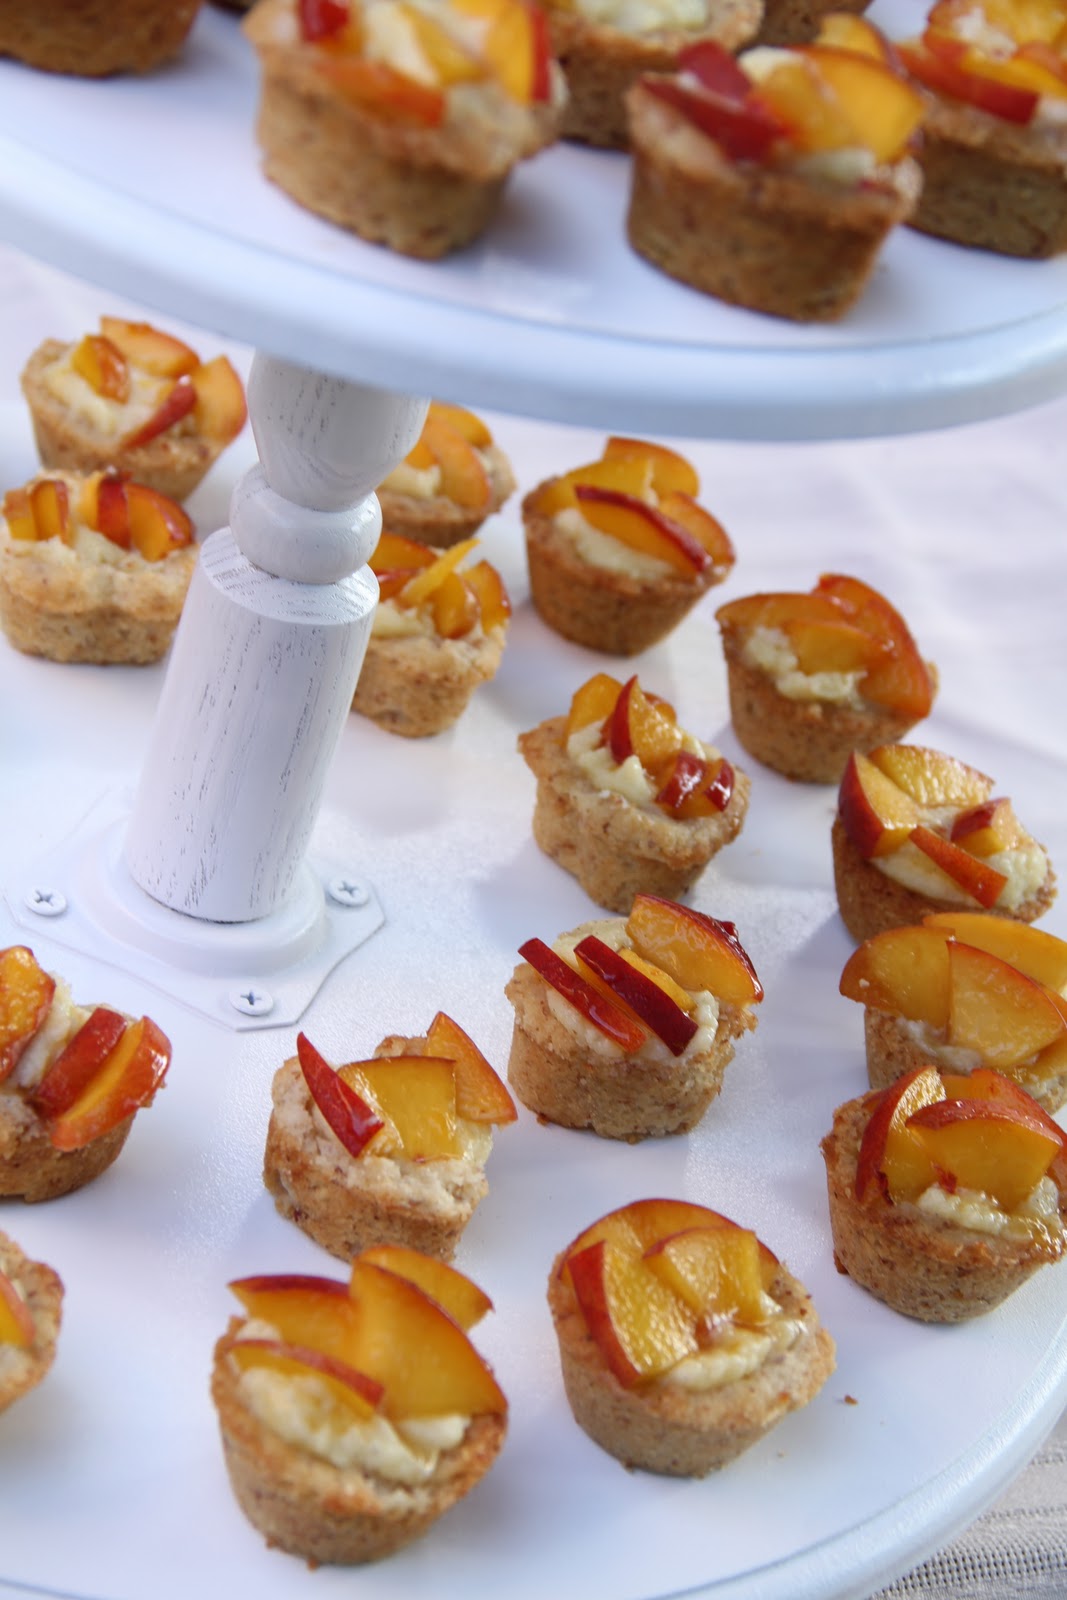
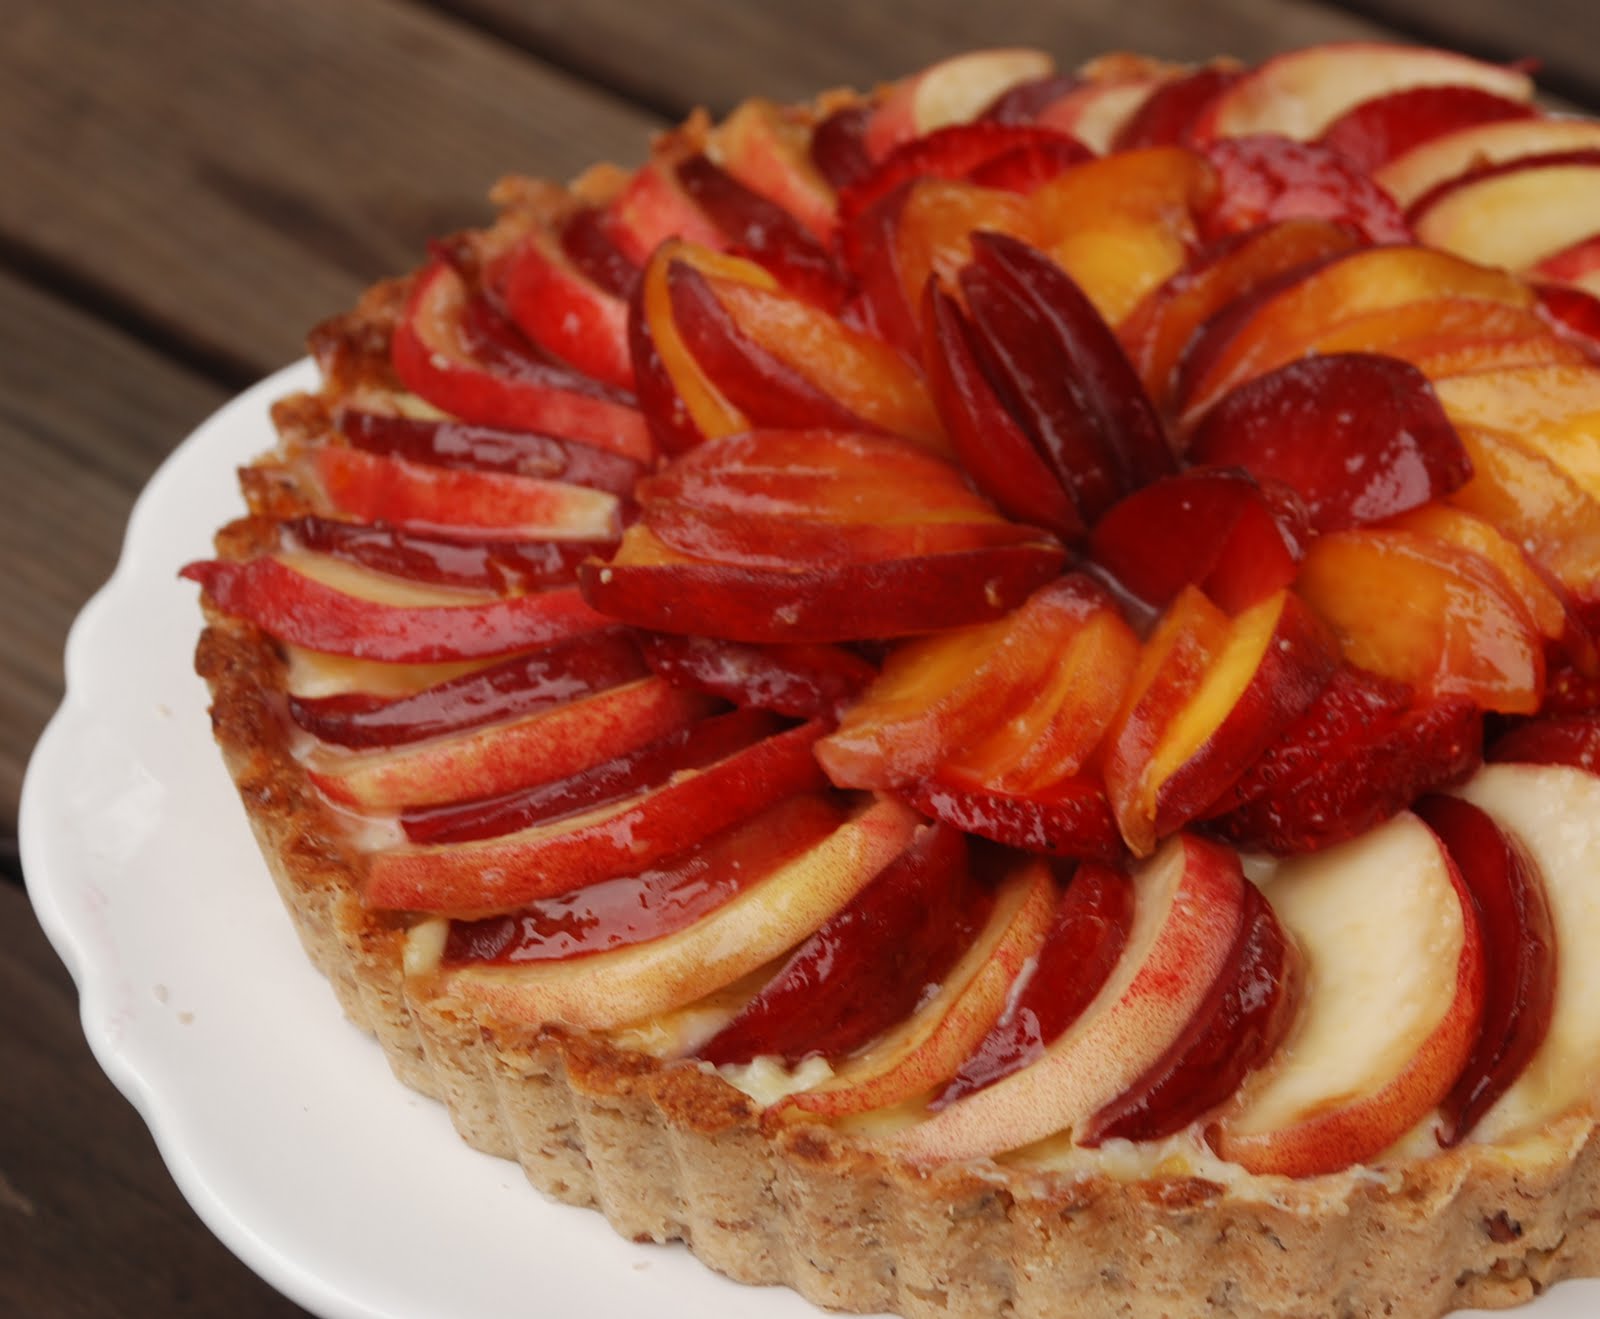
Little fruit tarts. These all had nutty crusts, vanilla-bean pastry cream, and fresh peaches. They were topped with an apricot-lime glaze to keep them fresh and juicy.
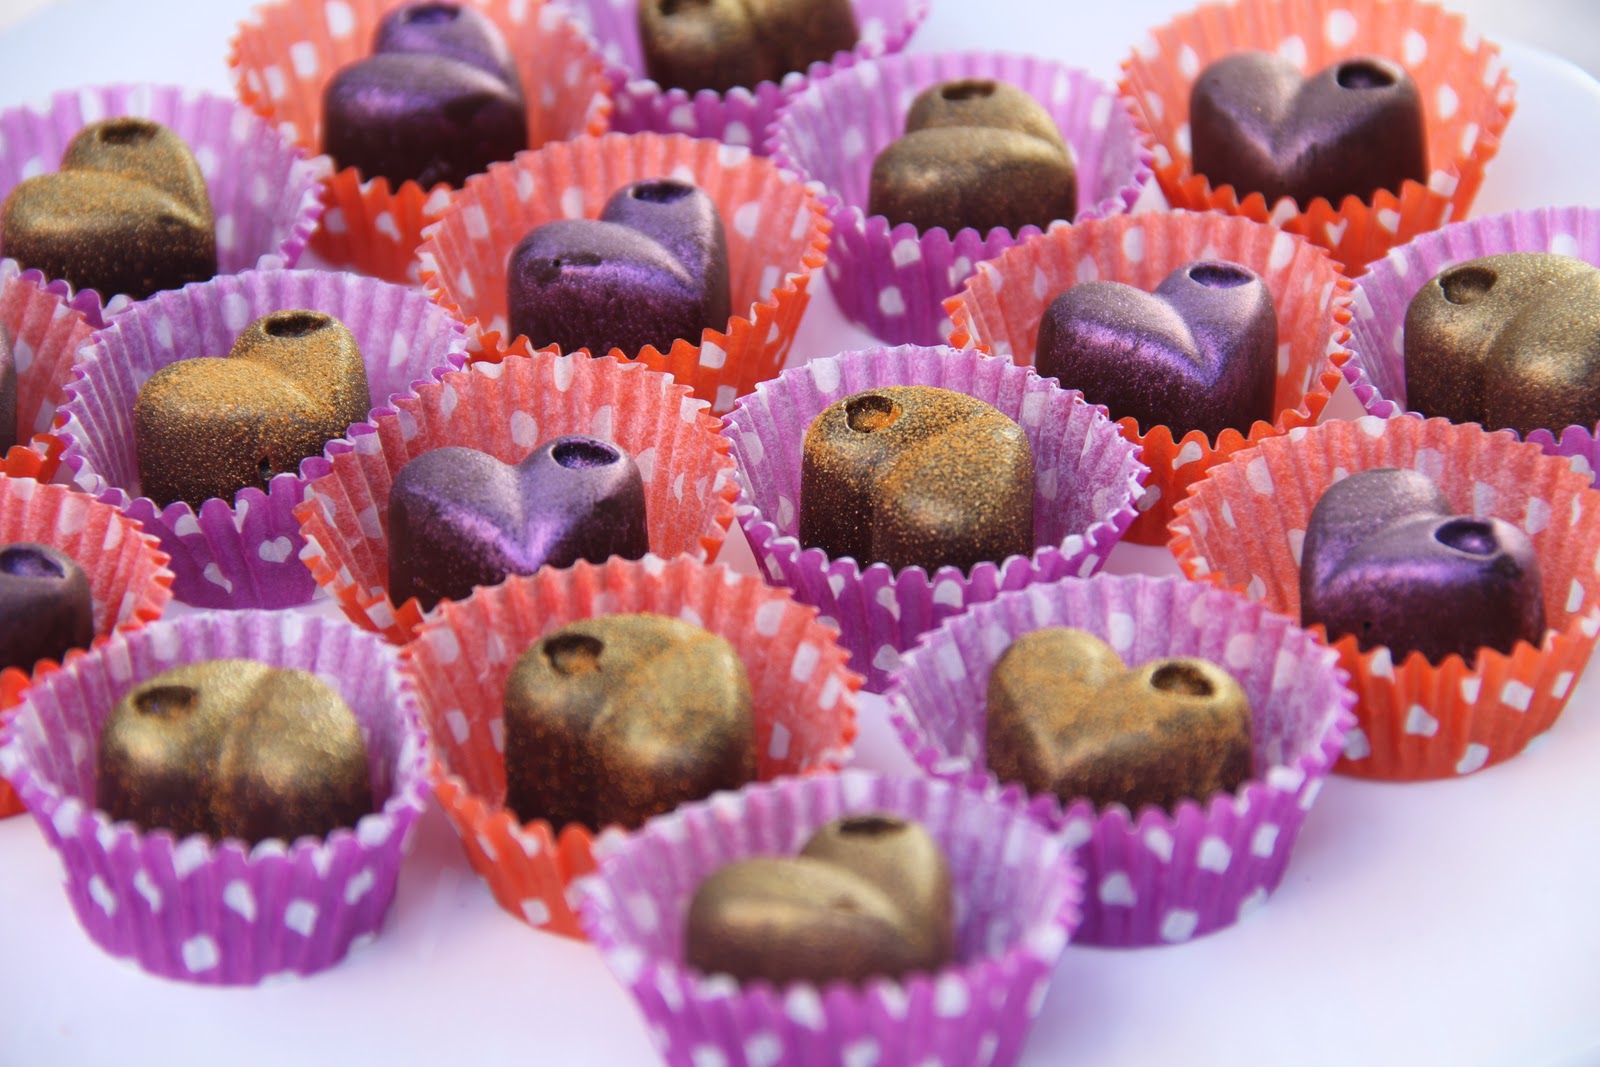
Don’t you love the heart shapes?
Homemade coffee ganache truffles.
The chocolate, surprisingly, tempered beautifully and these traveled very well and lasted a few days unrefrigerated, so I was able to make them a bit ahead of time. I love the luster dust on top!
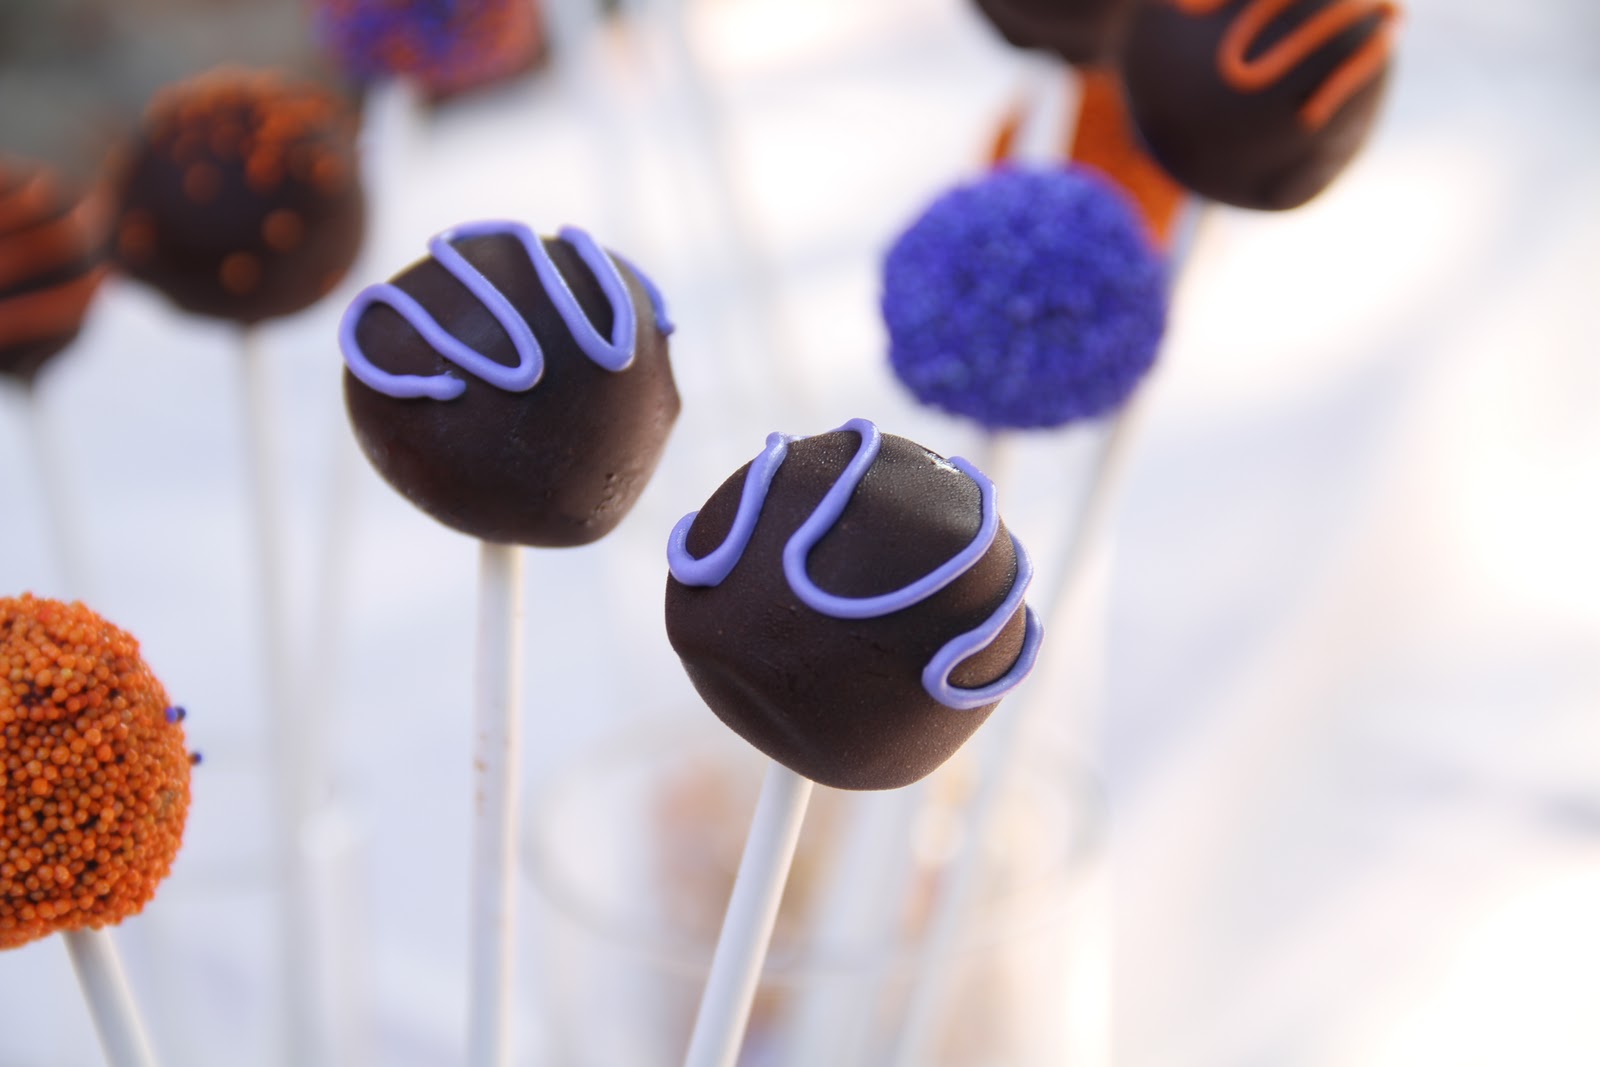
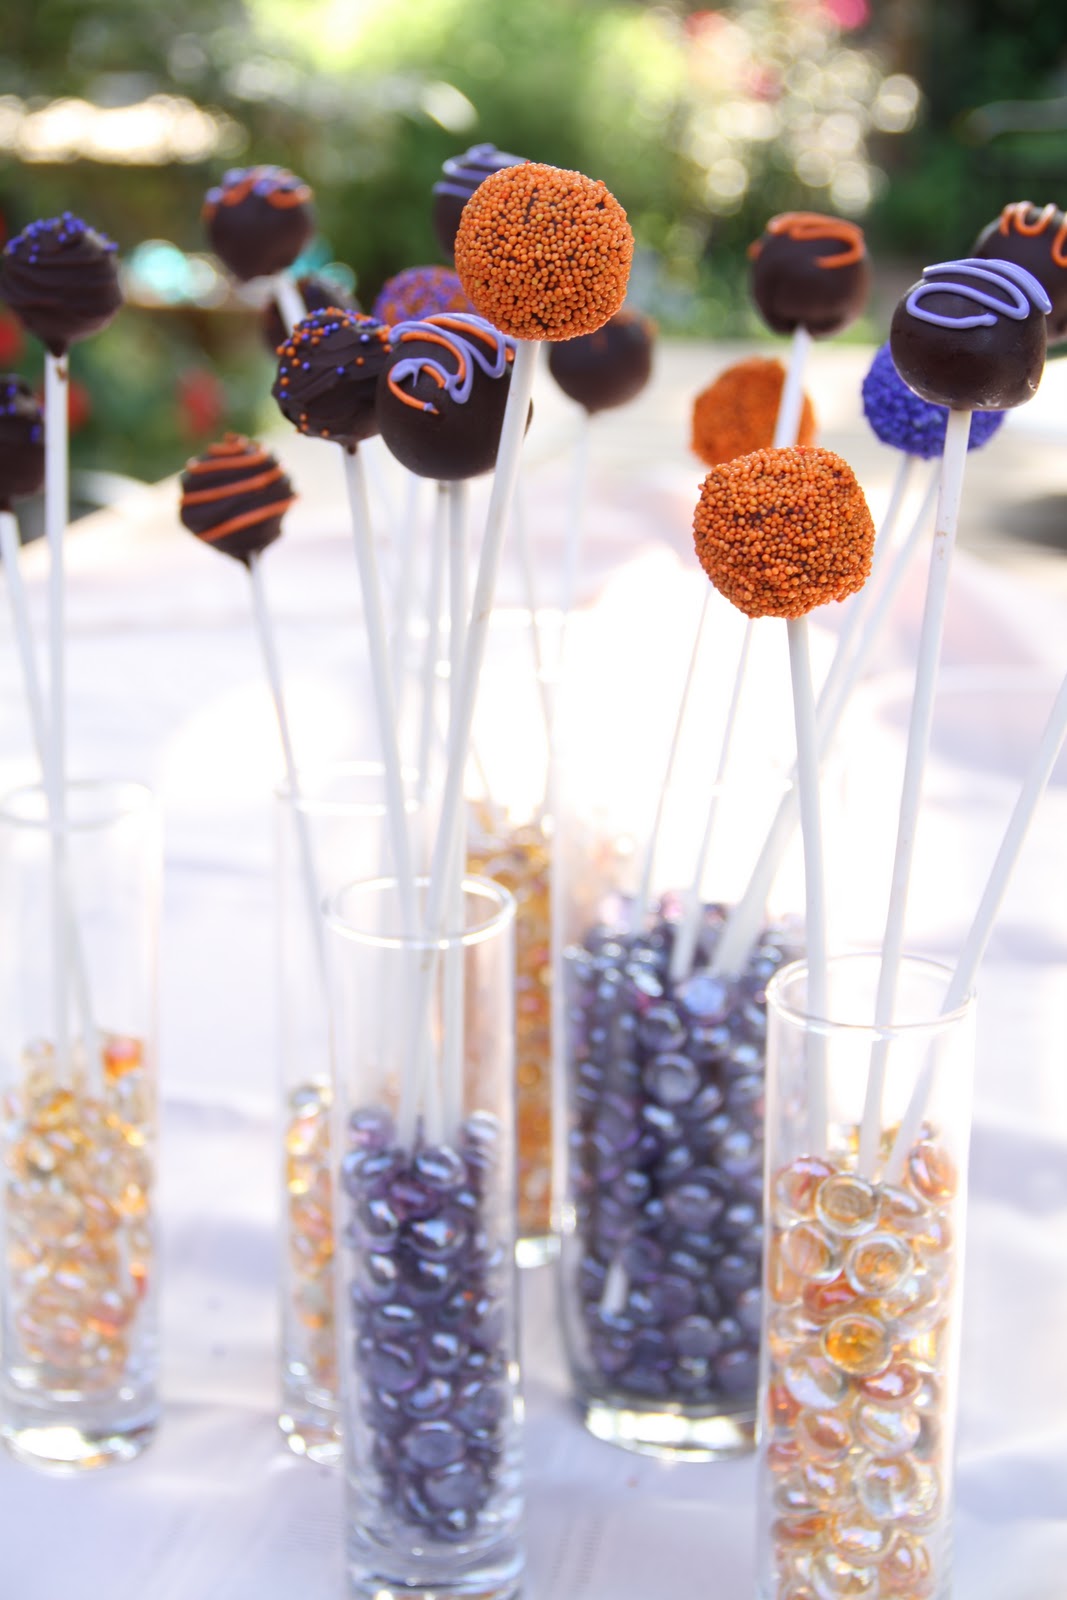
Quadruple chocolate cake pops.
These were so much fun to decorate and I went crazy with the sprinkles. The bride and groom supplied the vases and the marbles – I think they’re prefect.
At this point were were running short on time, so I had Stephanie photograph these in their transportation container, not on the pretty white plates.
They still look delicious!
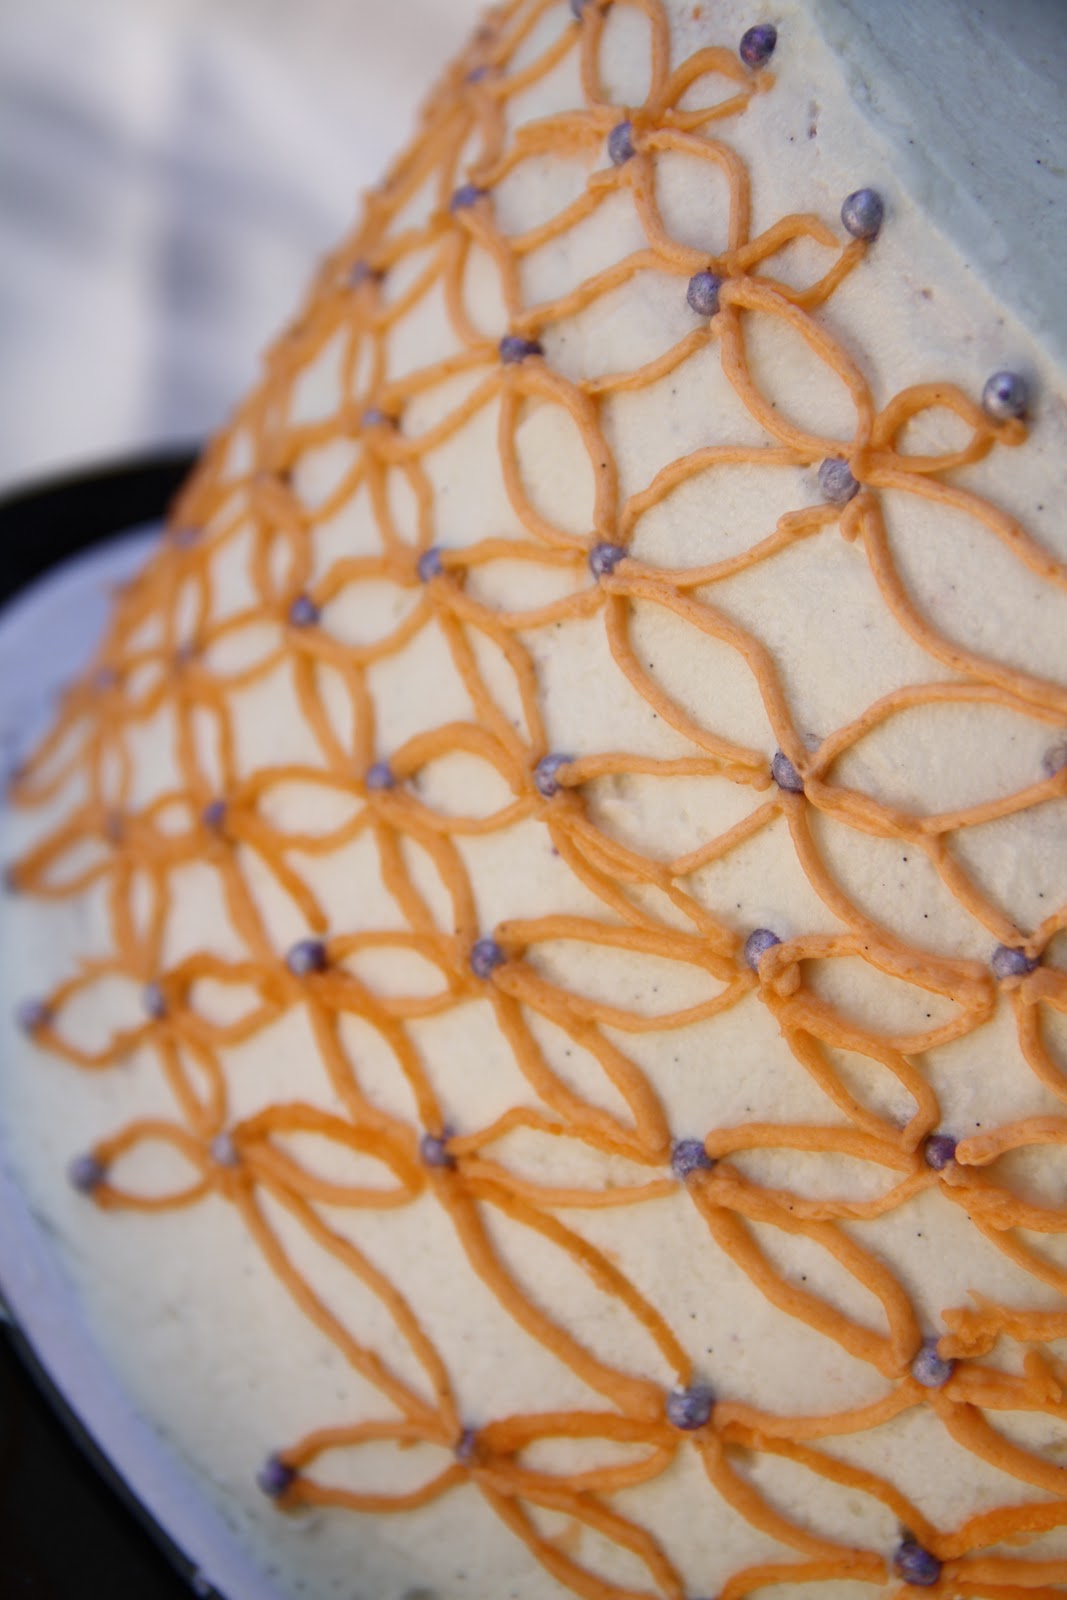
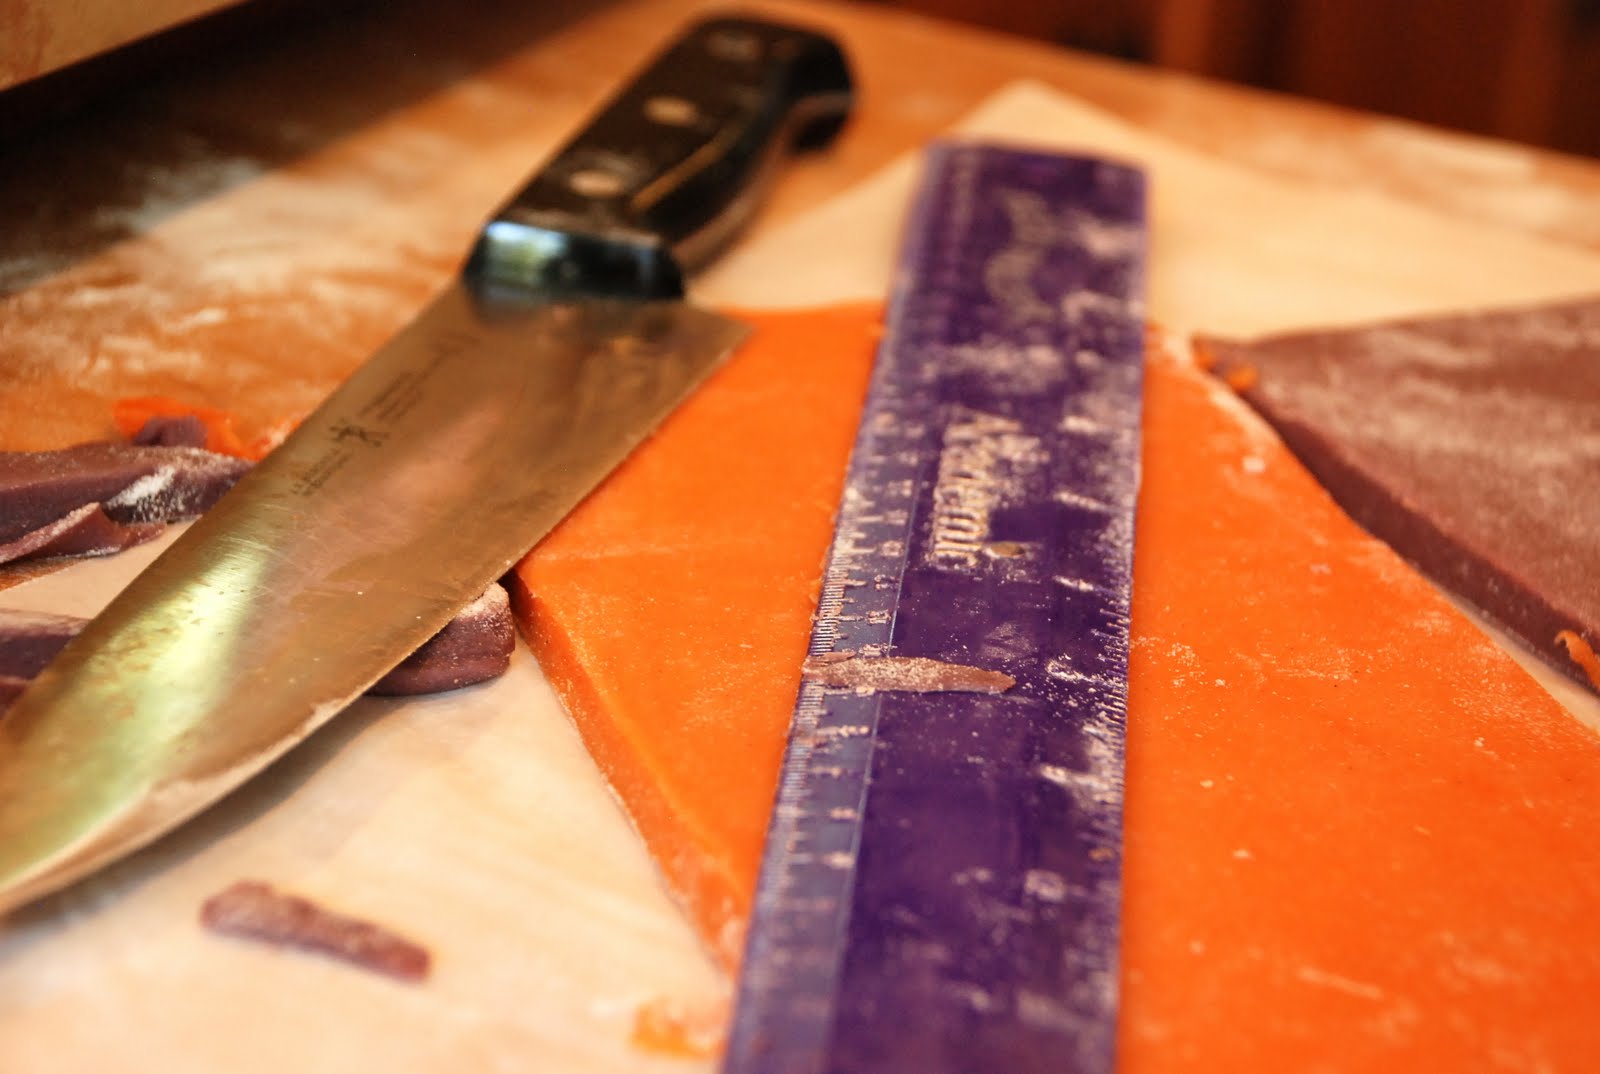
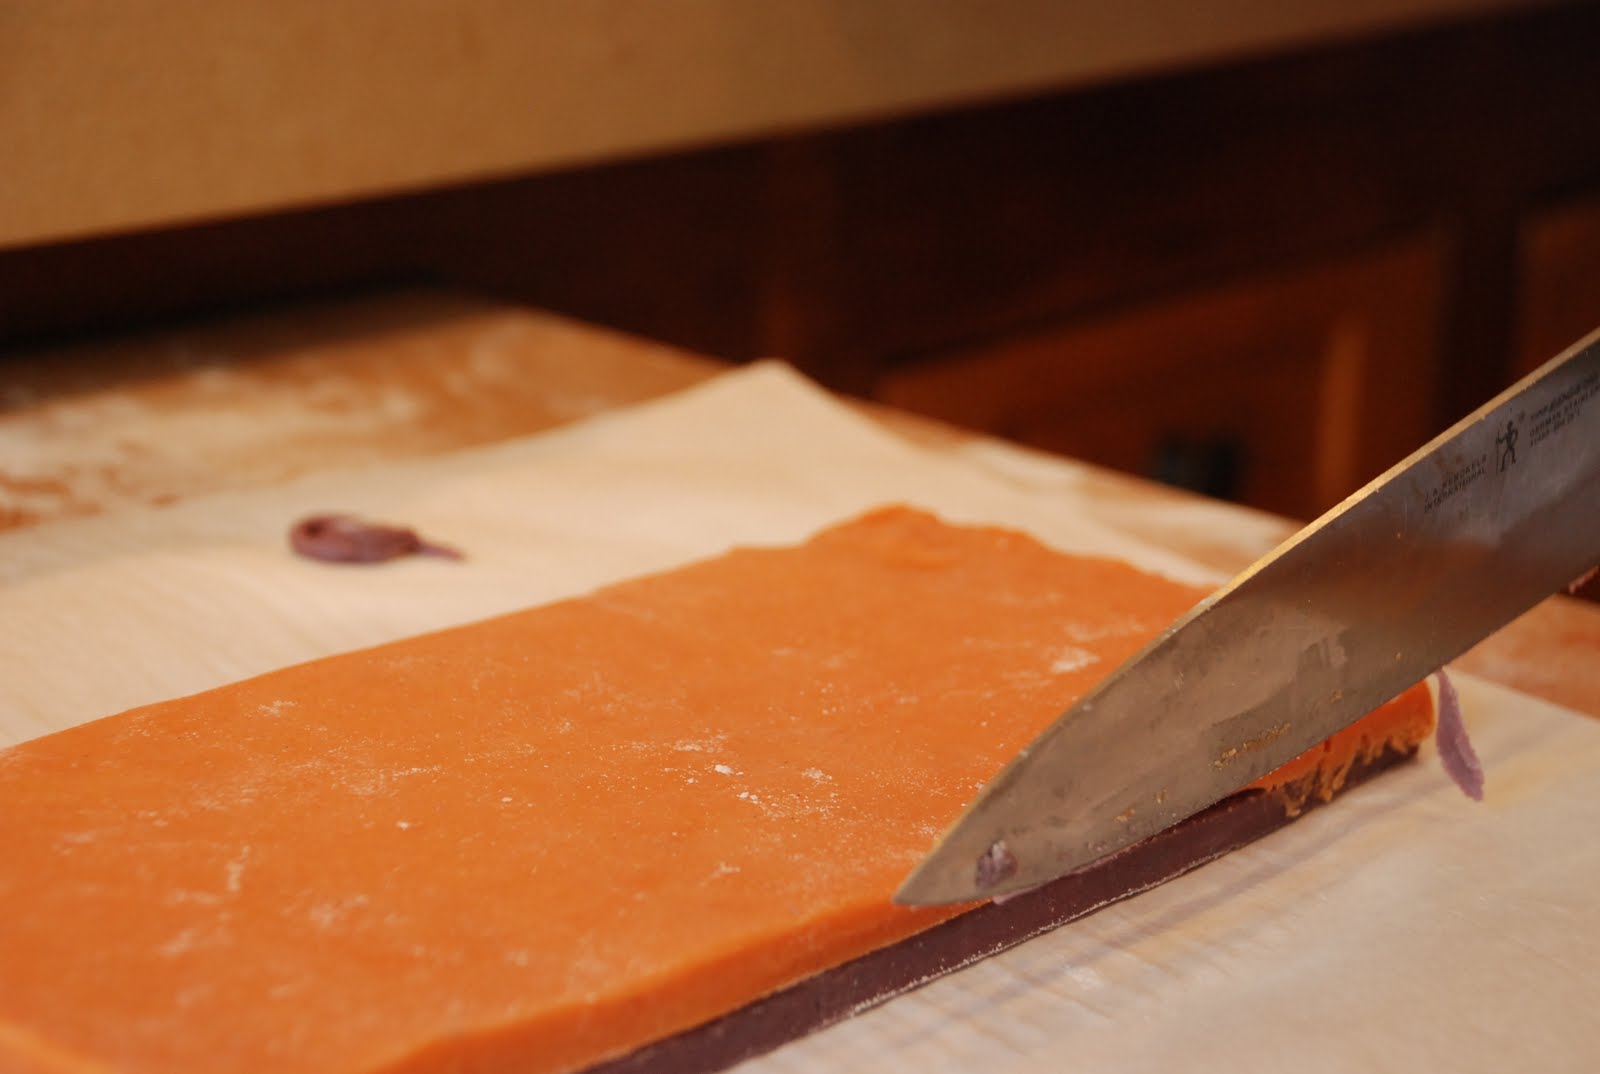
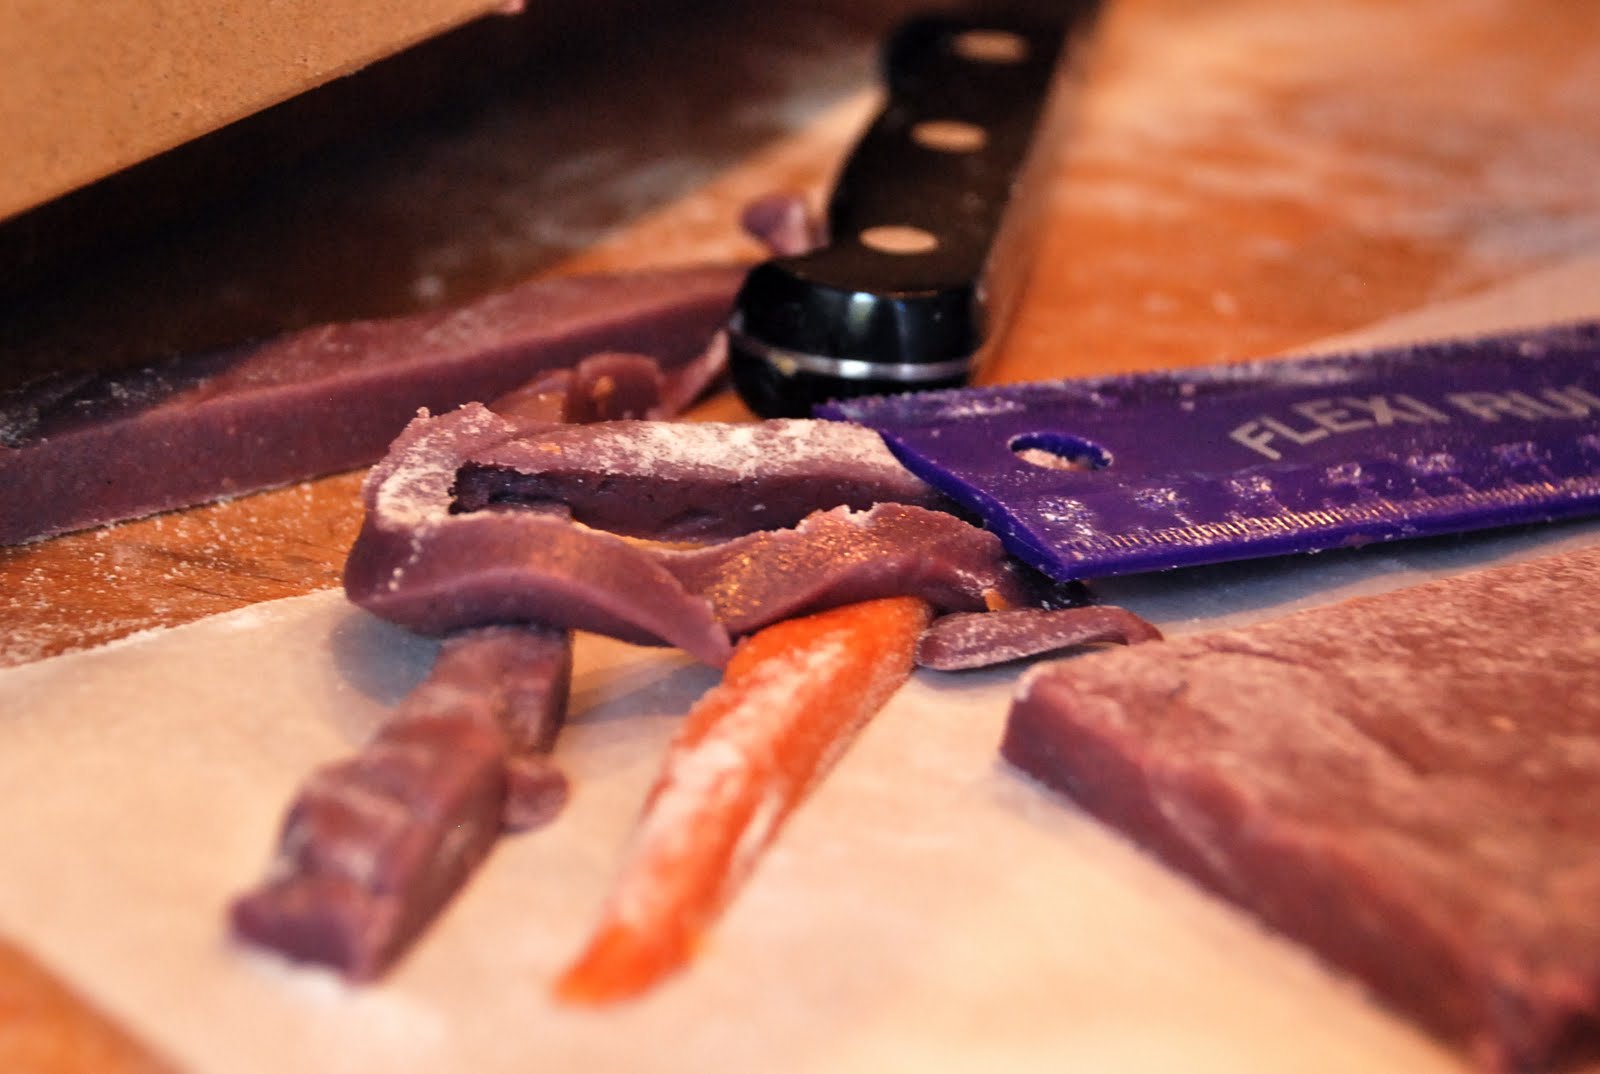
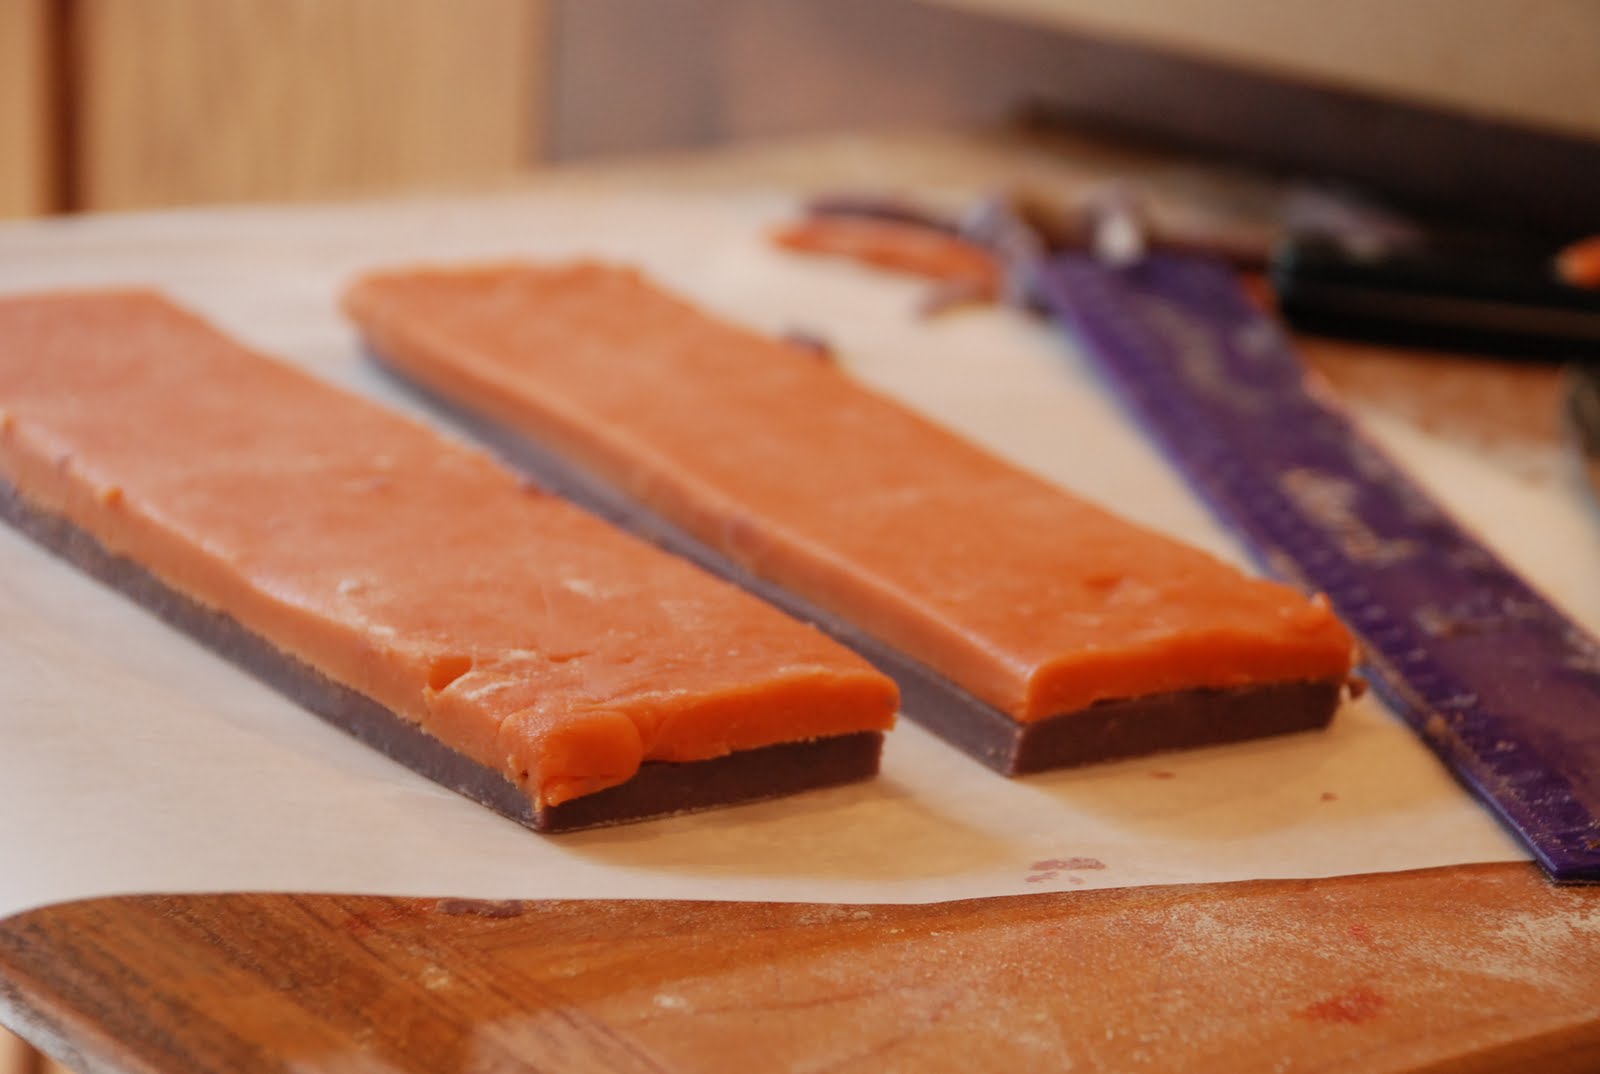
Last but not least, the wedding cake. Inside are layers of purple cake, orange cake, and purple/orange marble cake.
Everything very carefully hand piped, which was a challenge given my lack of sleep and shaky hands. the purple dragees were carefully placed with tweezers.
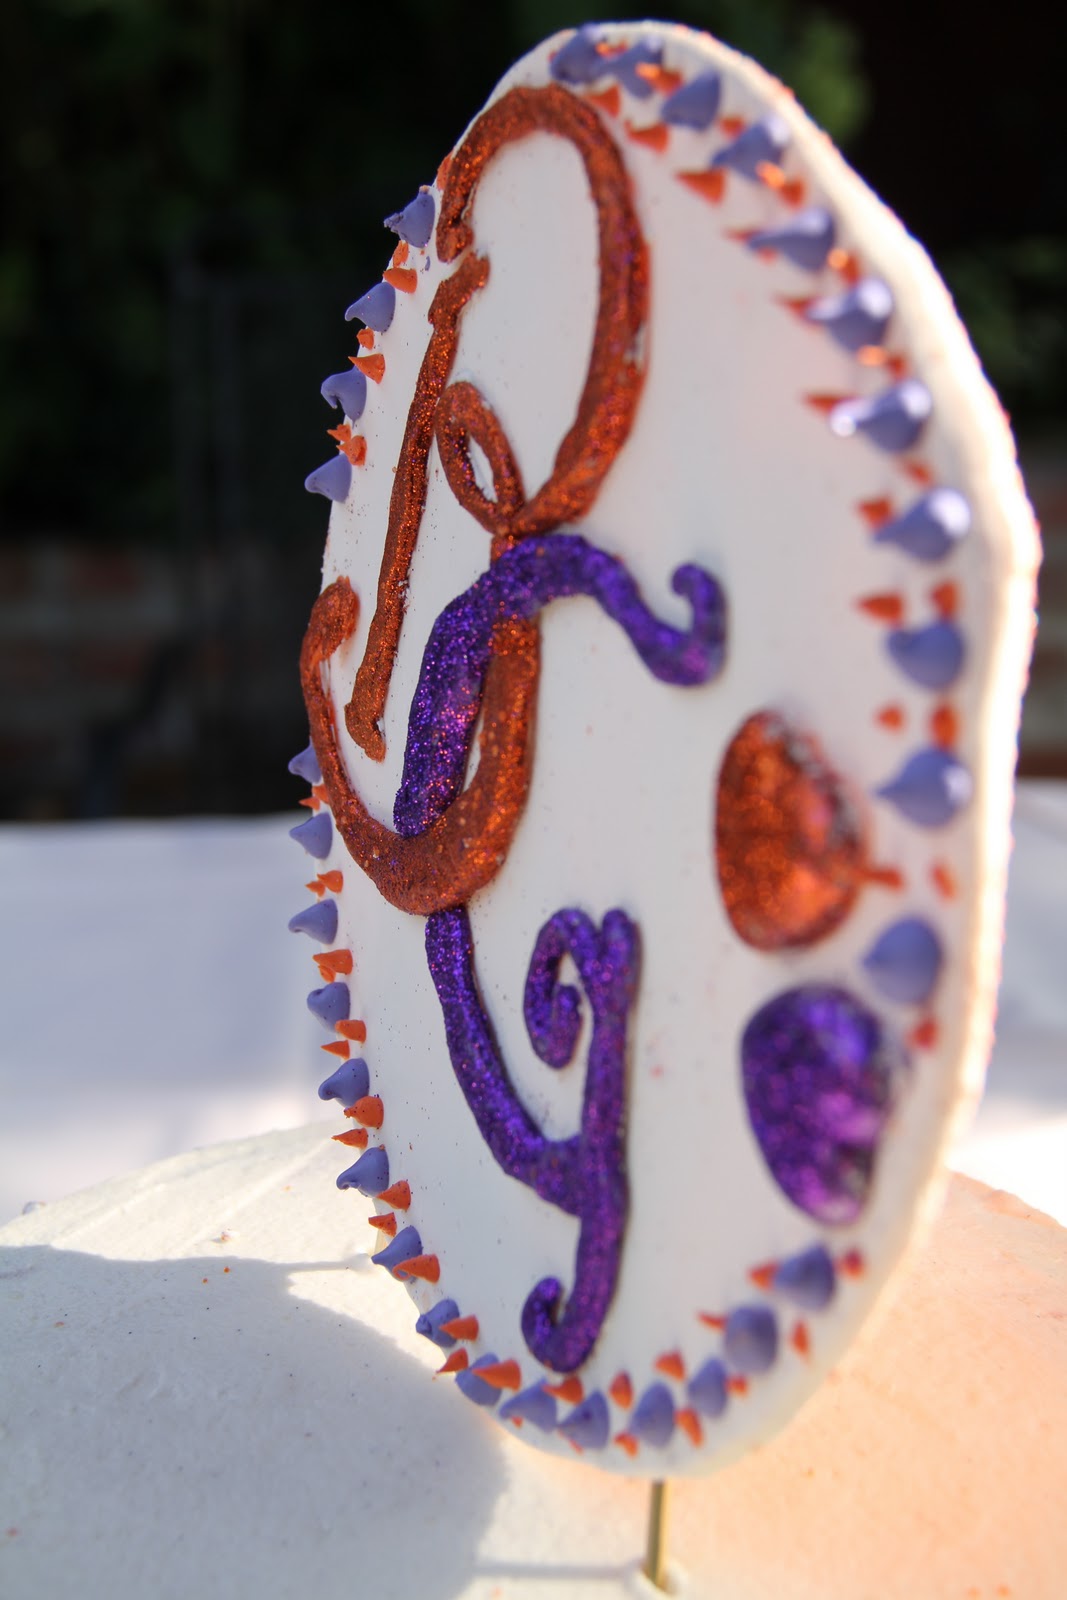
The monogram topper is made out of white chocolate and edible glitter, propped up oh-so-carefully with bamboo skewers.
And here’s where I messed up. Long story short: everything traveled well, I remembered to bring my camera, but I FORGOT TO BRING THE CAMERA BATTERY. I was so excited to take a picture of the whole display, but it just didn’t happen. Fortunately, the photographer got a shot of the table, so you can get a sense of what it looked like.
My mom and I wore out matching bright pink “I Like to Bake” shirts and kept replenishing the treats as the guests enjoyed them. You can’t see the little notecards very well, but we made little signs telling guests about each treat.
I have trouble communicating the enormity of this project. Everything was made in my little kitchen and it was a great experience to spend so much time working with my mom. My sister helped with the sprinkles, my dad made the white stands, and everything happened perfectly. I prepared for months and learned so much!


